Wiring
4-15
ET 200X Distributed I/O Device
EWA 4NEB 780601602-06
Installing connectors
Proceed as follows to install a connector:
1. Pierce the shell of the connector with a screwdriver at the point at which you
want to feed through the cable.
Risk of injury. Watch your fingers.
2. Place the lock nut in the shell over the pierced hole.
3. Screw the M16 cable gland tightly onto the protective shell.
Note: If you feed PROFIBUS-DP and the supply voltage for the electronic
components/sensors to the basic module via 2 separate cables, you must
install two M16 cable glands on the protective shell.
4. Feed the cable through the installed M16 cable gland.
5. Wire the 6-pin plug connector (see Section 4.4.2). In doing so, comply with the
wiring rules listed in Table 4-4.
6. Withdraw the cable until the start of the sheath is roughly level with the start of
the M16 cable gland, then screw the M16 cable gland tight (the sheath is
clamped).
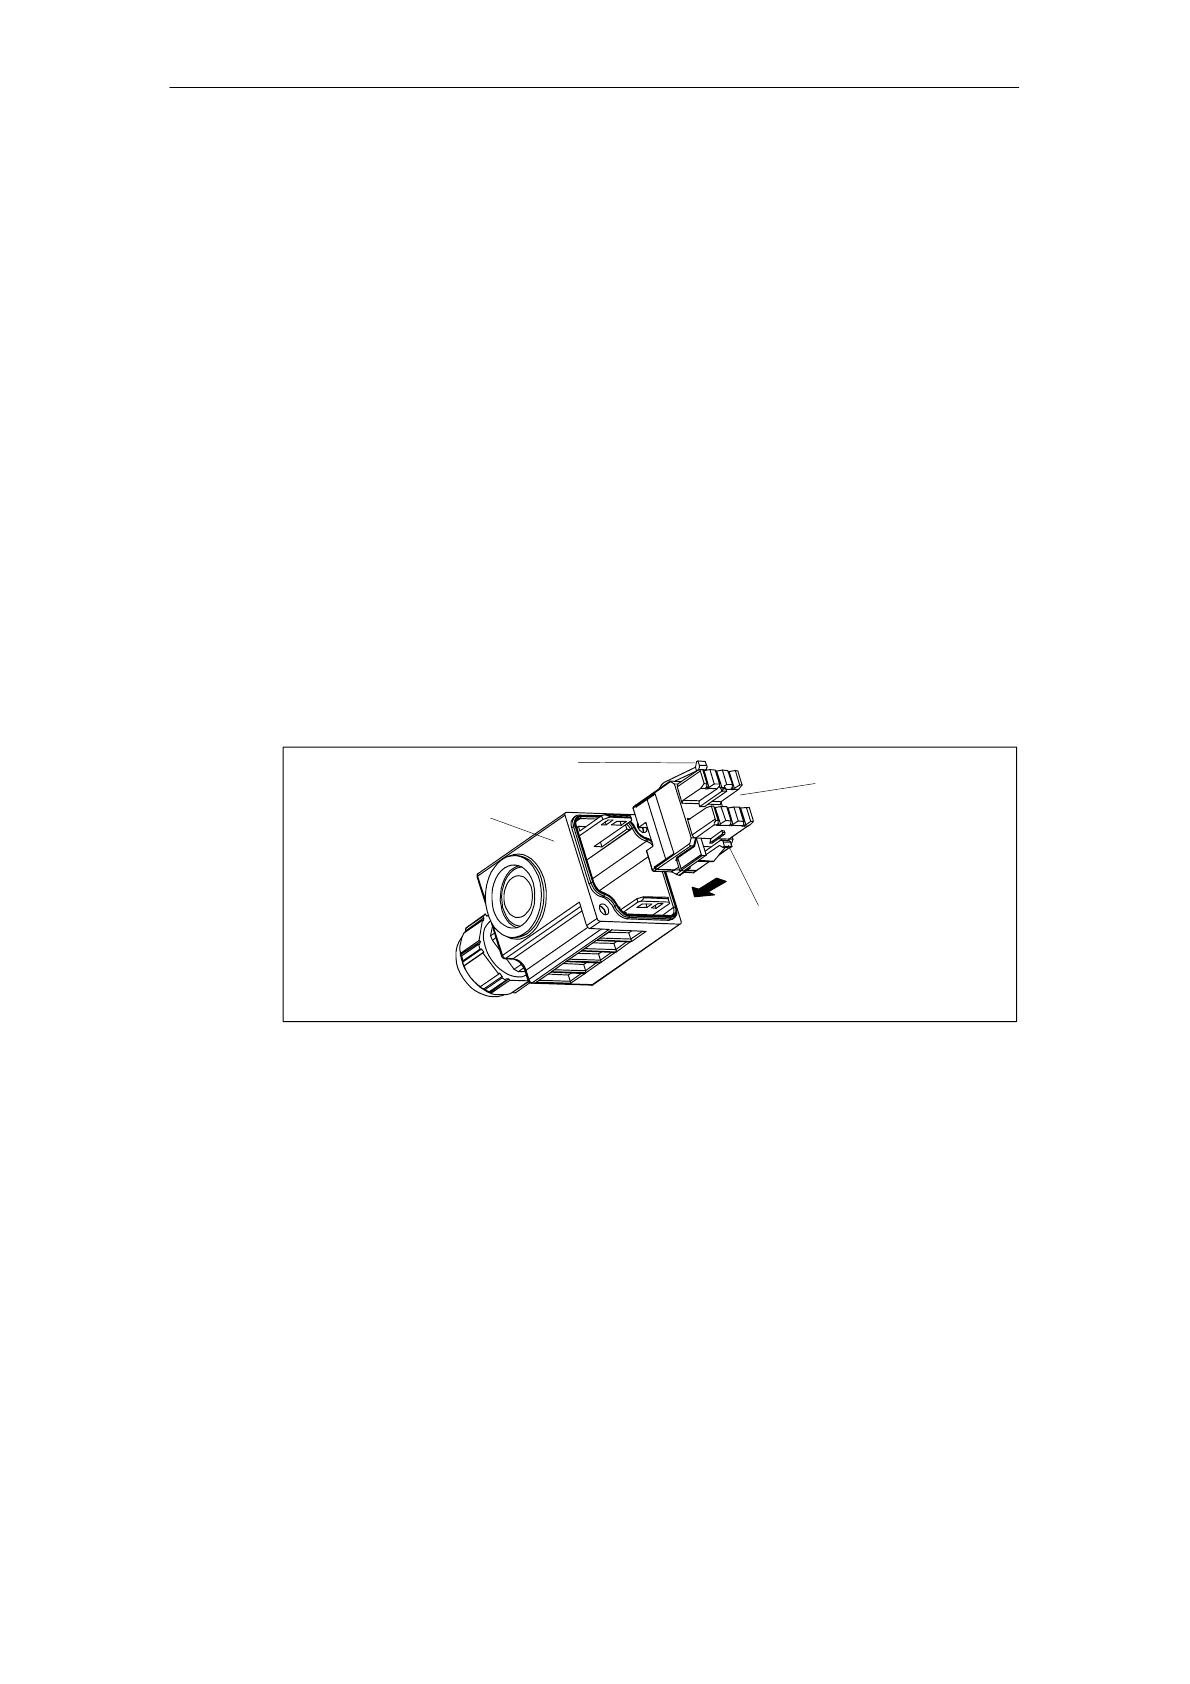
7. Feed the wired plug connector back into the shell until it snaps into place. This
is shown in the diagram below (apart from the wiring).
Locking hooks
Locking hooks
Shell
Connector
Figure 4-7 Snapping the connector into place in the shell