Control During Operation
7-22 7SA6 Manual
C53000-G1176-C133-1
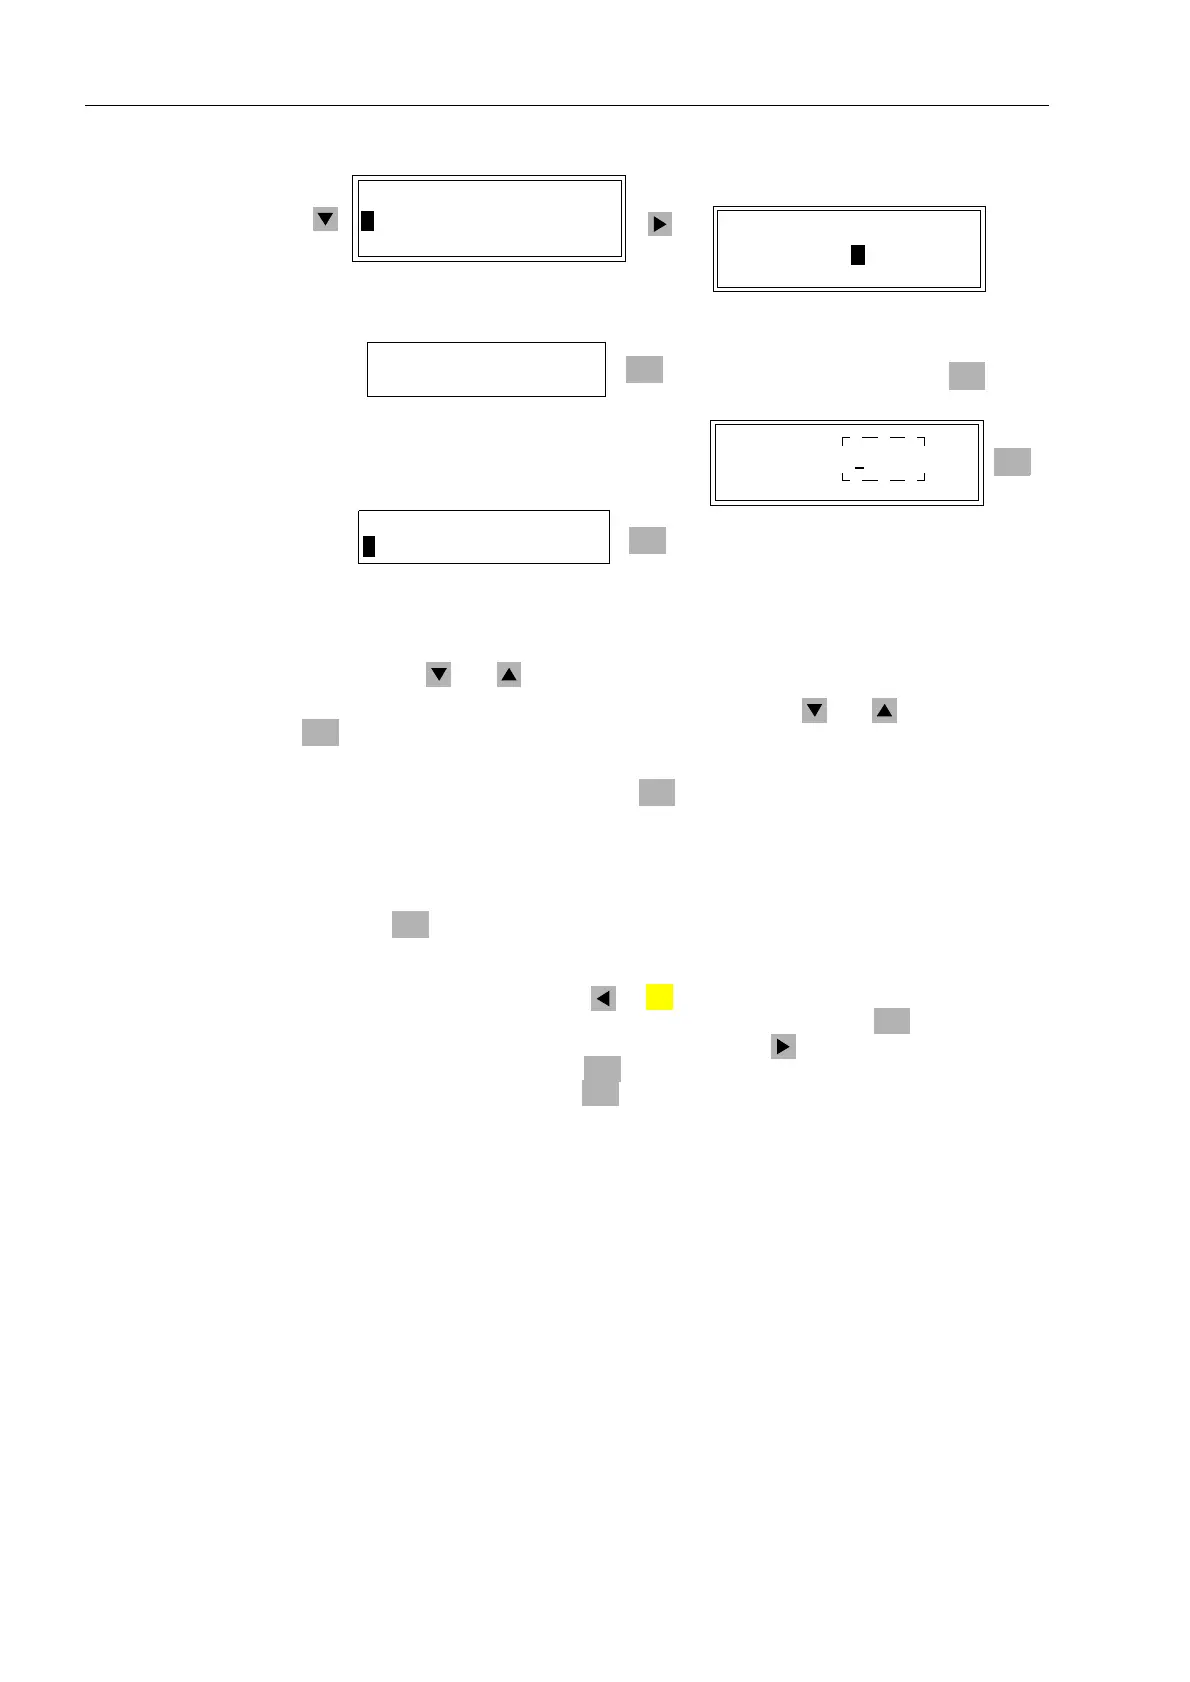
Figure 7-23 Setting of set-points on the device front — example
With the keys and the user can page up and down in the set point table.
To change a set point, it must be marked using the keys and . Then press the
key.
A prompt for the entry of password No. 5 (for individual settings) appears. After entry
of the password and confirmation with , the current value appears in a frame with
a flashing cursor. The current value must be overwritten with the desired new value
using the numeric keys. If the permissible range for the setting value is exceeded to
the top or the bottom, the maximum or minimum set point value appears at the bottom
of the display when the value is entered.
Press the key. The new value now appears in the list of set points.
In the same way, further set points, if available, can be modified.
If this level is exited with the key or the query “$UH\RXVXUH"”, with the
default answer “<HV” appears (Figure 7-23). Confirm with the key , to validate the
the value. If the value must not be modified, press the key, so that the answer “1R”
is marked, and confirm with the key. If the value is to be modified once more,
mark “$ERUW”, confirm with the key and enter the value again.
From PC with
DIGSI
®
4
Set points are only available in online–mode. The metered value groups are to be
found under 0HDVXUHPHQW (Figure 7-2) by double-clicking on the latter. Select 2WKHU
and then 6HW3RLQWV0HDVXUHG9DOXHVFigure 7-24).
By double clicking on an entry in the list in the right part of the window, the set points
are loaded. Mark the number of the value which is to be changed. With a
right
mouse
click, open the context menu and click on 6HW, as shown in Figure 7-24. A password
inquiry (password No 5 for individual settings) occurs. Next, the dialog field 6HW
0HWHUHG9DOXH is opened. Enter the desired value in the entry field. Then click on
2..
The entered value is transferred to the device and the display within the window in
Figure 7-24 is updated.
0HDVXUHPHQW
!6HW3RLQWV09
5HVHW
etc.
ENTER
ENTER
3:6HWWLQJV"
Enter password Nr. 5 (for individual
parameters) and confirm with
ENTER
,//LPLW
ENTER
$UH\RXVXUH"
!<HV1R(VFDSH
6(732,17609
,//LPLW $
,//LPLW $
ENTER
ENTER
ENTER
MENU
ENTER
ENTER
ENTER
:

 Loading...


