Initial Inspections
3-8 7SA6 Manual
C53000-G1176-C133-1
3.3.2 Operation Using DIGSI
®
4
DIGSI
®
4 User
Interface
DIGSI
®
4 has the typical PC application Windows operating environment to guide the
user. The software has a modern, intuitive, user-interface. Further details are found in
Section 4, as well as in the DIGSI
®
4 handbook “Device Configuration”.
Some applications of DIGSI
®
4 which are described below concern viewing the
measurement values, reading messages, and setting the time clock. The handling of
the operator control windows of DIGSI
®
4 can be learned quickly by following the
simple examples as described below. To perform the steps in the examples, first
connect the SIPROTEC
®
4 device to the PC and match the DIGSI
®
4 interface data
with the equipment. To accomplish this:
q
Establish a physical connection between a serial interface of the PC and the
operating serial interface of the device on the front panel.
q
Open the DIGSI
®
4 application in the PC.
q
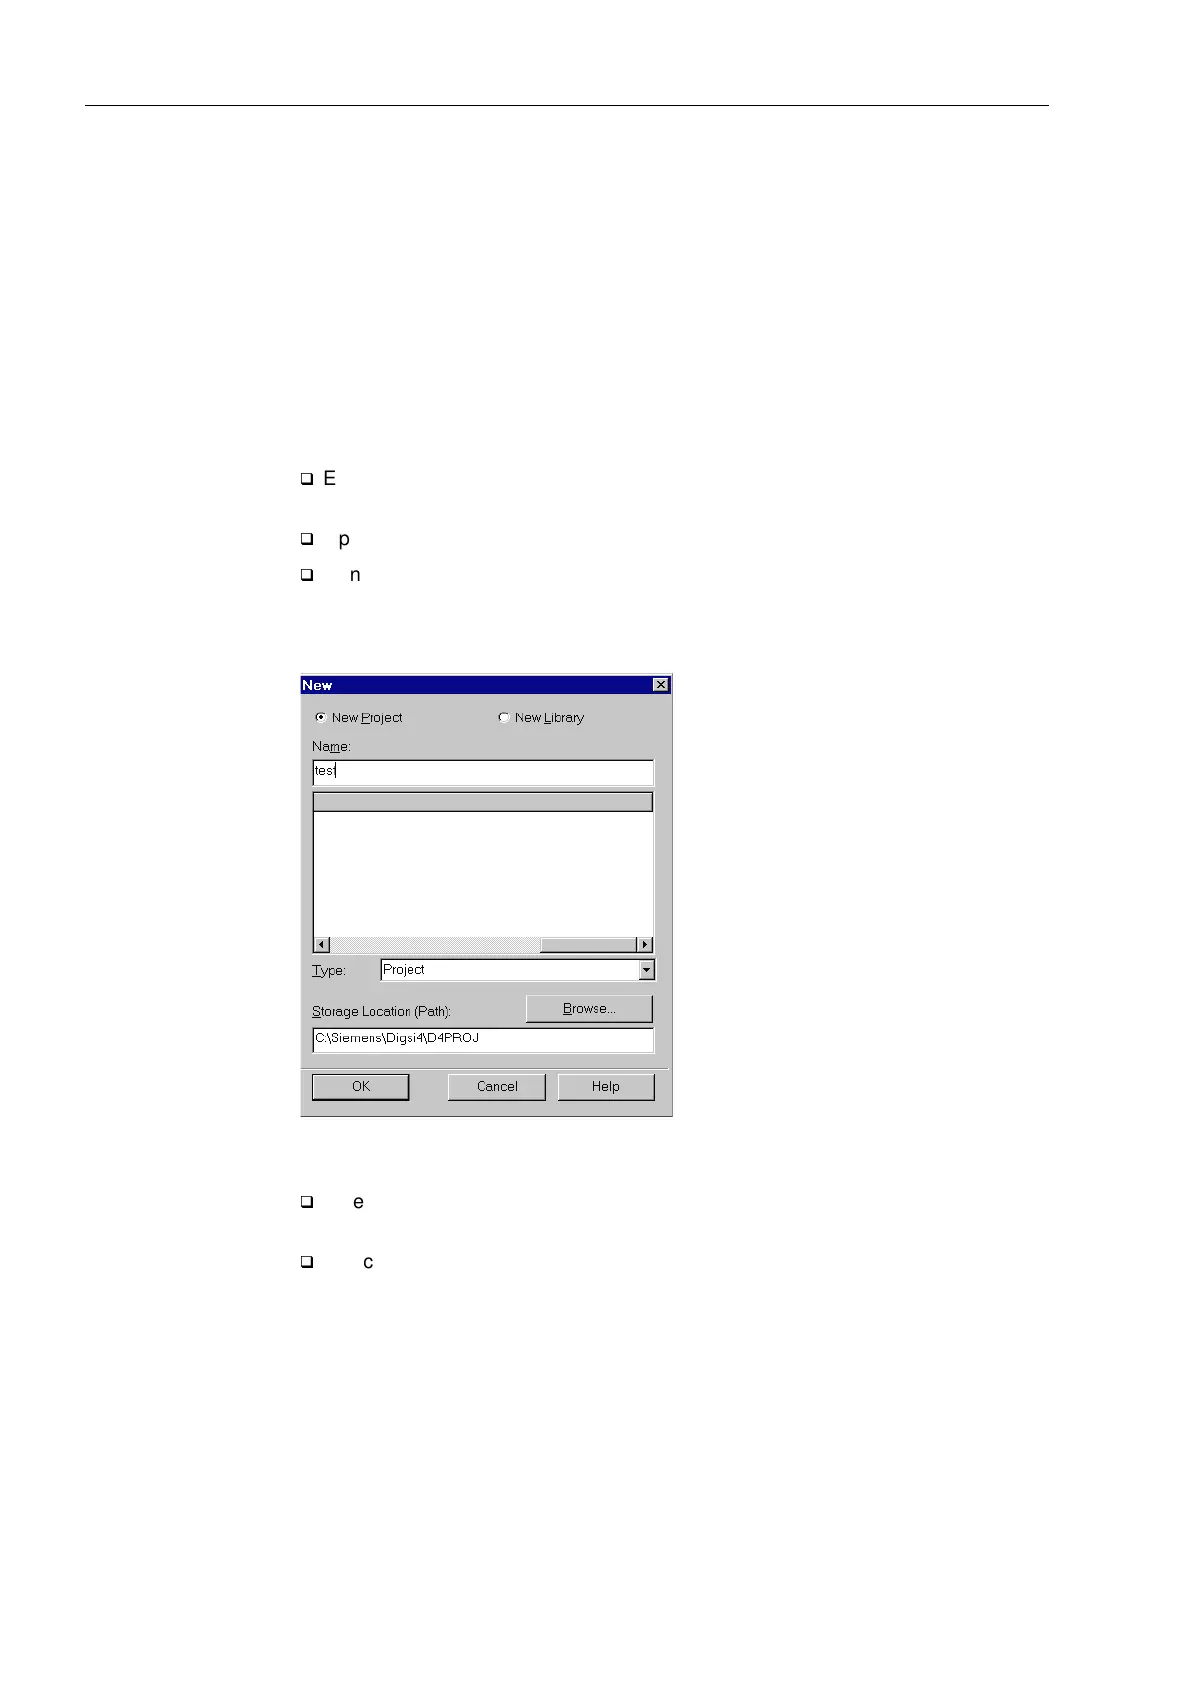
Generate a new project by clicking on )LOH → 1HZ in the DIGSI
®
4–Manager menu
bar.
Figure 3-4 Dialogue box to open a new project in DIGSI
®
4
q
Enter a name for the new project in the 1DPH entry field (e.g. test 1) and close the
box with 2..
q
Select )ROGHU by clicking on the item in the newly opened window. Then click in
the menu bar the item 'HYLFH and select the option ',*6,!'HYLFH3OXJ
3OD\, as shown in Figure 3-5. The Plug & Play dialogue box opens, as shown in
Figure 3-6.

 Loading...


