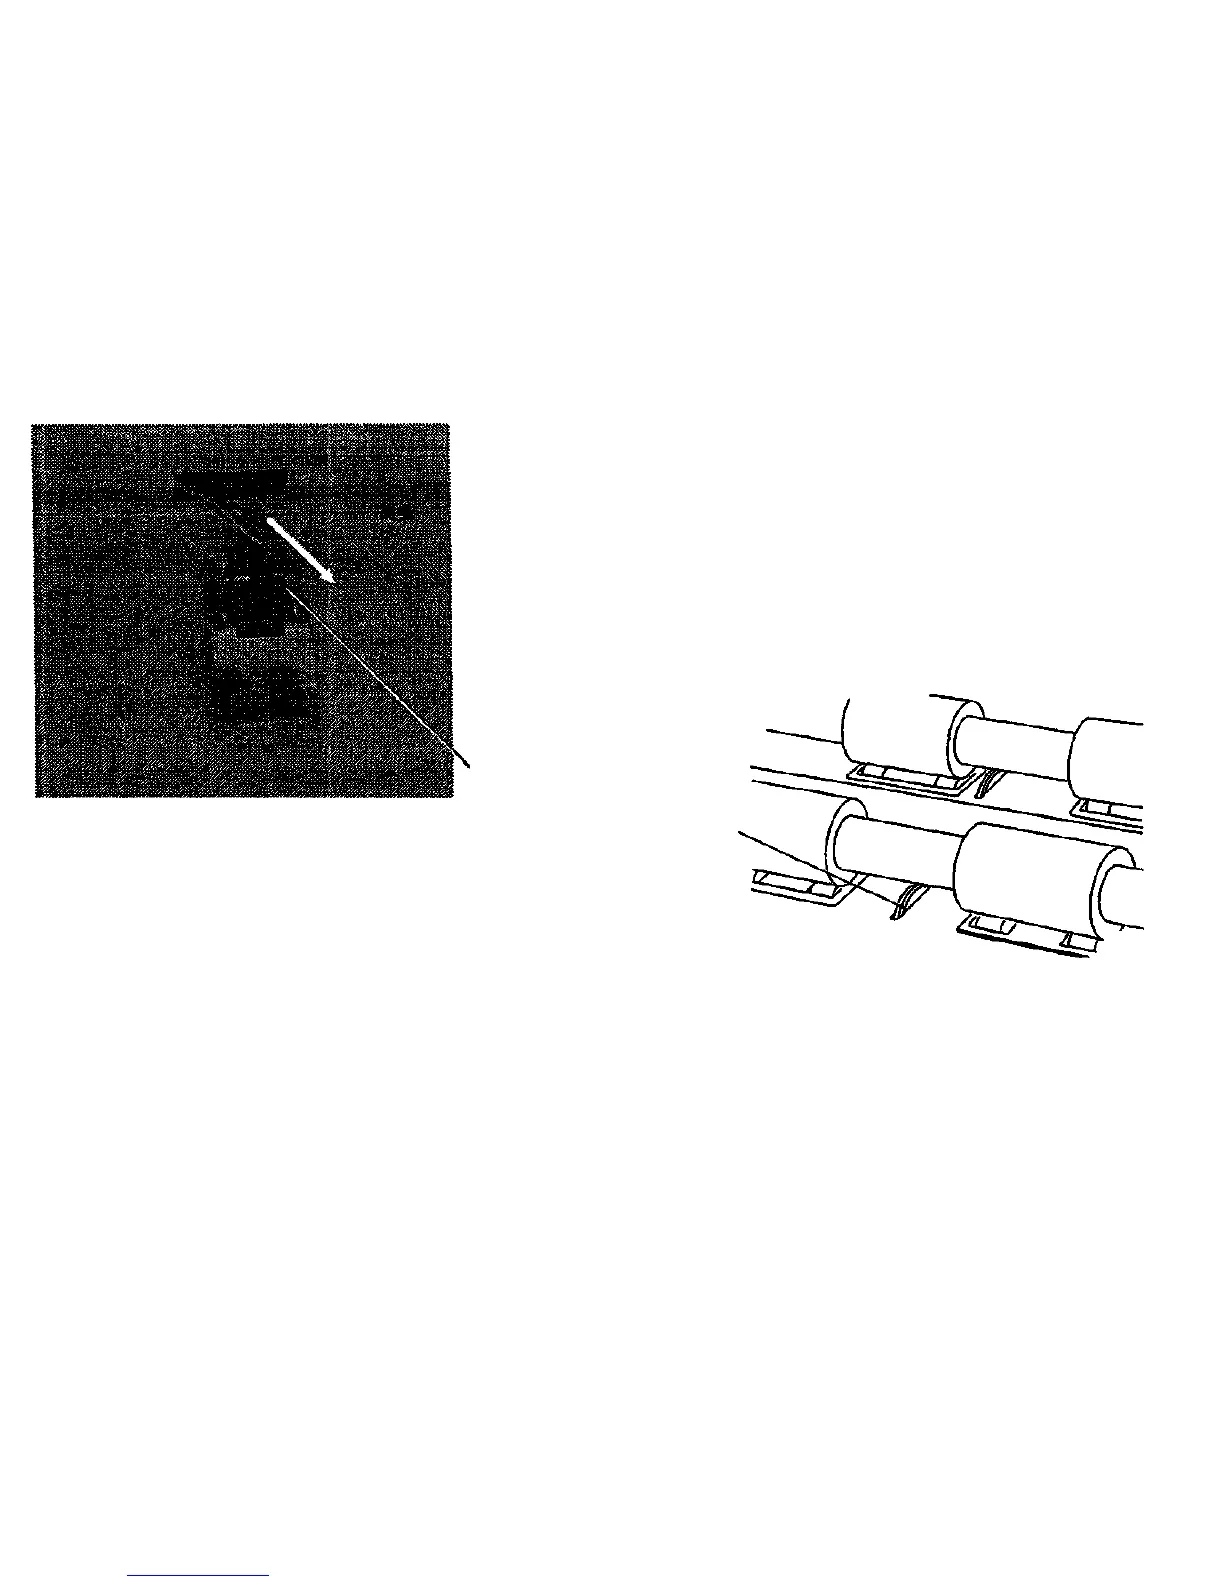
4. (Figure 3): Remove the sensor and cable.
Edge
Present
Sensor
Figure 3. Removing the Edge Present Sensor
Replacement
WARNING
Switch off the Scanner and disconnect the Power
Cord.
1. Attach the string to the connector end of the new Sensor Cable.
2. Pull the Sensor Cable back through the channel toward the Control
PWB, using the string.
3. (Figure 2): install the sensor.
4. NOTE: Ensure that the highest part of the sensor arm extends
out from the slot, is centered in the slot, extends 0.25 in. (0.64 cm)
above the surface, and operates freely. Do not tighten the two
screws, yet.
4. Connect the Power Cord and switch on the scanner.
5. (Figure 4): Check that the sensor operates correctly.
NOTE: If the sensor does not operate correctly, move the retaining
bracket a small distance and check the operation of the sensor again. If
the sensor cannot be made to operate correctly, go to Section 2 and
isolate the fault.
6. Tighten the two screws.
7. Check ADJ 4.1.7, Lead Edge Present Sensor.
B. install the Rear Panel (REP 4.1.2)
9. Install the Right Side Panel (REP 4.1.1).
10. Perform the following tests:
• Calibrate Document Registration (ADJ 4.1.2)
Actuate the Edge
Present Sensor.
The motor starts
and operates for
about 3 seconds.
B
Release the sensor. The
Actuator returns freely to the
deactuated position.
Repeat steps A and B
several times to check that
the operation is reliable.
Figure 4. Sensor Arm - Front View
REP 4.1.6
4/97
4-10
7356 SCANNER
 Loading...


