892 J006 MNAH | PGC5000 G EN 2 | 137
8.3 Upgrade older PGC5000s
Contact ABB Bartlesville Customer Support for upgrade support if the PGC5000 analyzer is configured
with the older versions 1.x or 2.x system software. This step is required since the analyzer
configuration files will have to be modified by the factory to be able to perform an upgrade to system
software V4.x.
NOTICE – Loss of network connection. When upgrading the PGC5000 system software
you also need to consider software compatibility with any existing analyzer network servers,
such as a STAR Gateway or STAR Server. As a rule, verify that the existing network server is
compatible with the new analyzer system software version prior to starting the upgrade
effort. If this is not the case, start with upgrading the network system software first, and
once completed, upgrade the analyzer system firmware next. Use a version 4.2.2.x
compatible STAR Gateway server when updating an analyzer to the latest PGC5000 system
software versions 4.2.2.x, or later.
To upgrade from version 3.x.x.x of the PGC5000 to version 4.x.x.x:
IMPORTANT NOTE: If the PGC5000 analyzer is listed in a VistaNET Device Definition Table in the
Gateway server VNSA configuration file, you must remove its entry from the VNSA table. Failure to
do so will cause a name conflict when the upgraded PGC5000 / PGC5000 Generation 2 analyzer
restarts, and network communication will not work correctly after the system software upgrade.
Prerequisites to perform a PGC5000 software upgrade:
⎯ The latest version of the STAR CORE software distribution.
⎯ A USB drive (max size 8 GB) that is blank. Reformat (FAT or FAT32) this drive first if you are
reusing an existing USB drive. This will become the Recovery USB drive.
⎯ A USB drive (max size 8 GB) that contains the new version 4.x system software in a /format
folder, and the UPGRADE.BIN file in the root directory. This is the Upgrade USB drive.
1. Insert the blank USB drive in the PGC5000A USB port and create a recovery backup for the
PGC5000 analyzer that you plan to upgrade.
2. Connect both the Recovery and the Upgrade USB drives to a PC workstation that has the
XML_VersionConverter application installed from the STAR CORE software distribution.
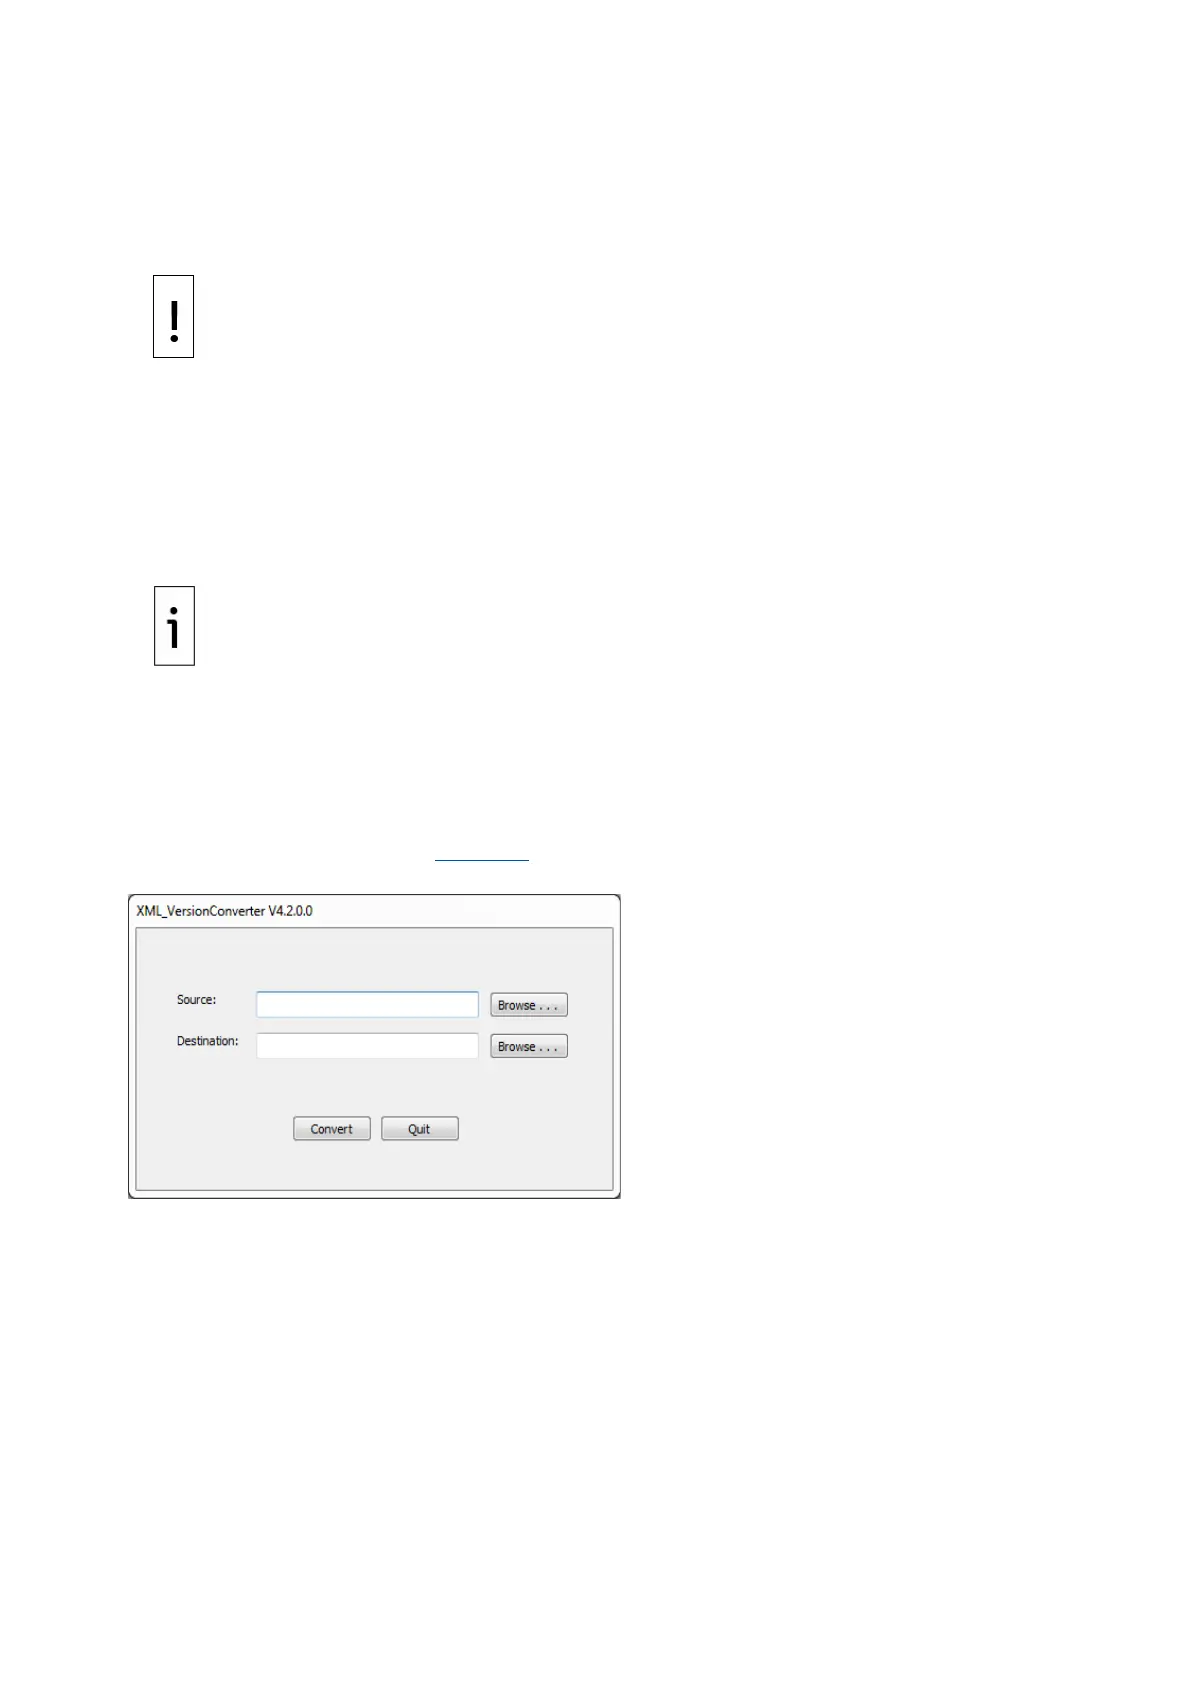
3. Launch the converter tool. Figure 8-6 shows the initial dialog screen.
Figure 8-6: XML Dialog Version Converter
4. For Source, browse to the Recovery USB drive and select the \format\Configuration folder.
5. For Destination, browse to the Upgrade USB drive and select the \format folder.
6. Click Convert.
7. If there are no problems, a “Completed Successfully!” message will appear.
8. The Upgrade drive will now be ready to apply to the analyzer.
9. Turn the analyzer power OFF and insert the Upgrade drive in the SBC.
10. Turn the analyzer power ON.
11. Wait for all files to install and the “Upgrade Complete” message to appear.
12. Turn the analyzer power OFF.
13. Remove the Upgrade drive.
14. Turn the analyzer power ON.
15. Once the Analyzer has rebooted, ensure the LUI is operating properly by noting that Date/Time
seconds are incrementing as expected.
16. Go to the Setup>Master Controller screen and note the analyzer NAME.