892 J006 MNAH | PGC5000 G EN 2 | 55
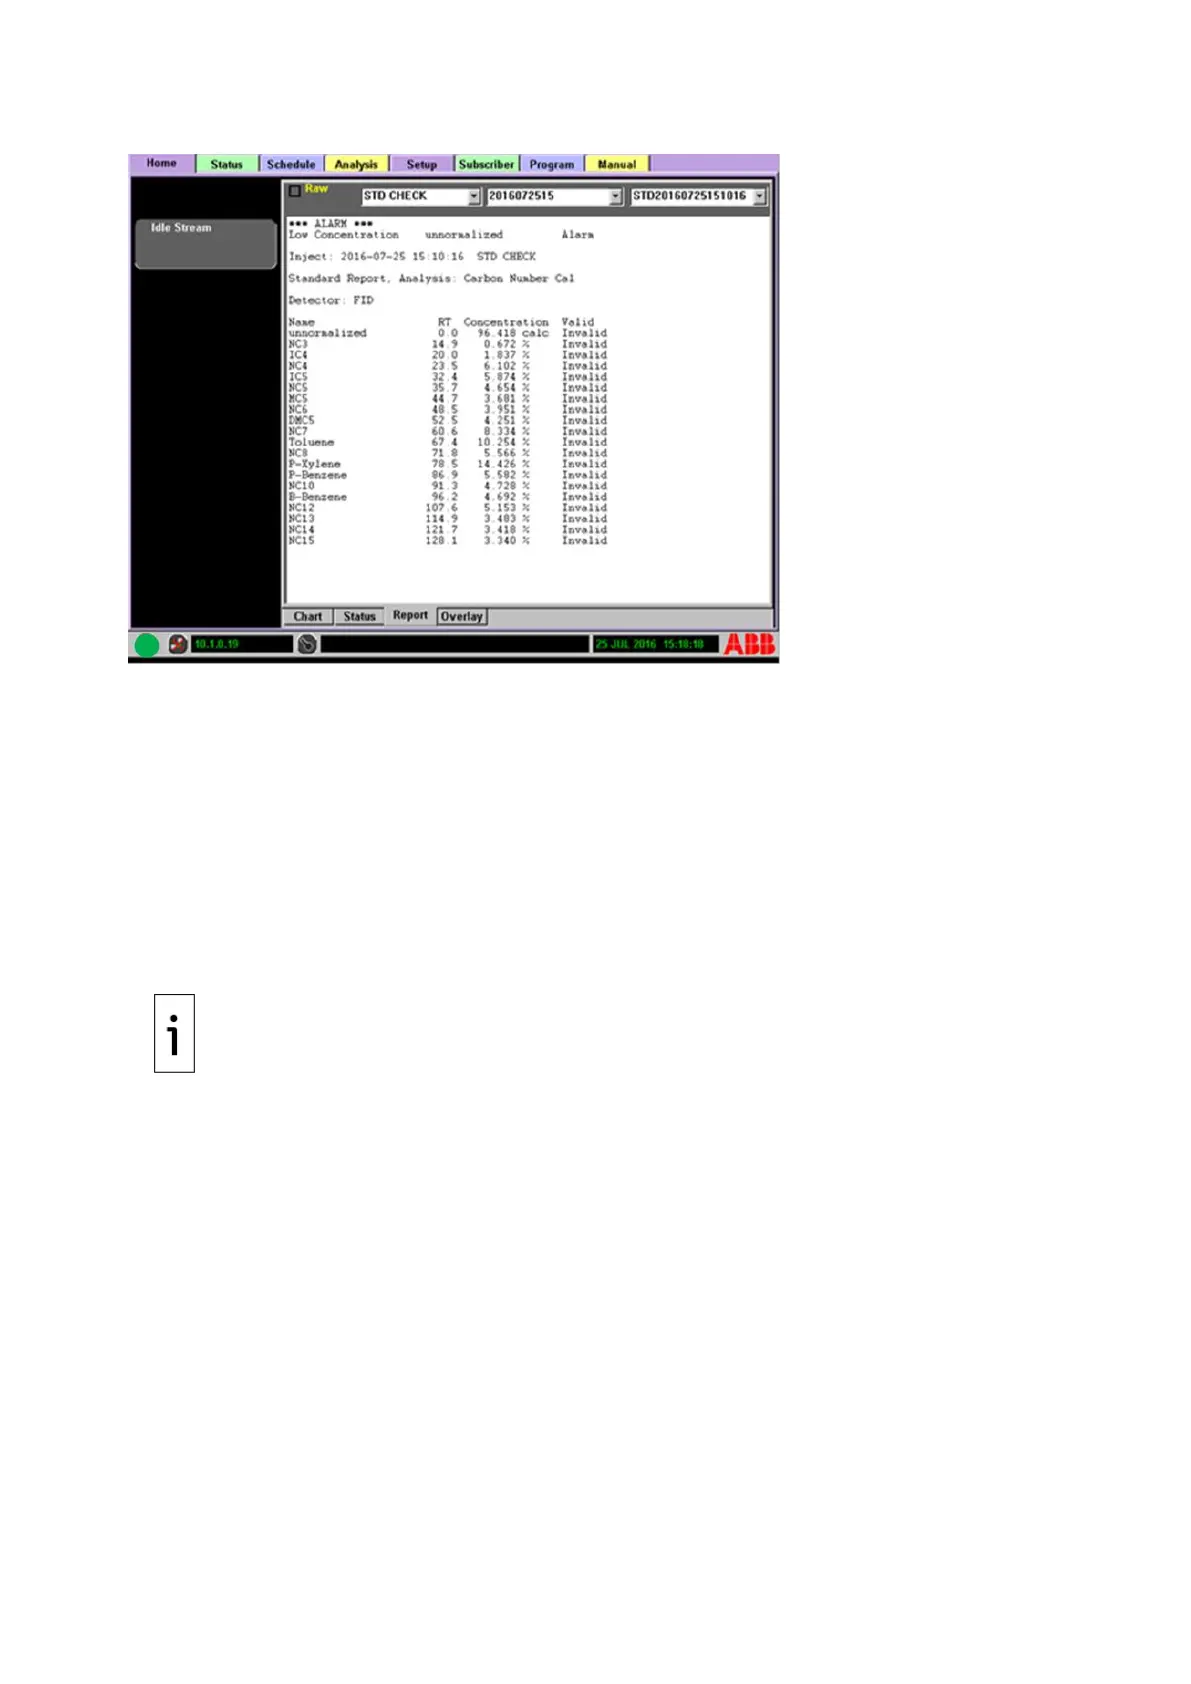
Figure 4-21: Normalized Report
4.5.4 New analysis
The analyzer analyzes components by using established methods built from a sequence of TCFs such
as valve functions. Examples are:
⎯ Analysis: One or more methods (maximum of one per oven), which produces a measurable,
displayable chromatogram
⎯ Sequence: Timed valve functions (On or Off), TCFs and sample injections. A sequence is under
a method.
⎯ Method: One or more sequences, may be assigned to an analysis. A method is under an
analysis and linked/tied to an oven.
Analyses, methods and sequences are created using menu selections. The following steps use the
Analysis>Tabular Editor subtab to create a new analysis including a method and a sequence. A
method and sequence are automatically generated when creating a new analysis.
IMPORTANT NOTE: When a new TCF or Add New option is selected, it is inserted below the
highlighted tab in the Analysis tab Function Select list.
1. Select the Add New icon when the New Object dialog box opens.
2. Choose the desired object to create and press the Next button to continue.
3. Confirm the information shown and press the Accept button to create the new Analysis. This
automatically creates a new Method and Sequence object under the analysis.
4. Select the Add New icon and define a startup purge time. Purge Time is the amount of time the
system purges the sample prior to the initial start of an analysis, with a minimum equal to or
greater than one second.
5. Select the new Method under the new Analysis.
6. Assign a name and cycle time. The description/name of the object should be something easily
recognized for future editing and must be unique to the system.
7. Select the oven from the drop-down list. The oven name is assigned in the Setup Tab.
8. Select the new Sequence button on the left (under the Method button) and assign a name and
time offset. The time offset is the start time in relation to the start of the method.
9. With the Sequence button selected, select the Add New icon and choose Valve, then select the
Next button to continue.
10. As needed, change the information in the description box, set the time offset and select the
valve name from the drop-down list.
11. Select the Add New icon from the Sequence scope.
12. Select a component.
13. Verify and save by pressing the Accept button.