Basic Steps to Order and Run a Sample
AEROSET
®
Customer Training Guide 2-21
94858-103 — July 2003
NOTE: The Manual Dilution, Replicates, and
Measurement Type fields are described in Module 4, Run
Options.
5. Select the assays or panels to be run. The first two rows of buttons
display the panels configured on the System. If more panels are
configured than can be displayed, use the up and down arrow
buttons to view the additional panels (up to 100).
NOTE: Assays with button text that is green in color meet
all required conditions. If the button text is pink or yellow,
further investigation is necessary before performing the
assay. For more information, refer to Confirmation of
Assay Parameter Settings in Section 2, Installation
Procedures and Special Requirements of the AEROSET
System Operations Manual.
6. Select <New> in the right-hand column of the Order Samples
screen to save the order and continue to the next patient sample
order.
7. Repeat steps 4 - 6 for all patient samples to be ordered.
8. When ordering is complete, select <OK> in the right-hand column
of the Order Samples screen.
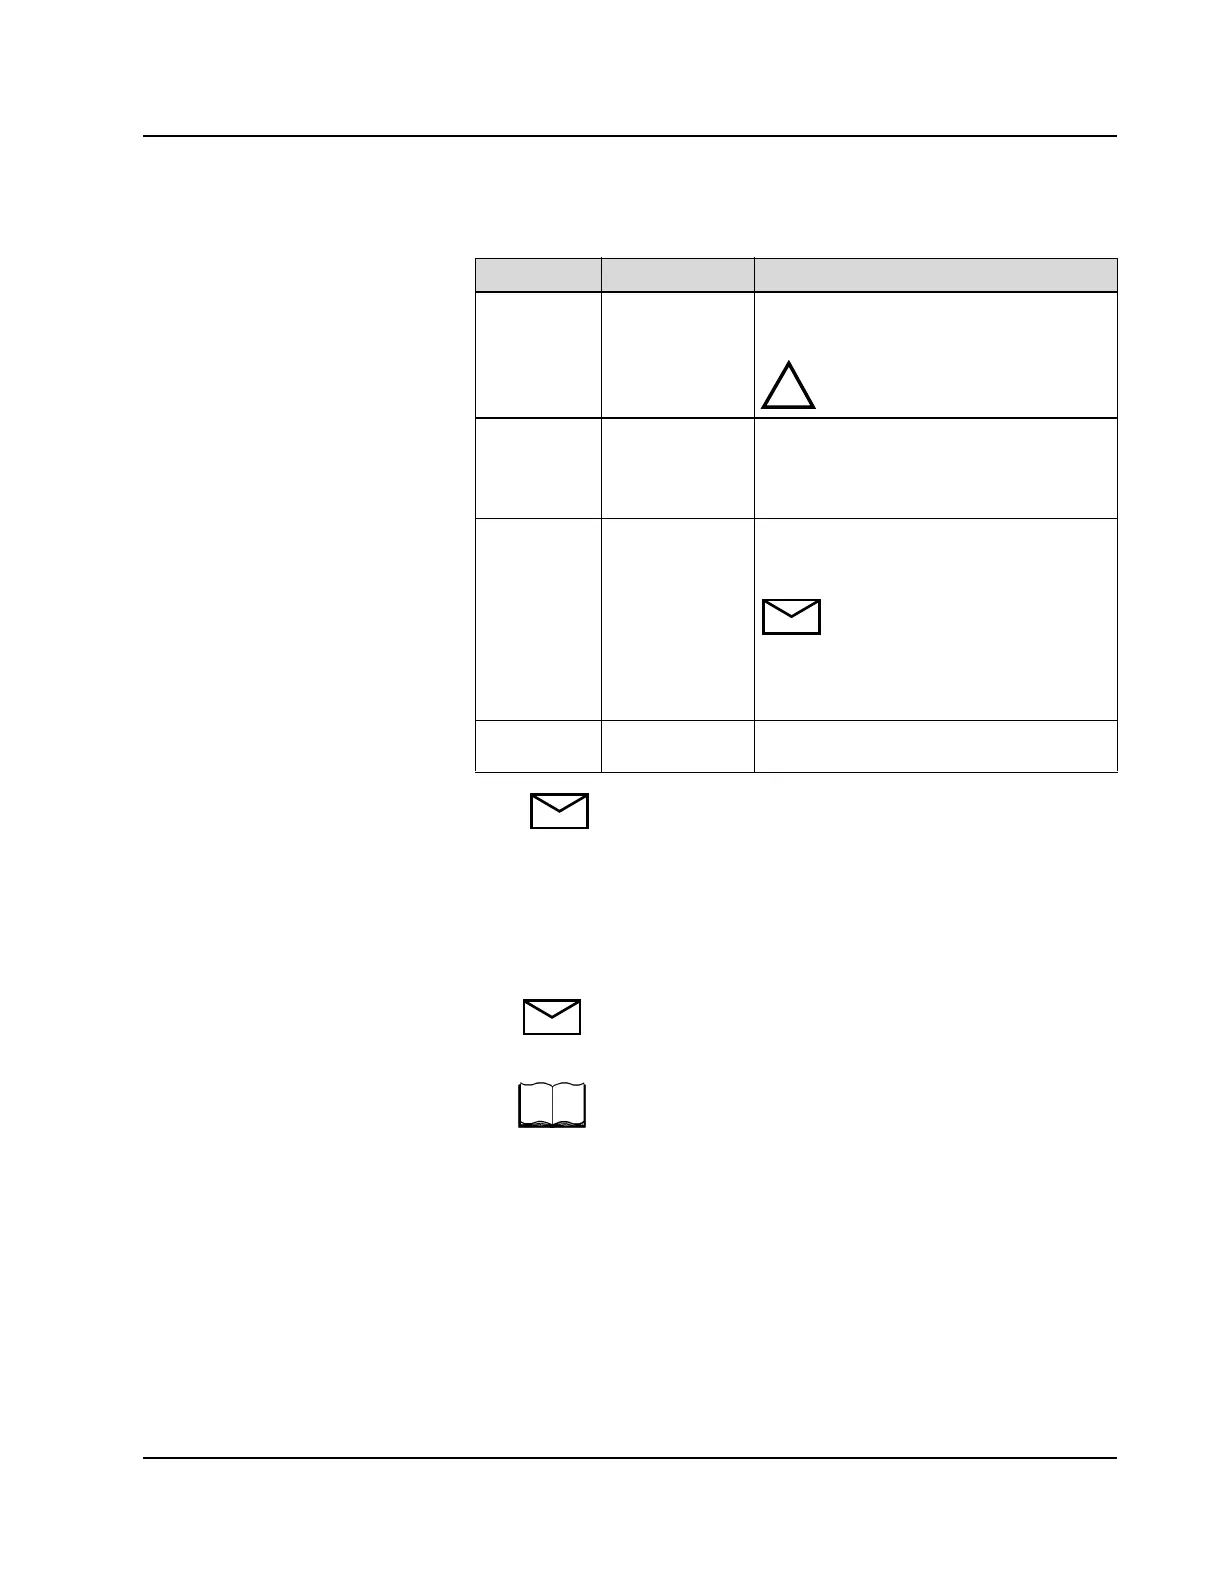
Field Action Description
Sample ID Enter the Sample
ID
The Sample ID field can contain up to 20
alphanumeric characters.
CAUTION: The Sample ID must be
entered to ensure proper identification.
Name
(L/F)
Enter the patient
last and first
name, if desired
The Last Name field can contain up to 20
alphanumeric characters, and the First
Name field can contain up to 10
alphanumeric characters.
C/P Enter the carrier
ID number and
position
The C/P is a required field unless the
sample has a bar code label and the System
is configured for sample bar codes.
NOTE: The information required
in this field when ordering samples
in the Sample Carousel is
described in Module 4, Run
Options.
Order D/T No action
required
The current date and time are automatically
displayed.
!