Chapter 5: Routine Operational Procedures
5/21
Operators & Maintenance Manual GENIUS Compact Version UK 0.1 © BESTnv
BESTnv Industrial Research BV, Marinus van Meelweg 20, 5657 EN, EINDHOVEN, THE NETHERLANDS
General tel. +31 (40) 292 2622 - Service tel. +31 (40) 292 2620 - Fax. +31 (40) 292 2633 - Email: service.BESTnv@bestnv.com
8.- Set the Delay (only in expert level)
You will have to set the delay for each new camera.
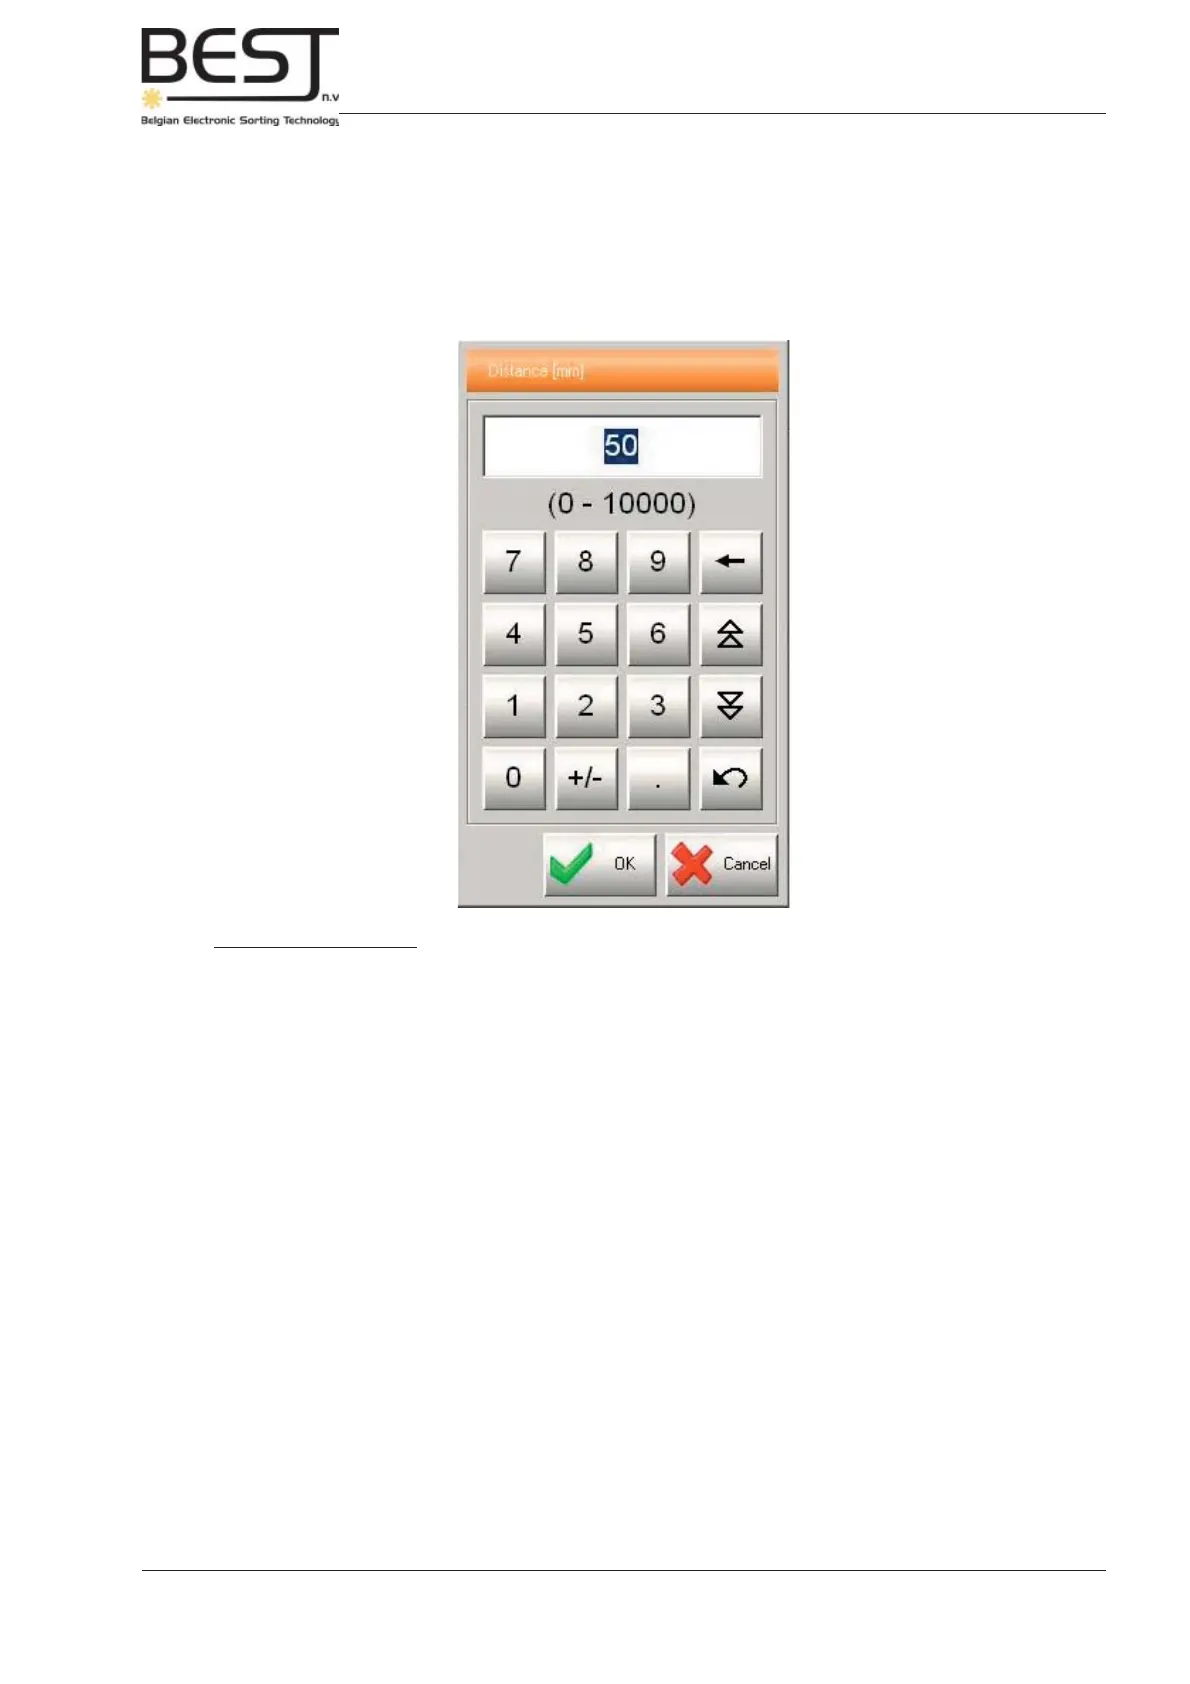
Adapt the Delay value by using the + and - buttons after Delay in the centre of the menu, or by
pressing the value after Delay. An input menu will appear (see picture).
Procedure to set Delay:
- 1. Set one of the thresholds (of the appropriate device: laser/camera) in such a way that
everything except the belt itself is detected:
- Activate the appropriate camera/laser and raise the threshold until the GENIUS
Compact starts detecting the belt (air guns will be activated on an empty belt).
- Next lower the threshold a little until it stops detecting the belt.
- 2. Put a number of defects that will certainly be detected (e.g. black pieces) on the belt
and switch it on.
- All defects should end up in the reject chute.
- 3. Increase the delay gradually, with units of 5 or 10 mm, until some defects are missed
and end up in the accept.
- Write this distance down.
- Lower the distance again: all defects end up in reject chute.
- 4. Decrease the delay gradually, with units of 5 or 10 mm, until some defects are missed
and end up in the accept.
- Write this distance down.
- Calculate the average value and enter it.
- 5. Repeat steps 1 to 4 for all the other devices: cameras/lasers present in your
machine confi guration.