D-Show Profile Guide118
Activating Intercom Input
To activate the Com input so it is mixed with the Monitor bus:
1 Route the Intercom input as described in the previous sec-
tion (“Routing Intercom Input” on page 117).
2 Press the Talkback button in the Talkback/Osc section and
press the Level encoder to turn COM on/off (its LED ring
lights).
Activating Phantom Power for Intercom Input
The “Com” input on the back panel of the FOH Rack has avail-
able 15V phantom power for using a condenser microphone.
To apply phantom power to the Intercom microphone:
■ On the back panel of the FOH Rack, move the Com Mic
Phantom Power switch to the right.
To set the Intercom microphone input level:
■ On the back panel of the FOH Rack, turn the Com Mic Gain
knob.
Using 2-Track Inputs and Outputs
Analog and Digital 2-Track Inputs and Outputs are available
on the rear panel of the FOH Rack.
Routing 2-Track Input
To route the 2-Track inputs to any D-Show Input Channel or FX
Return:
1 Go to the Patchbay and click the Inputs tab.
2 To the left of the channel grid, click the Channels tab or the
FX Returns tab.
3 At the top of the channel grid, click the FOH tab.
4 Click in the channel grid to assign any of the following
2-Track input sources (listed at the top right of the grid) to an
Input Channel or FX Return (listed on the left):
• AL (Analog Left)
• AR (Analog Right)
• DL (Digital Left)
• DR (Digital Right)
To route the 2-Track inputs to any D-Show output bus:
1 Go to the Options page and click the Misc tab.
2 In the 2-Track section, select “Analog 2-Track” or “Digital
2-Track” to set the input source for the Output busses.
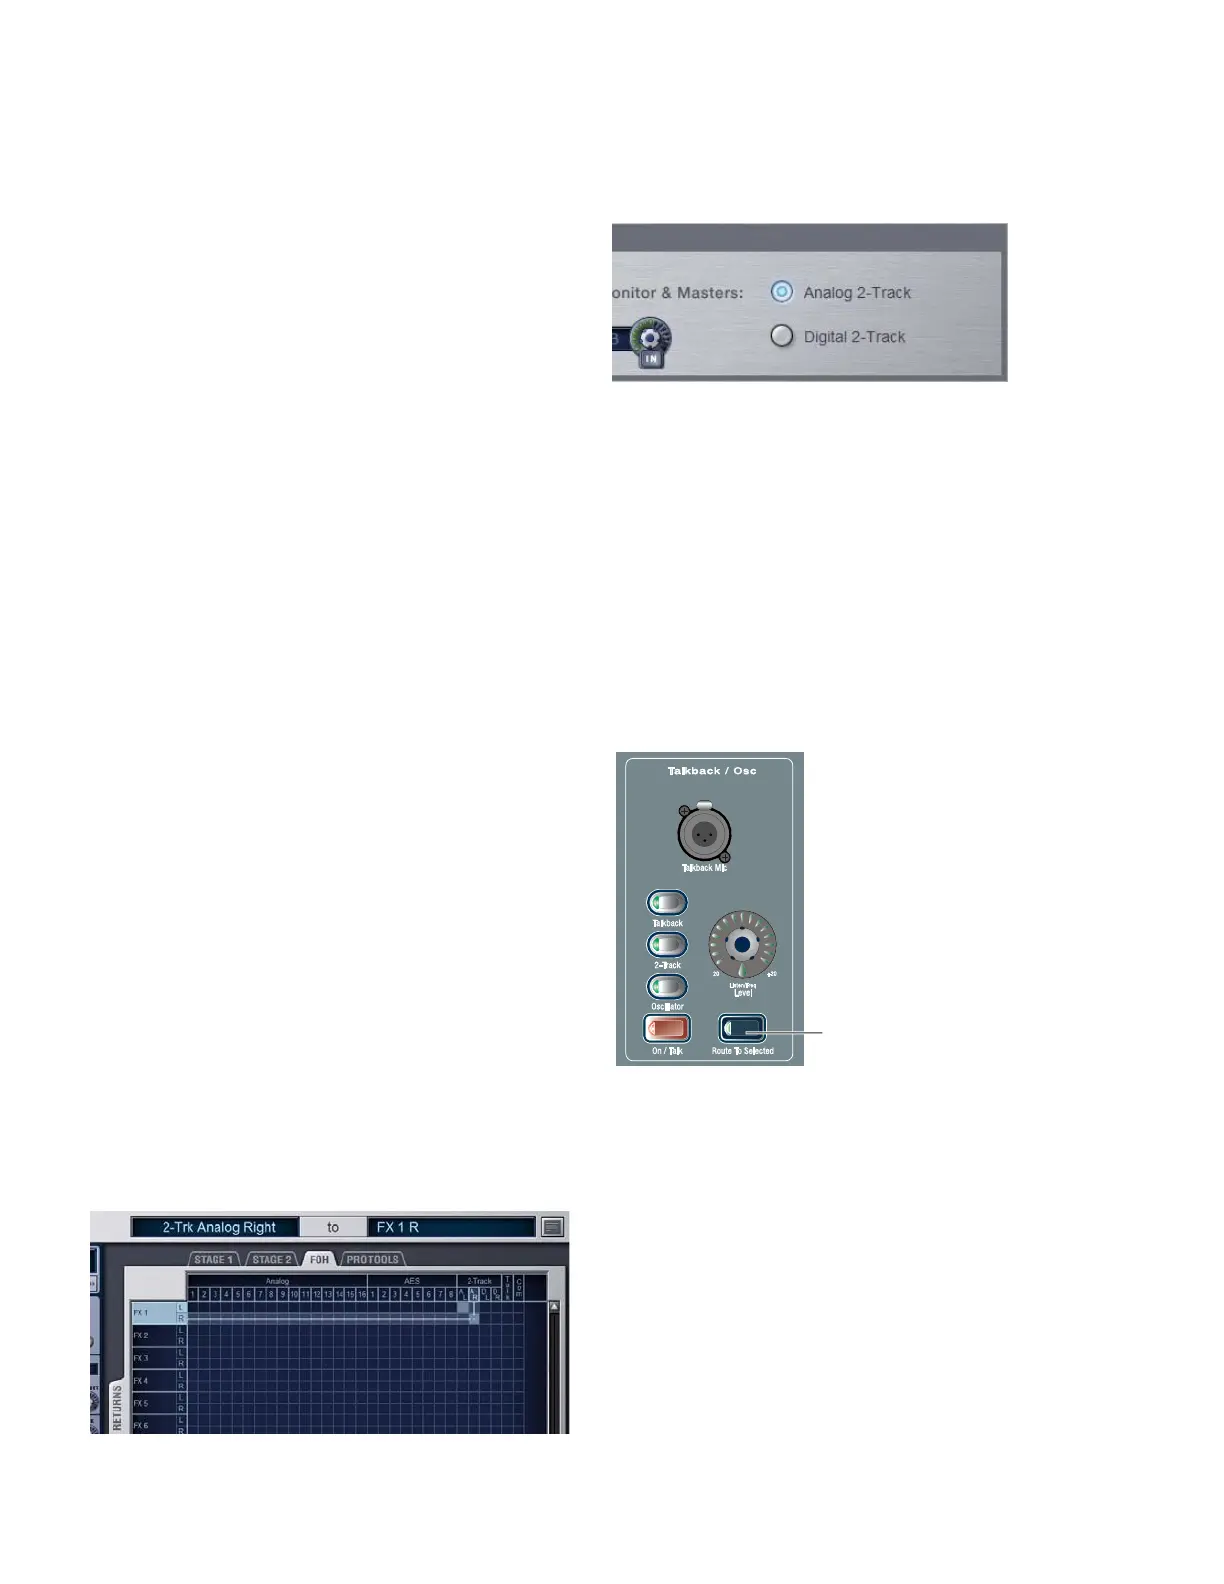
3 Press the 2-Track switch in the Talkback/Osc section so that
it is lit.
4 Press the Route to Selected switch. The switch flashes to in-
dicate Route to Selected mode.
5 Press the Select switch on each of the output channels
(Auxes. Groups, PQs, Matrixes, or Mains) where you want to
route 2-Track signal. The Select switches flash to indicate
2-Track assignment.
6 Press the flashing Route to Selected switch to confirm the as-
signment, or press the Cancel switch to cancel the assign-
ment.
Routing 2-Track input in the Patchbay
2-Track input source selector in the Options > Misc page
Route to Selected controls in the Talkback/Osc section
Route To Selected
switch