3 Installation
3.4 Power bus
Rapid Link 5 · RAMO5 · RASP5 05/20 MN034004EN www.eaton.com 95
Insert the individual wires into the insulation piercing terminals and
secure them with the screws one at a time.
Screw in the screws [1] as far as they will go
(tightening torque 0.5 to 1 Nm).
Place the cover on the base so that it rests fully on the base.
All screws must be turned in all the way.
Secure the cover with the four screws
(size POZIDRIVE 2; 1.5 to 2 Nm).
In order to ensure that an IP65 degree of protection is maintained, firmly
tighten a cable binder [2] around each outer gasket.
Slot the attached locking clip for the outgoer plug onto the two studs of
the bushing housing.
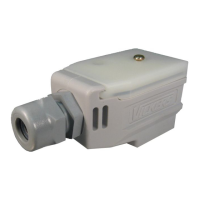
Figure 55: Round cable connection
→
The open end of the last round cable junction (at the end of the
power bus) must be sealed off using an RA-C2-SBL end piece.
 Loading...
