EasyManuals Logo

Eaton Rapid Link 5 User Manual

Eaton Rapid Link 5
249 pages
To Next Page IconTo Next Page
To Previous Page IconTo Previous Page
Page #91 background imageLoading...
Page #91 background image
3 Installation
3.2 Instruction leaflets
Rapid Link 5 · RAMO5 · RASP5 05/20 MN034004EN www.eaton.com 87
3.2.4 Position of the power connections
The standard arrangement of the power connections is vertical and down-
wards.
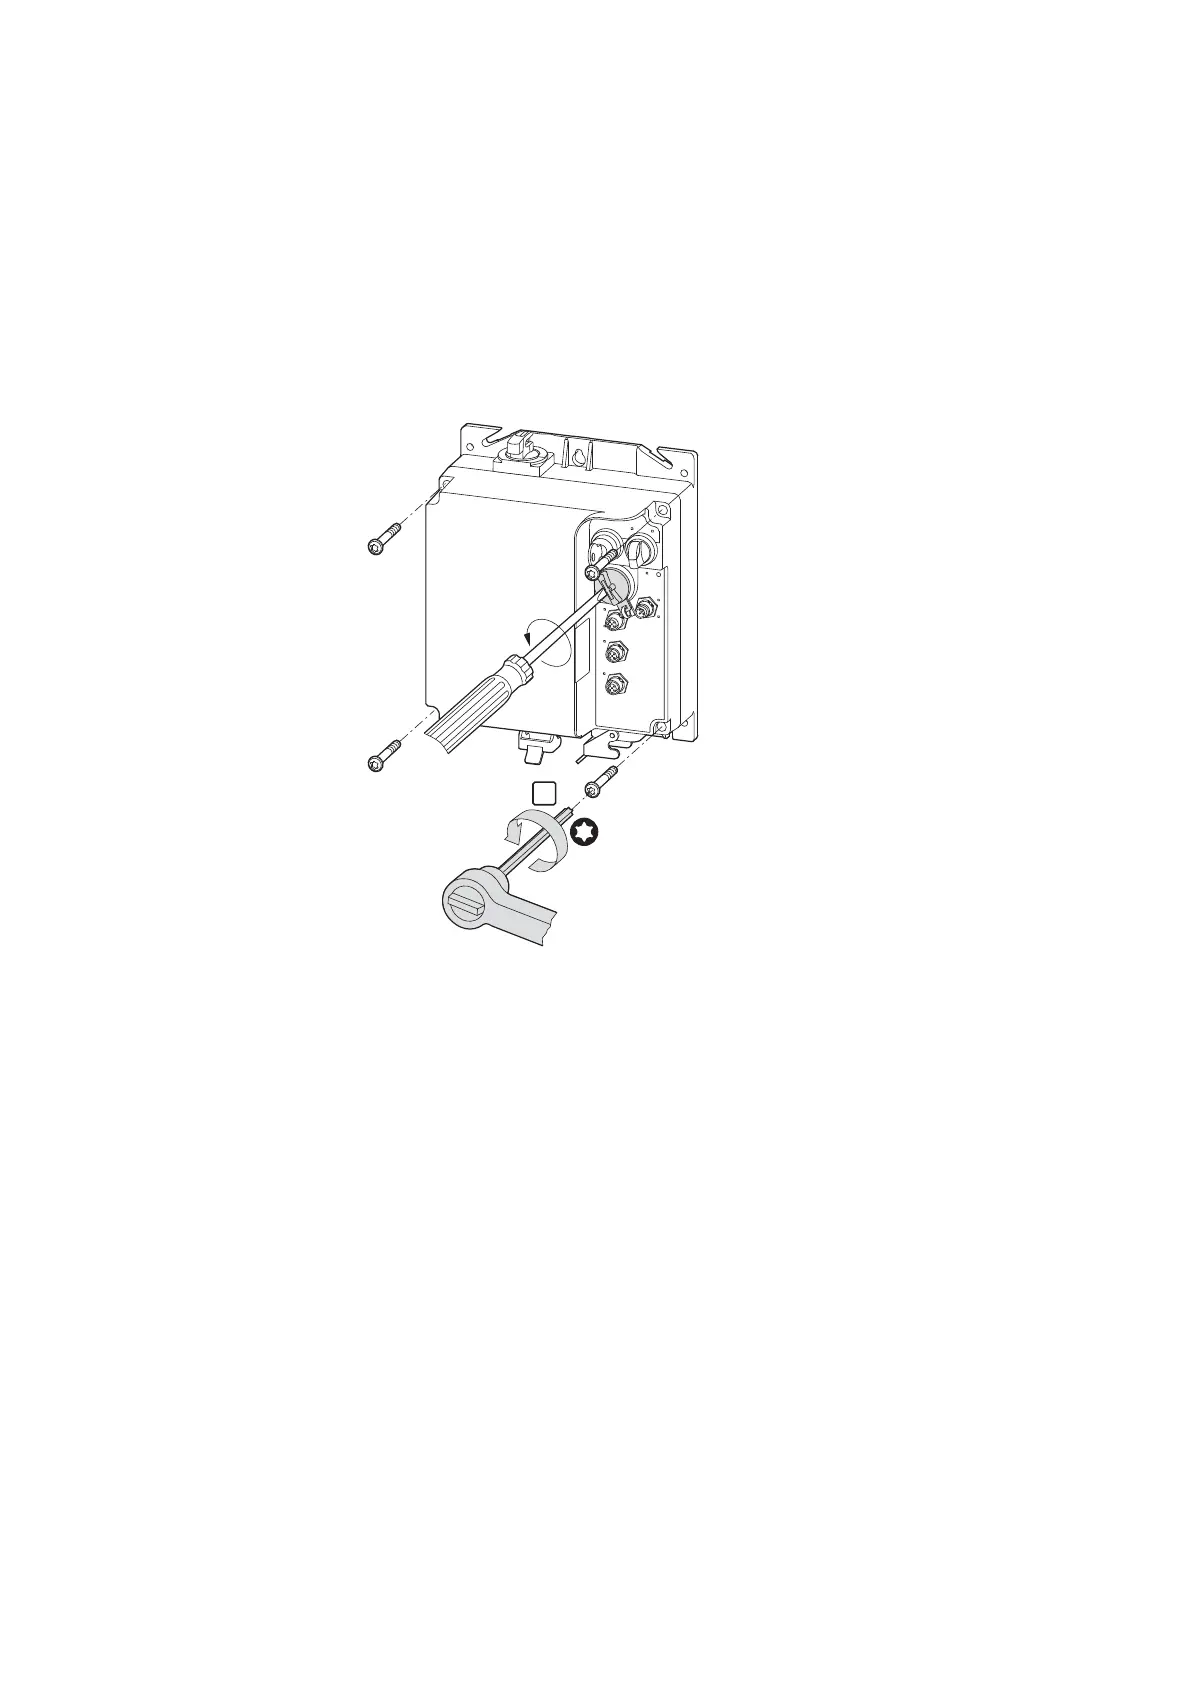
Qualified specialists can create a horizontal arrangement
by turning the black
enclosure base 90° to the left or right. To do this, remove the four screws in the
enclosure cover.
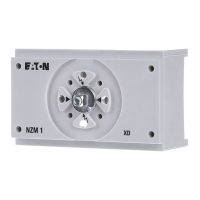
Figure 44: Dismantling the enclosure cover
Fix the enclosure cover at the side and lift off carefully.
TORX 30 IP
1

Table of Contents

Questions and Answers:

Question and Answer IconNeed help?

Do you have a question about the Eaton Rapid Link 5 and is the answer not in the manual?

Eaton Rapid Link 5 Specifications

General IconGeneral
BrandEaton
ModelRapid Link 5
CategoryIndustrial Equipment
LanguageEnglish

Related product manuals