3 Installation
3.2 Instruction leaflets
88 Rapid Link 5 · RAMO5 · RASP5 05/20 MN034004EN www.eaton.com
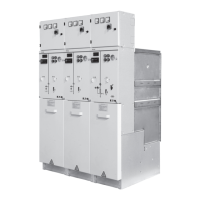
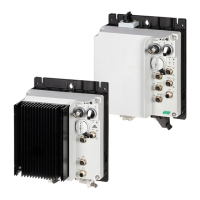
Figure 45: Example: Lift off the housing cover on a RASP5
The enclosure base can now be rotated, for example by 90° counterclock-
wise (to the left). The power terminals now point to the right.
Then carefully replace the housing cover.
Secure the enclosure cover on the base using the four screws.
Tighten the screws in two passes in a crosswise pattern.
For example, tighten all four screws to about 2 Nm and
then to 3 Nm, always
working in a crosswise pattern.
Use a suitable tool (TORX 30 IP) to tighten the screws with a torque of
3Nm.
ATTENTION
Do not reach into the opened base or the enclosure cover!
as this can damage assemblies and connections and impair the
device’s function.
→
When assembling, make sure that the rubber seals are seated
correctly (protection type IP65).
90 ° (≙ ... C33)
(≙ ... C31) 90 °
2
3
 Loading...