C
HAPTER
3
| Installing the Access Point
Mounting on a Wall
– 38 –
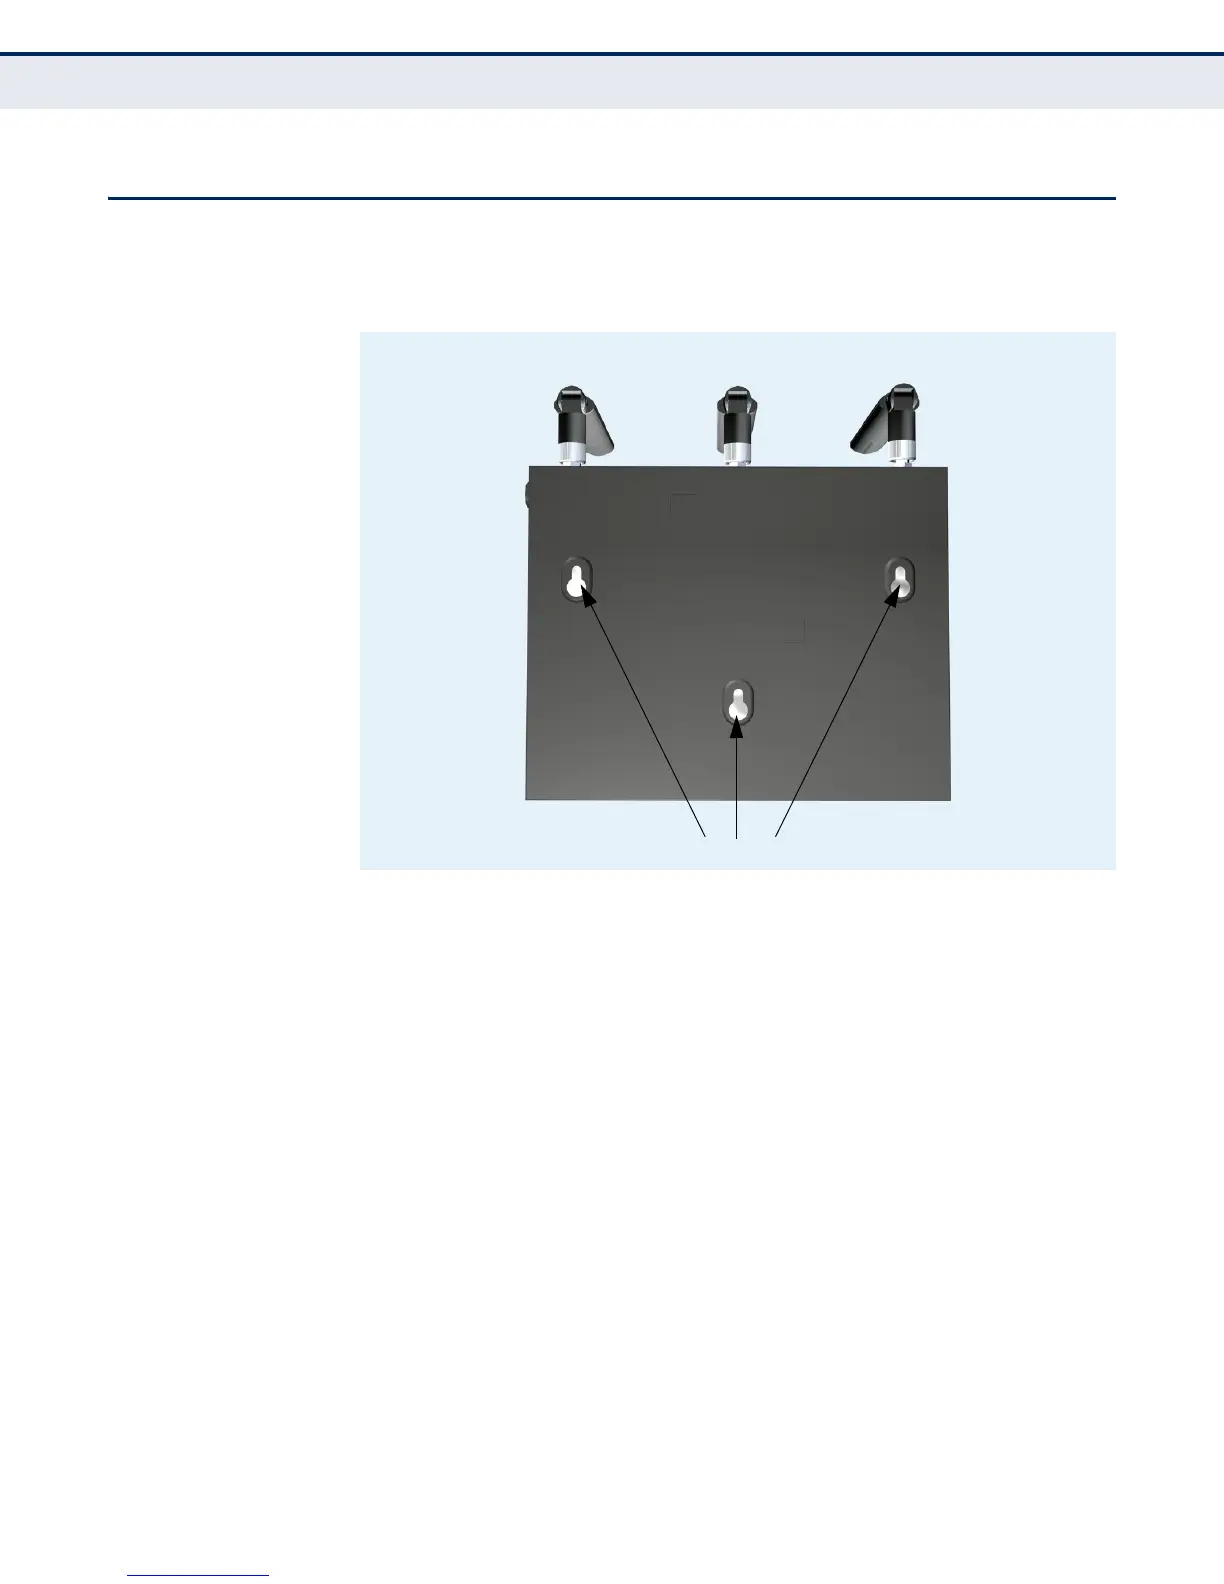
MOUNTING ON A WALL
To mount on a wall follow the instructions below.
Figure 11: Wall Mounting
The access point should be mounted only to a wall or wood surface that is
at least 1/2-inch plywood or its equivalent. To mount the access point on a
wall, always use its wall-mounting bracket. The access point must be
mounted with the RJ-45 cable connector oriented upwards to ensure
proper operation.
1. Mark the position of the three screw holes on the wall. For concrete or
brick walls, you will need to drill holes and insert wall plugs for the
screws.
2. Insert the included 20-mm M4 tap screws into the holes, leaving about
2-3 mm clearance from the wall.
3. Line up the three mounting points on the AP with the screws in the wall,
then slide the AP down onto the screws until it is in a secured position.