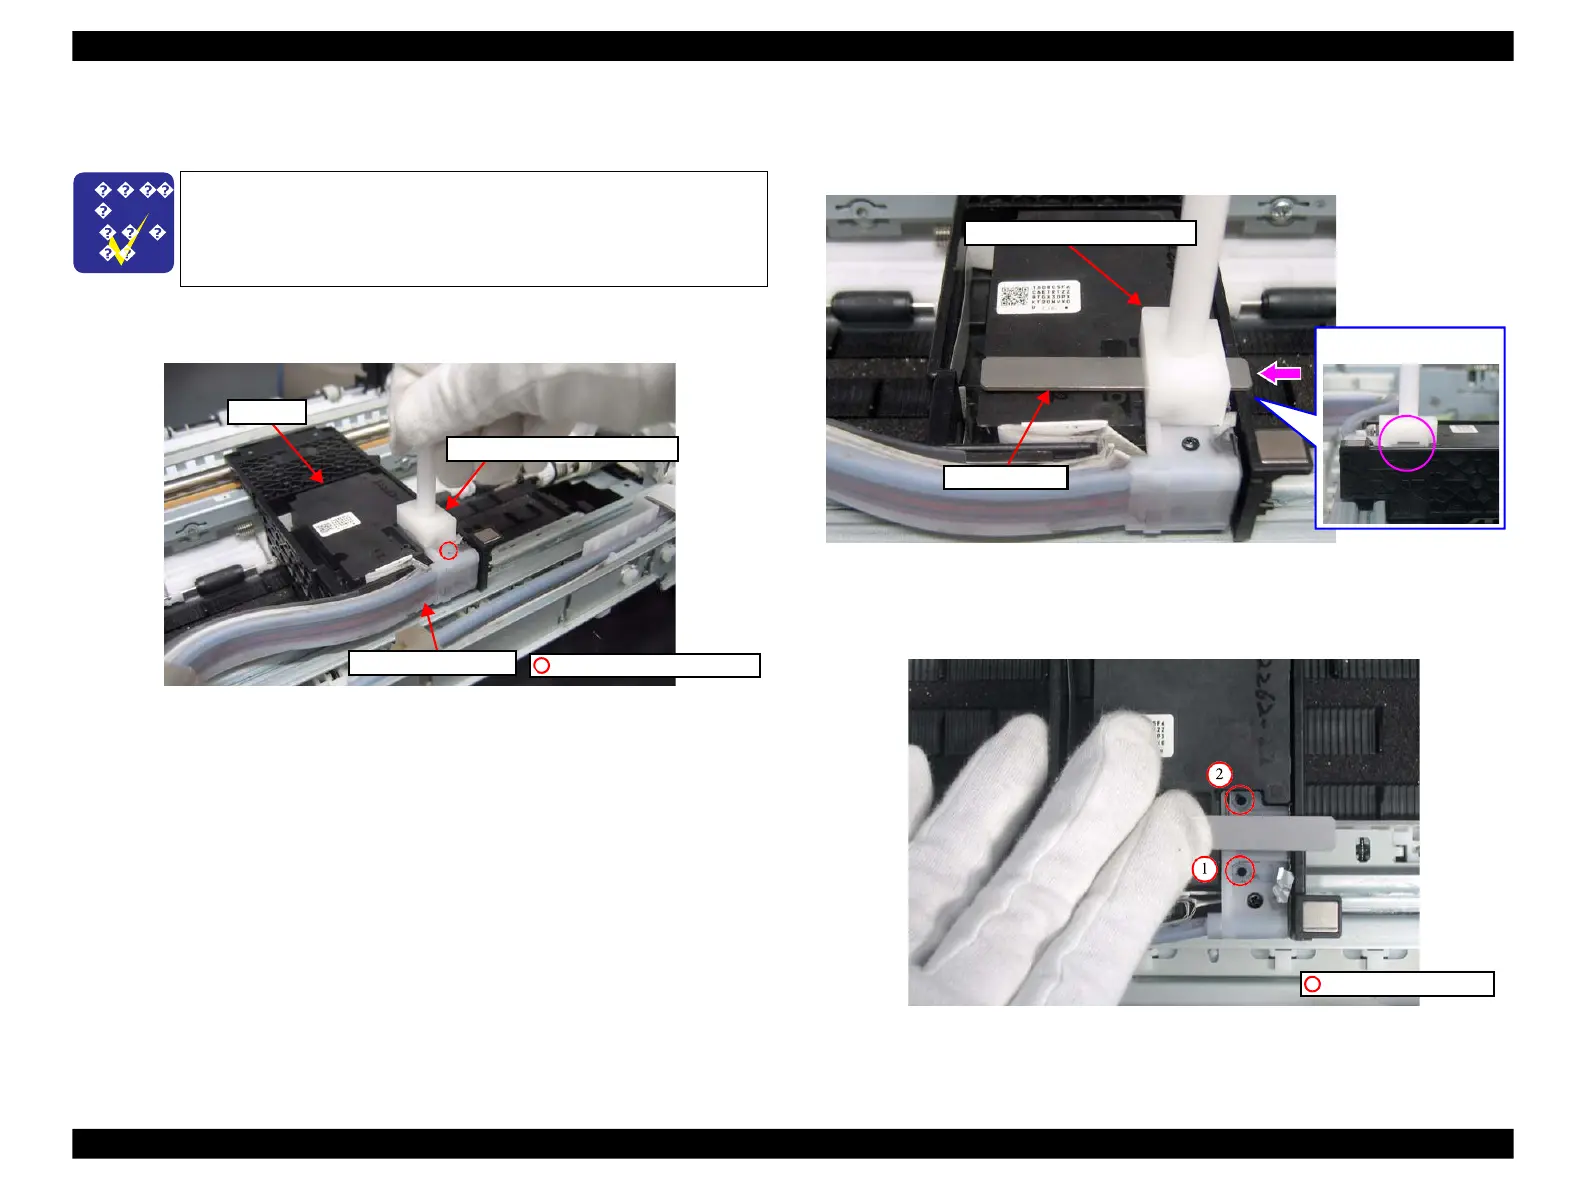
5.
Into the screw hole of the Printhead, align and slowly insert the tip of the Ink
Supply Tube screwing tool inserted in the Ink Supply Tube Assy.
6.
Secure the Ink Supply Tube Assy with the screw with the Ink Supply Tube
screwing tool inserted.
Figure 4-66. Assembling the Printhead (3)
7.
Insert the thickness gauge from the hole on the side of the Ink Supply Tube
screwing tool, and remove the tool gently while holding the Ink Supply Tube
Assy.
Figure 4-67. Assembling the Printhead (4)
8.
Tighten the screws (x2) in order shown in Fig. 4-68 while holding the thickness
gauge, and secure the Ink Supply Tube Assy to the Printhead.
Figure 4-68. Assembling the Printhead (5)
If the joint of the Printhead and the Ink Supply Tube Assy is not
disconnected, simply tighten the screw shown in Fig. 4-66 without
using the jig.
 Loading...


