Epson Artisan 800/Epson Stylus Photo PX800FW/TX800FW/Epson Artisan 700/Epson Stylus Photo PX700W/TX700W
Adjustment Items and Overview
https://www.manualsbooks.com
5.1.2
Required Adjustments
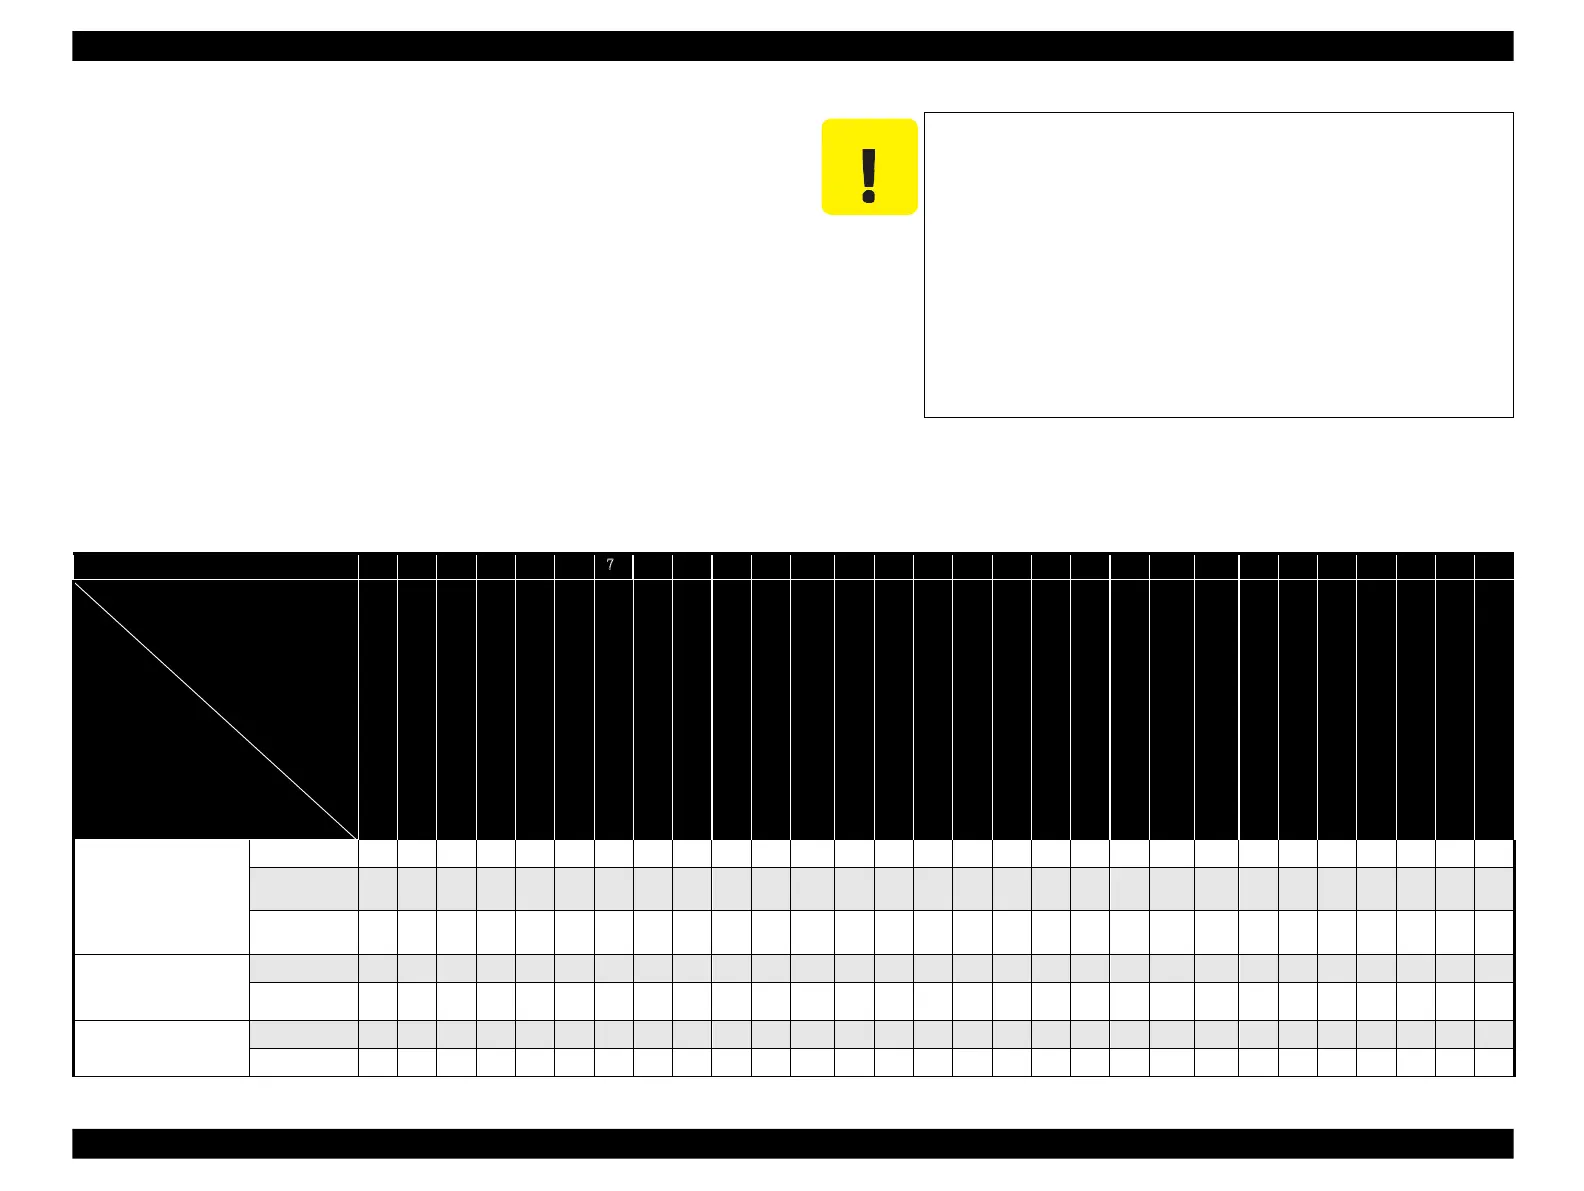
The table below lists the required adjustments depending upon the parts being repaired
or replaced. Find the part(s) you removed or replaced, and check which adjustment(s)
must be carried out.
Note : <Meaning of the marks in the table>
“ O” indicates that the adjustment must be carried out. “ O*” indicates that the
adjustment is recommended. “ ---” indicates that the adjustment is not required.
If you have removed or replaced multiple parts, make sure to check the required
adjustments for the all parts. And when multiple adjustments must be carried out, be
sure to carry out them in the order given in the “ Priority” row.
Note *1 : “ I/S Decompress” is carried out before disassembling. Those with priority 2 or lower are
performed after appropriate removal/replacement. (See 4.2.4.1 “ Printhead (p124) ” .)
*2 : Epson Artisan 800/Epson Stylus Photo PX800FW/TX800FW only.
*3 : Carry out this operation after removing the Waste Ink Tray Assy.
*4 : Carry out "Checking the result of PG adjustment (p239)" only, if the position of the
notch on the Parallelism Adjustment Busings have not changed.
Table 5-4. Required Adjustment List
Adjustment Item
Part Name
CR timing belt tension adjustment
PF timing belt tension adjustment
Initial setting/MAC address Setting
PG offset value adjustment
Consumables maintenance counter
First dot position adjustment
PF deterioration offset (initialize)
PF deterioration offset (Max value writing)
CR motor heat protection control
PF motor heat protection control
Final check pattern print
Panel Unit
(Epson Artisan 800/Epson Stylus
Photo PX800FW/TX800FW Only)
When the EEPROM Data Copy cannot be made for the main
board that needs to be replaced, the Waste Ink Tray Assy, the
Lower Paper Guide Waste Ink Pad Assy and CDR Tray Assy
must be replaced after replacing the main board with a new
one.
After all required adjustments are completed, use the “ Final
check pattern print” function to print all adjustment patterns
for final check. If you find a problem with the printout patterns,
carry out the adjustment again.
When using a new main board for replacing the Printer
Mechanism, the Initial setting must have been made to the main
board.
 Loading...


