4.2.4.9
LD Roller
Parts/Components need to be removed in advance:
ADF Unit (Artisan 800/PX800FW/TX800FW only)/Scanner Unit/Upper Left
Housing/Paper Guide Top Assy/Upper Housing/Rear Left Housing/Left Housing/
Decoration Belt/Power Supply Unit/Rear ASF Paper Guide Cover/Lower ASF
Paper Guide Assy
Removal procedure
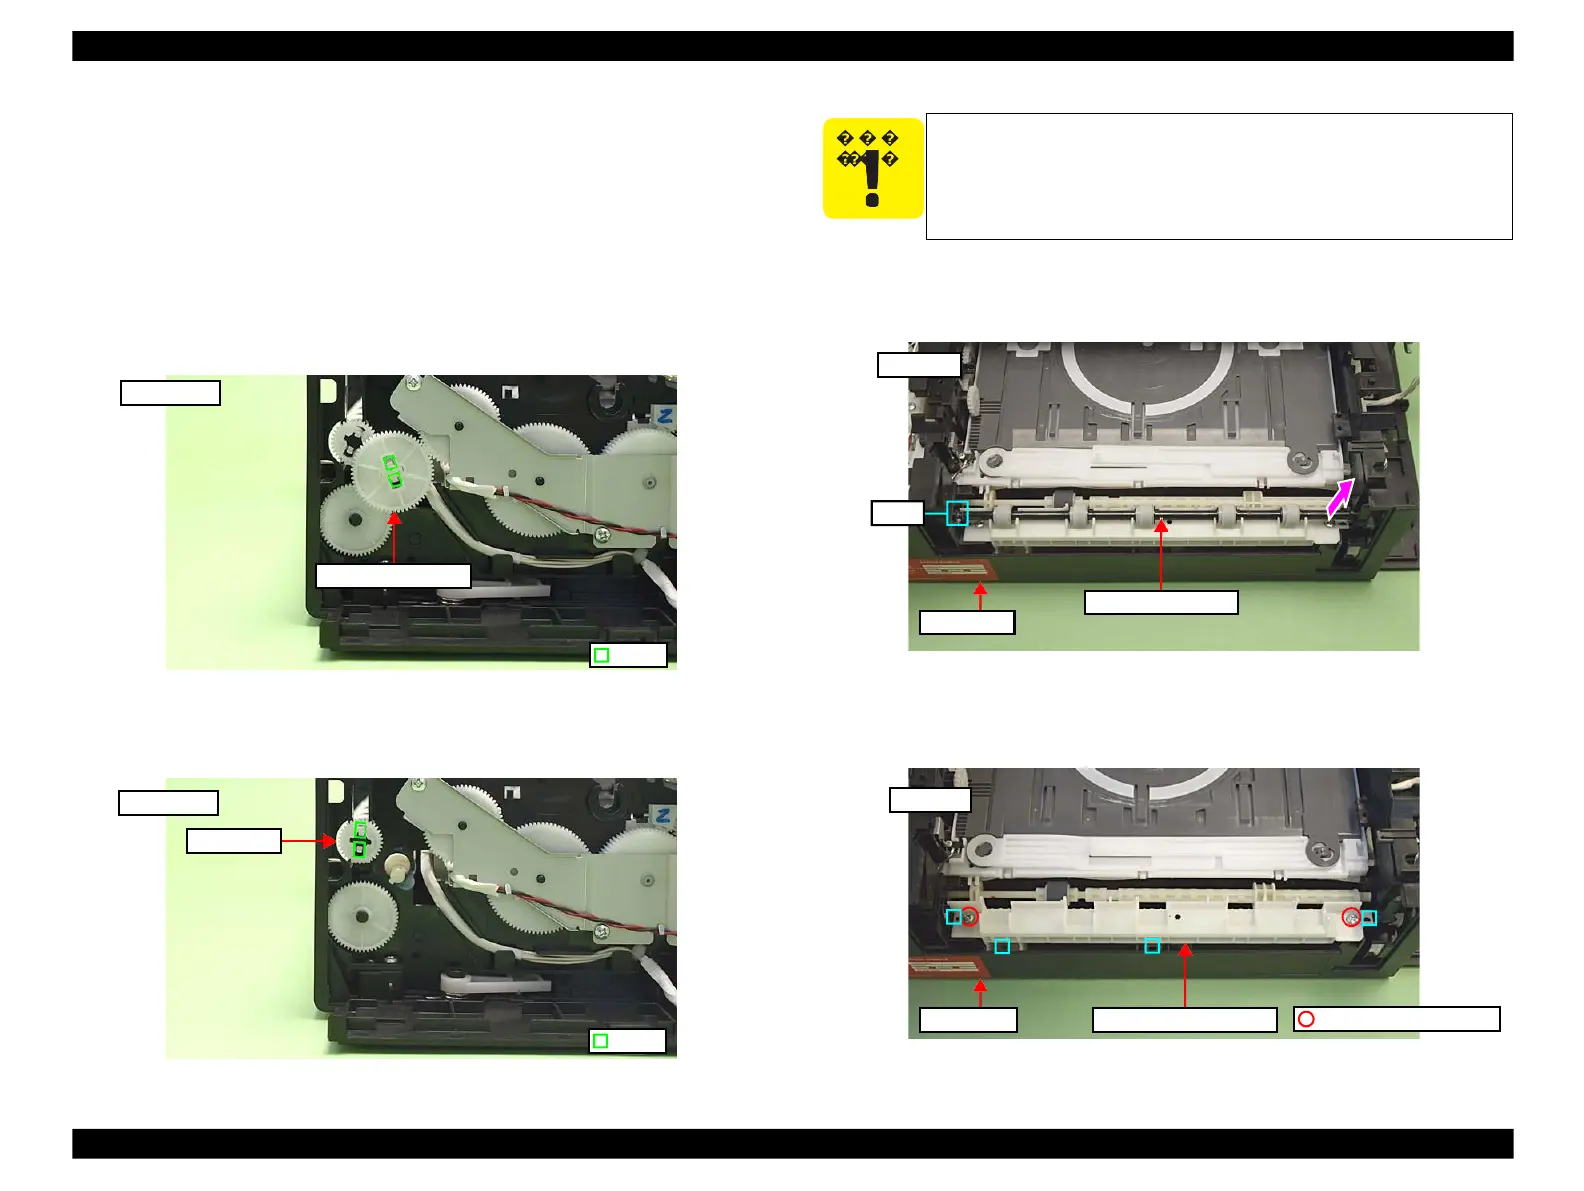
1.
Release the hooks (x2) of the Combination Gear, and remove it from the shaft
of the LD Roller.
Figure 4-97. Removing the LD Roller (1)
2.
Release the hooks (x2) on the Spur Gear, and remove it from the shaft of the
Intermediate Roller.
Figure 4-98. Removing the LD Roller (2)
3.
Lift the Intermediate Roller on the Power Supply Unit side, and remove the
roller while pulling the other side of the shaft from the hole on the Base
Frame.
Figure 4-99. Removing the LD Roller (3)
4.
Remove the screws (x2) that secure the Rear Paper Guide Assy, and remove
the assy from the Base Frame.
Figure 4-100. Removing the LD Roller (4)
Never touch or damage the surface of the Intermediate Roller as
doing so can adversely affect print quality.
 Loading...


