Epson Artisan 800/Epson Stylus Photo PX800FW/TX800FW/Epson Artisan 700/Epson Stylus Photo PX700W/TX700W
Adjustment without Using Adjustment Program
https://www.manualsbooks.com
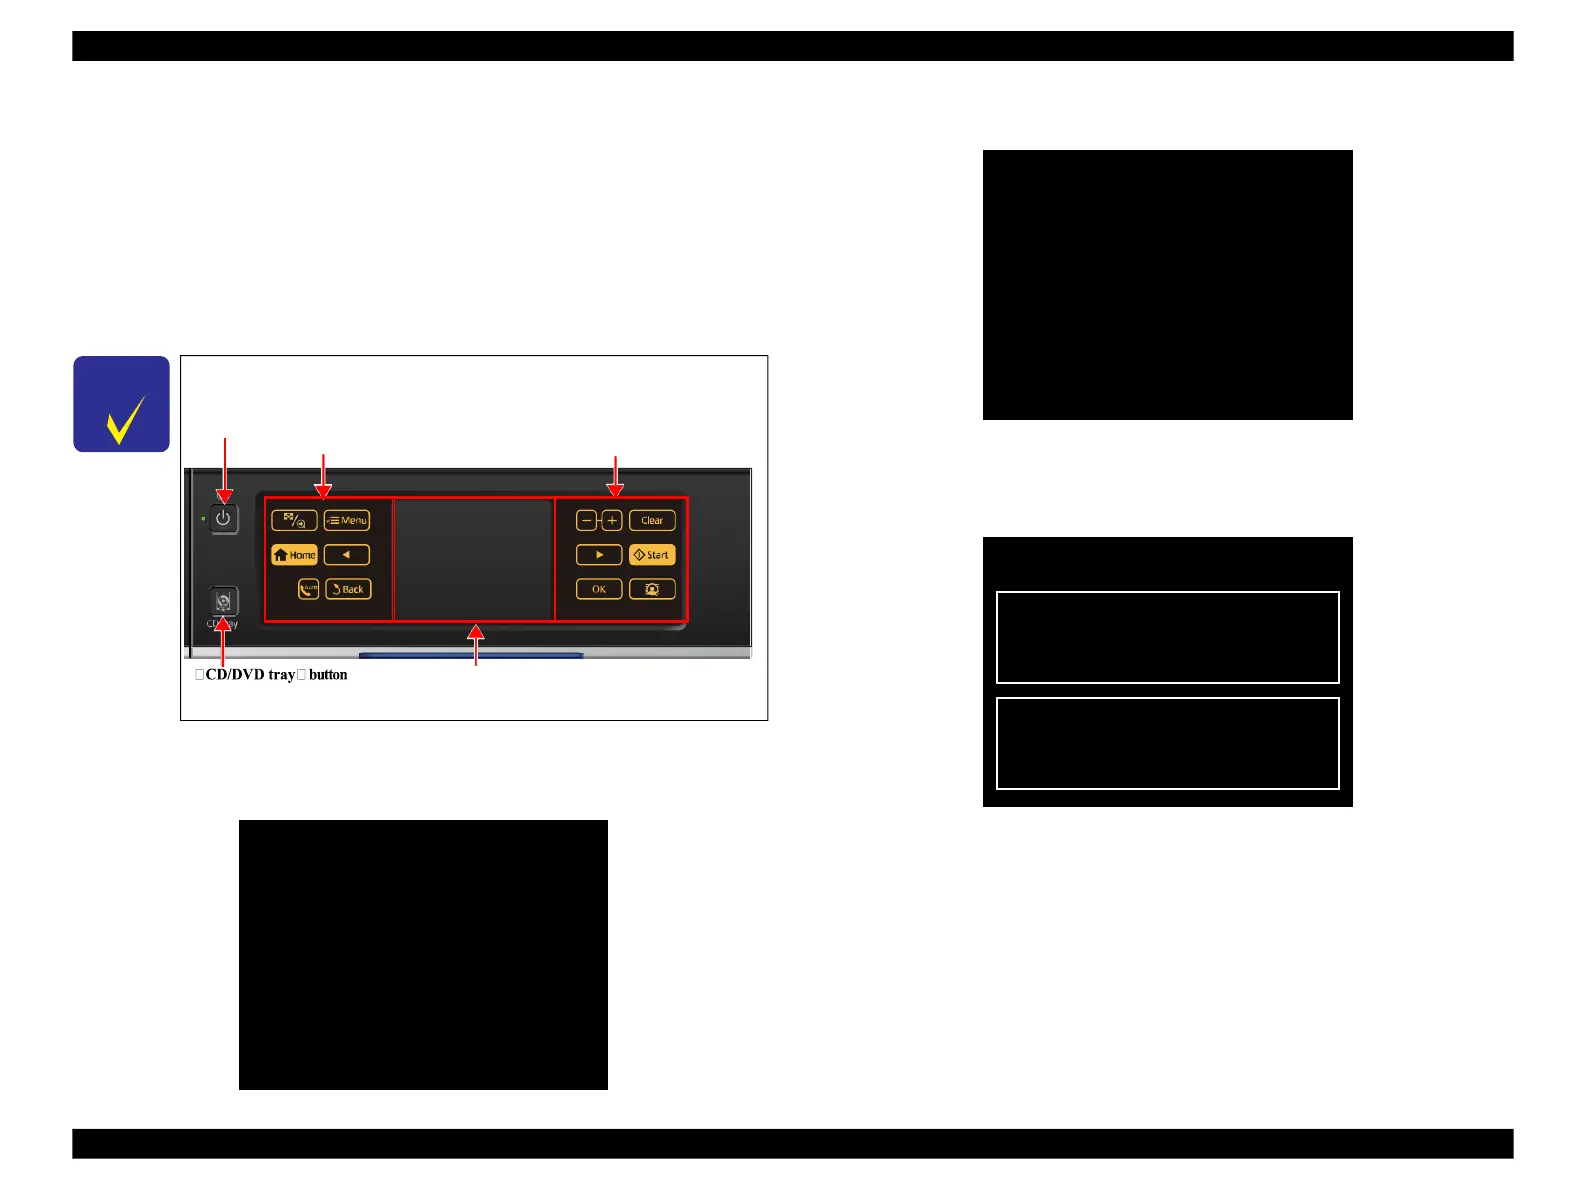
While in the special inspection mode, you can operate selection of
each menu, etc. by pressing the following areas on the touch panel.
Power Left side of the touch panel
(Menu backward)
Right side of the touch panel
(Menu forward)
Figure 5-45. Panel Operation in Special Inspection Mode
5.3.4
Touch Panel Adjustment (Epson Artisan 800/Epson
Stylus Photo PX800FW/TX800FW only)
This section describes Touch Panel adjustment.
Purpose
This adjustment is made to adjust the relative positions between the Touch Panel
detection points and displaying positions on the Control Panel.
Things to be used
Touch pen (without a sharp end such as a plastic stick)
Adjustment procedure
1.
Turn on the printer in the special inspection mode. (See 5.2.8 Case Open Sensor
Check Step1 (p226).)
2.
Select “ Touch Screen Inspection” and press LCD.
Figure 5-46. Touch Panel Adjustment (1)
3.
Select “ Touch Screen Calibration” and press LCD.
Figure 5-47. Touch Panel Adjustment (2)
4.
Press LCD to display the adjustment screen. When aborting the adjustment, press
the area other than LCD.
Figure 5-48. Touch Panel Adjustment (3)
Inspection Mode
Run:OK / Select:[LEFT][RIGHT]
1.
Mechanism Inspection
2.
Special Inspection
3.
Fax Inspection
4.
Touch Screen Inspection
5.
Development Mode
Inspection Mode
Run:OK / Select:[LEFT][RIGHT]
1.
Touch Screen Calibration
2.
Touch Screen Coordinates
Touch panel to coordinate them
Touch area outside of LCD. [Cancel]
 Loading...


