Epson Artisan 800/Epson Stylus Photo PX800FW/TX800FW/Epson Artisan 700/Epson Stylus Photo PX700W/TX700W
Adjustment Using Adjustment Program
https://www.manualsbooks.com
5.2.10
Banding Reduction System (BRS) Adjustment /
Paper Feed Amount Profile (PFP) Correction
Overview
This section explains how to carry out BRS/PFP adjustments.
Tools and paper required to perform the adjustment
Table 5-5. Tools and Paper for BRS/PFP Adjustment
Matte Paper-Heavyweight (A4)
Premium Glossy Photo Paper (4 x 6)
Specified Scanner to perform the adjustment
The following are the scanners that can be used for scanning the pattern in BRS/PFP
adjustment. When starting up the adjustment program, select the scanner to use.
Table 5-6. Specified Scanner for BRS/PFP Adjustment
Perfection V700 Photo/V750 Pro
Epson Stylus Photo RX585/RX595/RX610
Use the internal scanner.
Epson Artisan 800/Epson Stylus Photo
PX800FW/TX800FW
Use the internal scanner.
Epson Artisan 700/Epson Stylus Photo
PX700W/TX700W
Use the internal scanner.
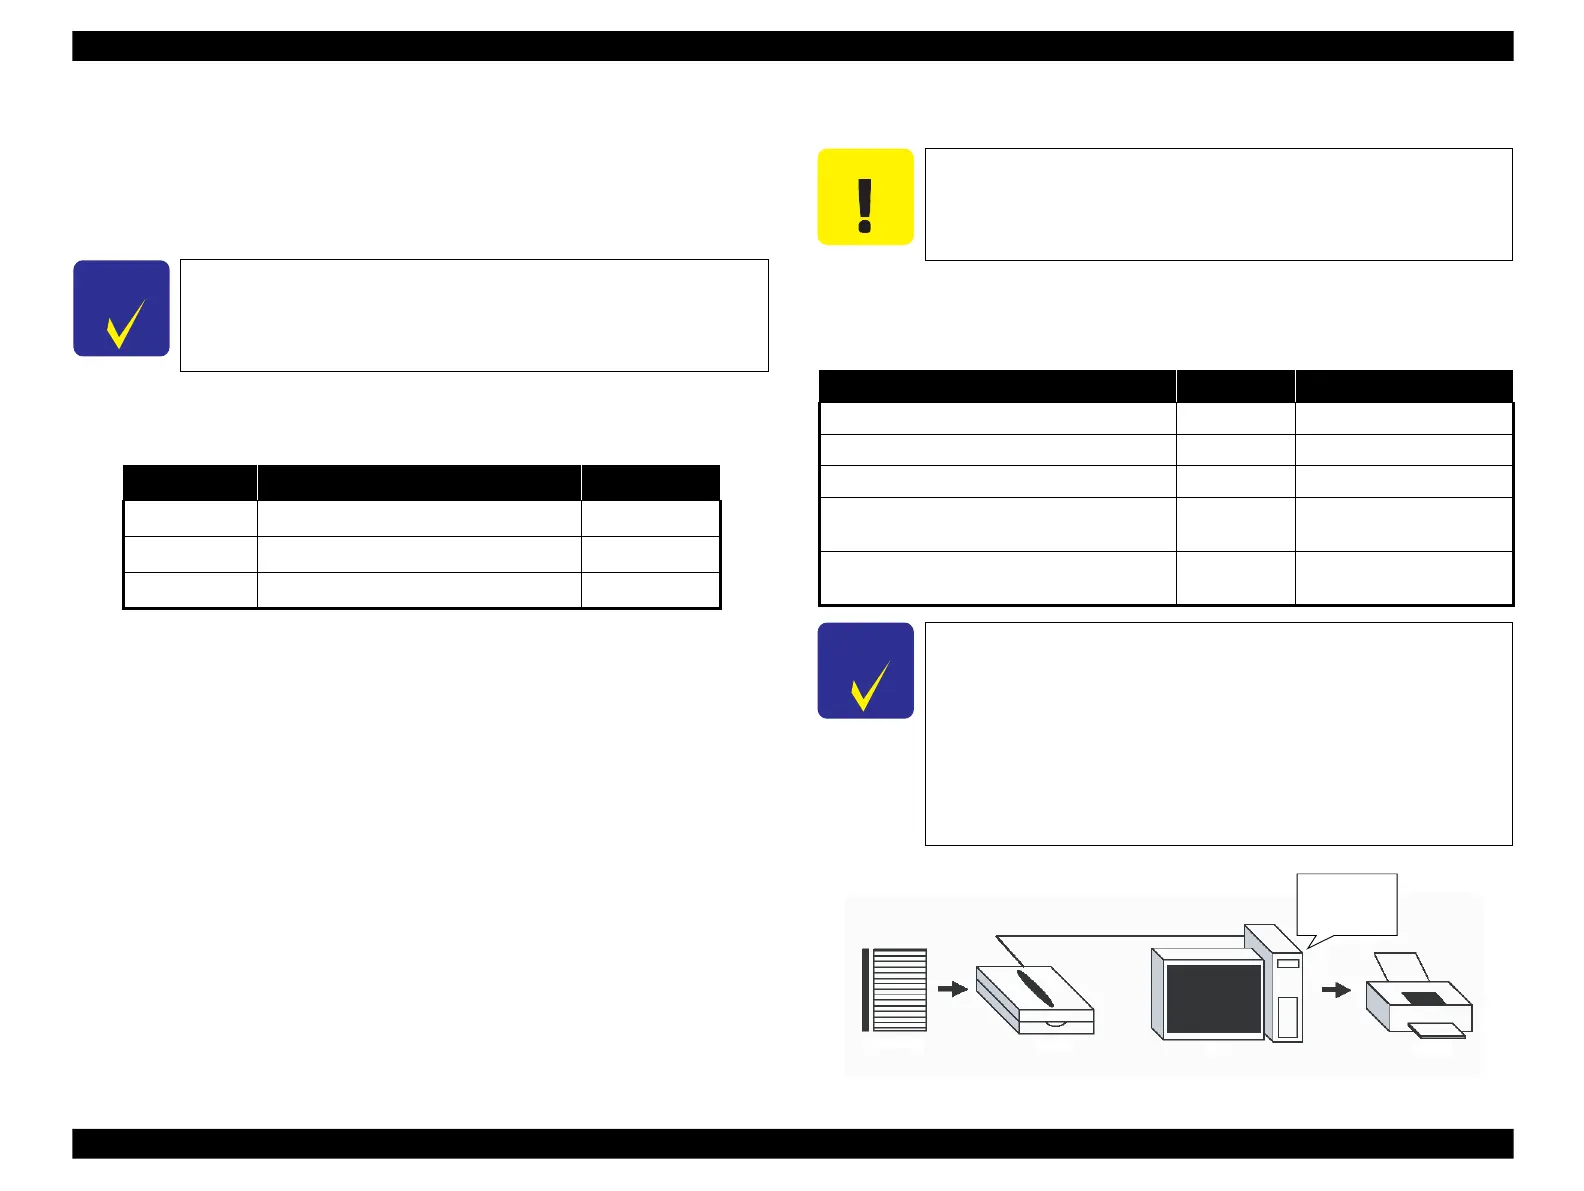
Figure 5-23. System Configuration
To calculate the correction value by scanning the printed pattern
for BRS/PFP adjustment, be sure to prepare a specified scanner
beforehand. Before scanning, confirm that the document table is
free from any dirt or stain.
Install the driver of the scanner to the PC in advance.
As the profile required for the adjustment is not prepared for
scanners other than the ones specified below, BRS/PFP
Adjustment can not be carried out by the other scanners.
Depending on the sensor type of the scanner to use for the
adjustment, drying time required after the BRS adjustment pattern
has been printed differs. For PFP adjustment pattern/PFP check
pattern, drying time is not required.
For “ CCD” sensor:
Printed pattern can be scanned straight away. (Drying time of
about 2 minutes is recommended.)
For “ CIS” sensor:
Printed pattern needs to be dried more than 5 minutes.
Calculate
correction
value
 Loading...


