5.
Press “ +” displayed on the four corners in order using the touch pen.
Figure 5-49. Touch Panel Adjustment (4)
6.
If you retry the adjustment, press the area other than LCD and start from Step 5
once again. When saving the result of adjustment, press LCD.
Figure 5-50. Touch Panel Adjustment (5)
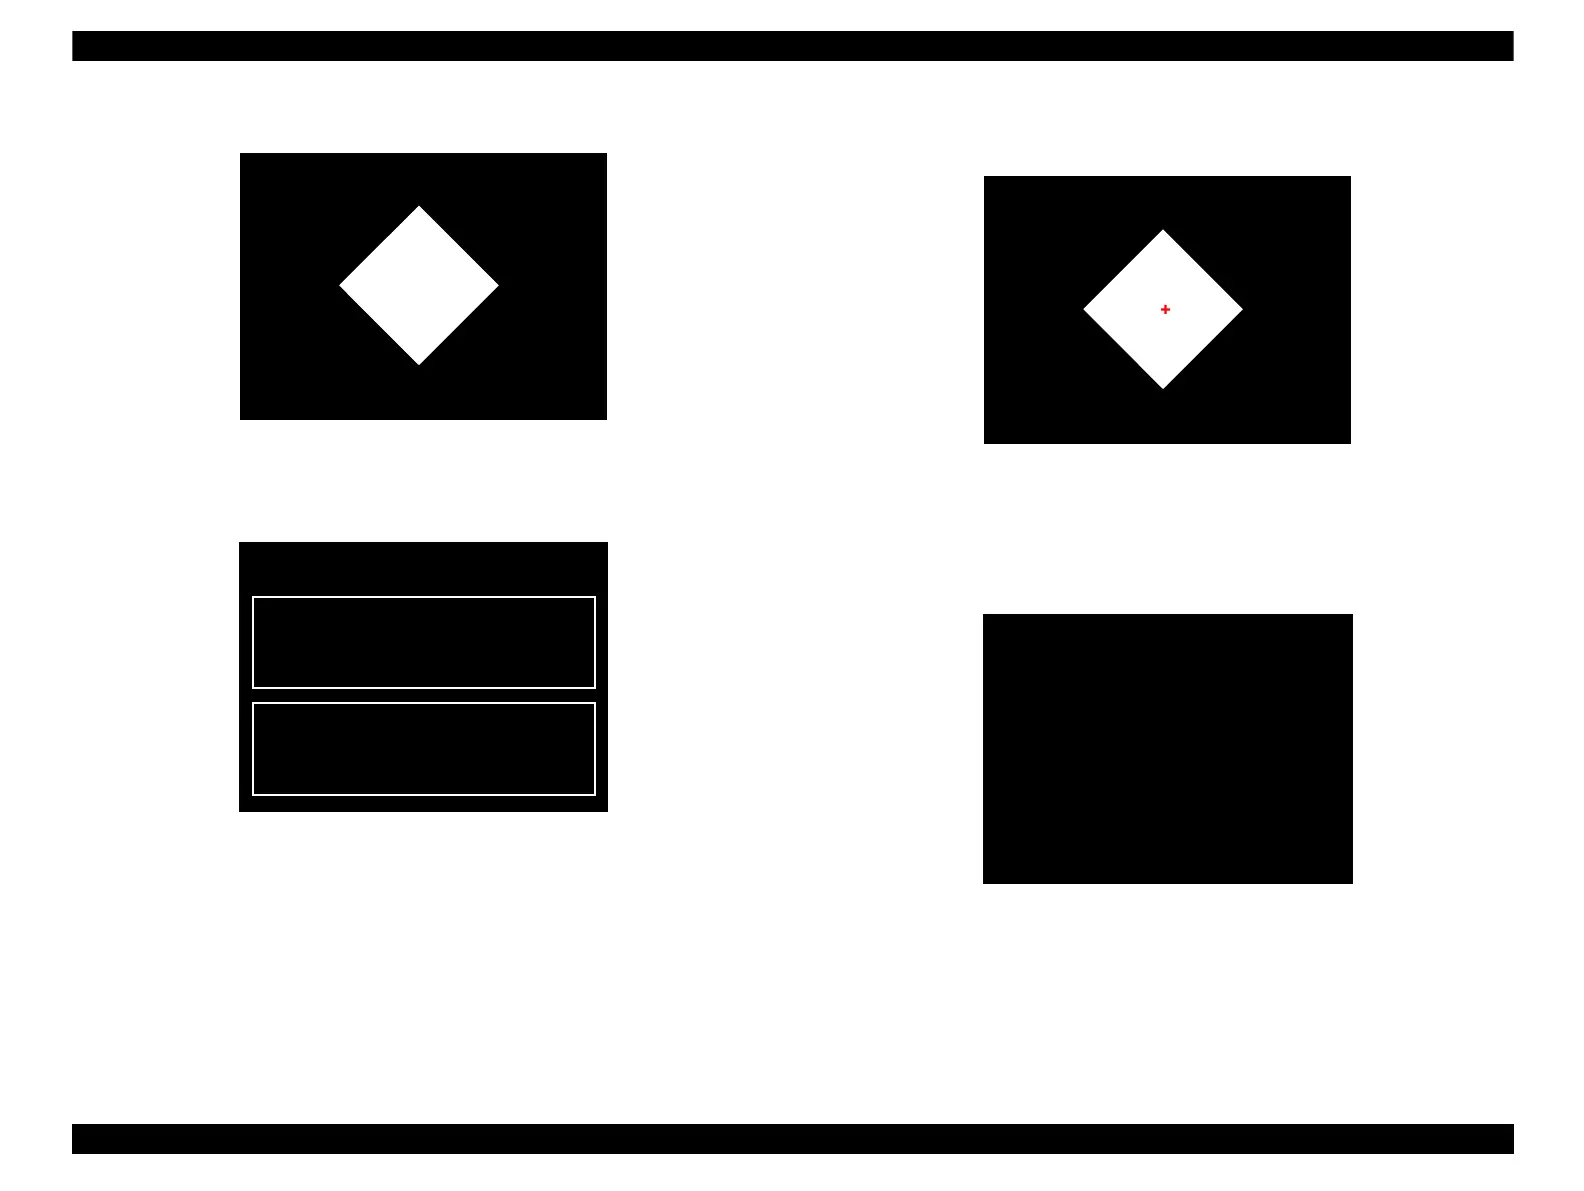
7.
When the confirmation pattern appears, press “ +” displayed in the middle of the
panel.
Figure 5-51. Touch Panel Adjustment (6)
8.
When “ Complete!” appears on LCD, press the “ CD/DVD tray” button to return to
the menu, and press the “ power” button to complete the adjustment. If
“ Complete!” is not displayed, press “ CD/DVD tray” button and perform Step 7
once again.
Figure 5-52. Touch Panel Adjustment (7)
 Loading...


