Microlab
®
STAR Service Manual
7-29
7.7.3 Replacement
Before a Pipetting Channel is replaced all data from the channel should be printed
out, or saved to a file. Use the Service Software for this printout (see section 3
Service Software on page 3-1).
• Uncover Pipetting Arm (see section 7.4.3 Pipetting Arm on page 7-14).
• Remove Y-Spindle P/N 173446.
• Remove M4 Hex nut.
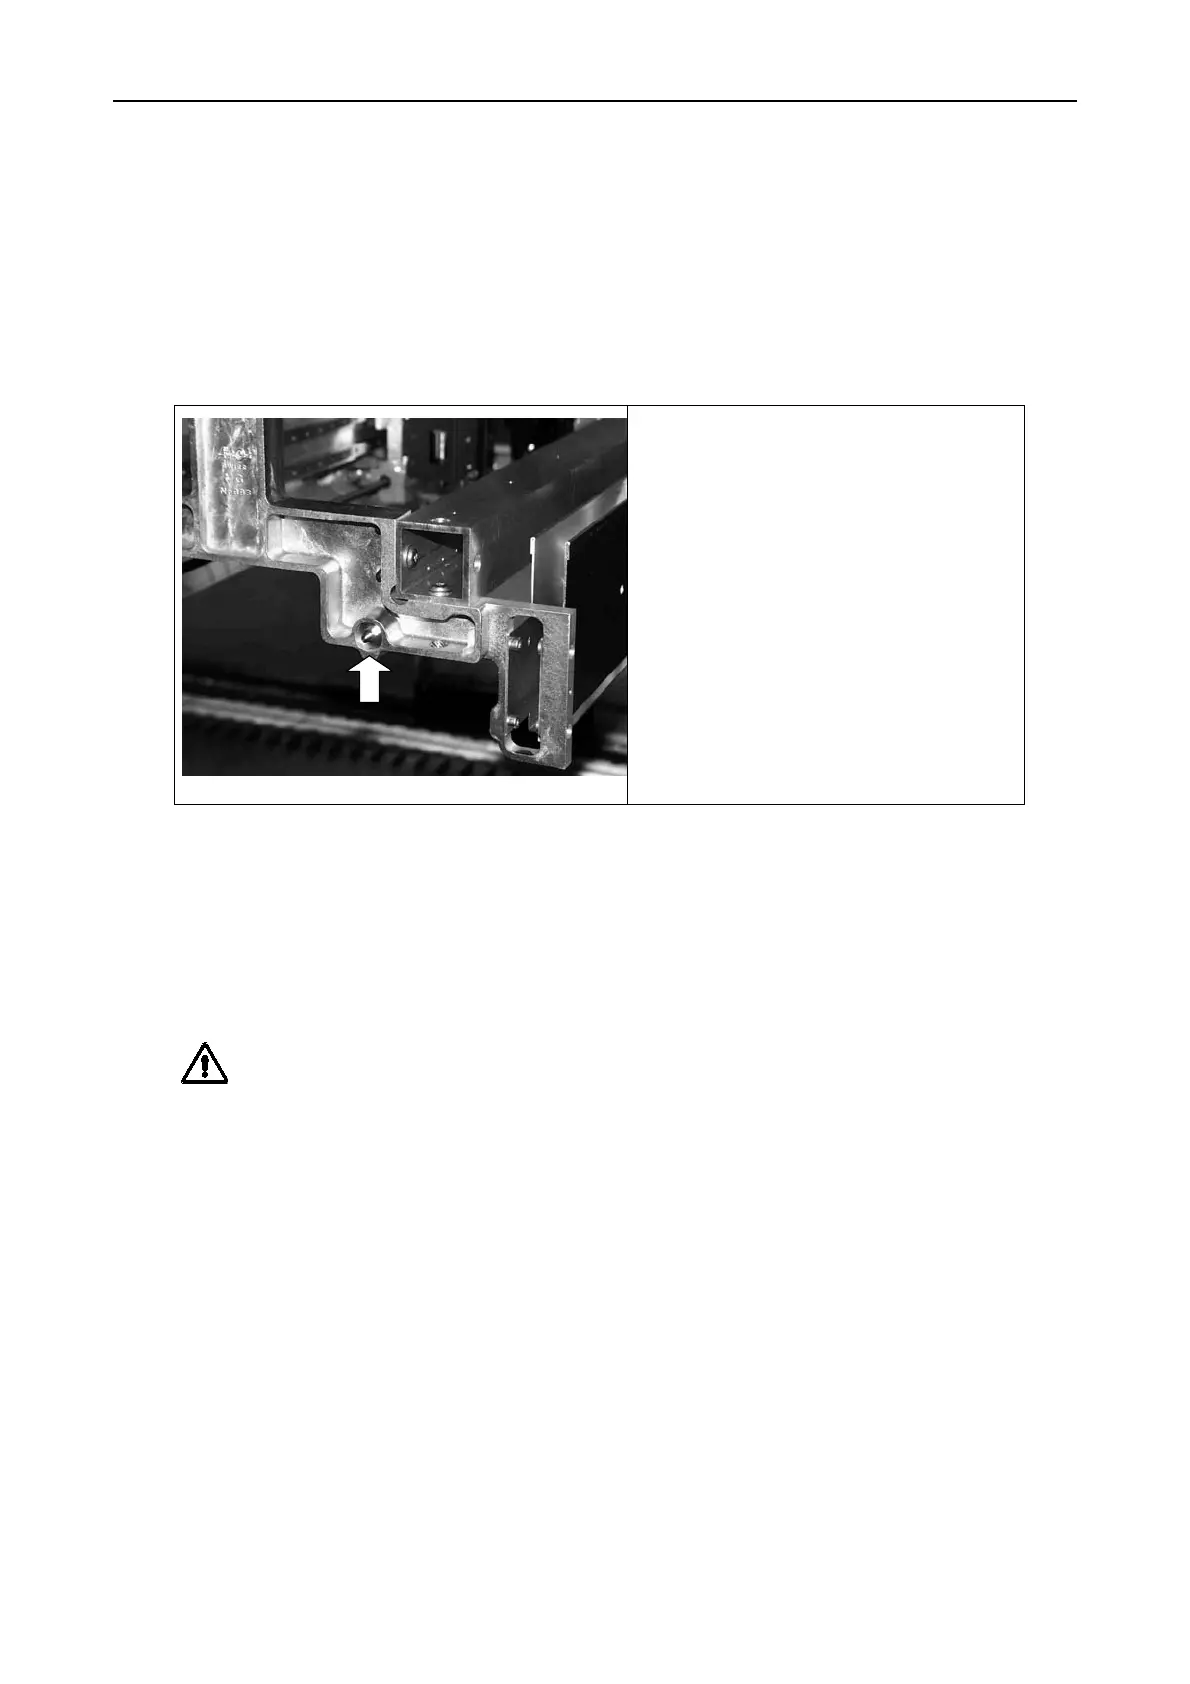
• Turn Y-Spindle out by Hand.
If it is too tight use an adjustable
wrench to get it loose. Cross
flats will be found on the front of
the Spindle.
• Carefully remove Y-Spindle from
Pipetting Arm.
Take care not to scratch coated
thread.
• Remove Cable holders on desired Channel, since these will be used again.
• Disconnect and remove 2 Cables (Y-motor and communication cable) on desired
Channel.
• Loosen the 4 screws which connect channel with Y-Slide
• Carefully remove Channel from Pipetting Arm.
Attention: Whenever it is necessary to move Channels on Pipetting Arm, move them
gently by pushing close to their Y-Slide. Never force them as this may lead to
damage.
Hint: If Possible switch on Instrument as this will result in a smoother motion when
Channels have to be moved on Pipetting Arm.
However, do this only if all cables are plugged in correctly and no short circuit is
possible.