34
────────────────────────────────────────────────────
3.7 Waveform Sweep Settings
────────────────────────────────────────────────────
3.7.11 Setting the Number of Loops
3.7.12 Entering Multiple Lines
3.7.13 Inserting a Line
NOTE
Set the number of loops of item set in sections 3.7.8 to 3.7.10.
1
to
1024
Loop for the specified time
Sweeping repeats from the starting value to the ending value until
the front panel TRIG key is pressed, or until a signal is input at
one of the four TRIGGER IN external trigger input terminals.
HOLD
This function can be used with specific number of loops, but not
with infinite looping. The last data value is saved until the front
panel TRIG key is pressed, or until an external trigger signal is
received. This action is repeated for the specified number of
number of loops.
After the specified number of loops is completed, or after
canceling infinite looping or HOLD, the sweep action specified in
the subsequent line is performed. When the last sweep line has
completed, the first line is repeated.
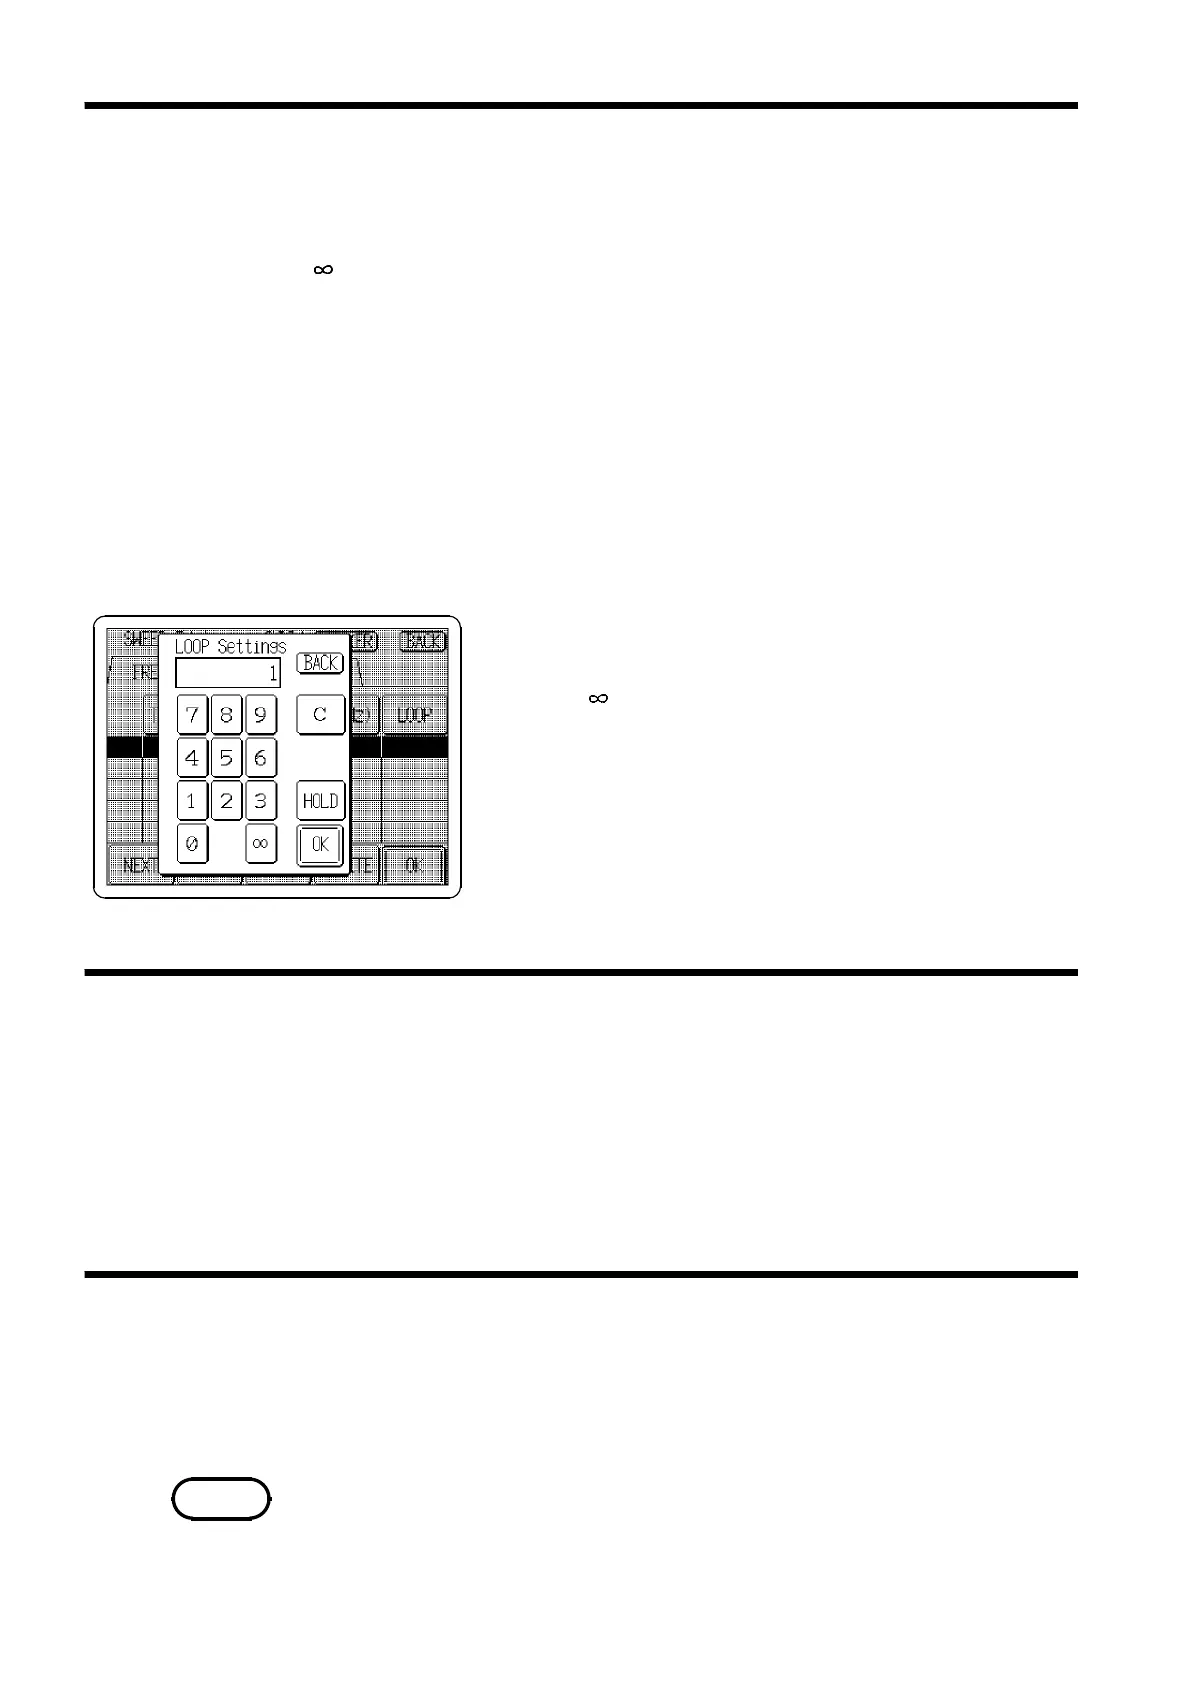
1. Press the
LOOP
button to open the LOOP Settings
window.
2. Press the button on the tenkeys to select infinite
looping, or press the
HOLD
button so that it displays in
reverse.
Specify the number of loops using the tenkeys.
3. Press the
OK
button to accept the settings and return to
the SWEEP Editor Screen. If a setting is invalid, its entry
is cleared.
Repeat the procedures in Sections 3.7.8 to 3.7.11 to enter multiple lines.
1. Turn the Jog dial to the right or press the
NEXT
button so that the next
row is displayed in reverse.
2. Follow the procedures in Sections 3.7.8 to 3.7.11.
3. Repeat preceding steps 1 and 2.
1. Turn the Jog dial or press the
NEXT
or
PREV
buttons so that the line
following the one to be inserted is displayed in reverse.
2. Press the
INSERT
button to insert the new line above the selected line.
Line cannot be inserted after 128 lines have been set.