40
────────────────────────────────────────────────────
3.8 Marker Output Function
────────────────────────────────────────────────────
NOTE
MARKER OUTPUT
WAVEFORM OUTPUT
*:Reference
value
*
**
*
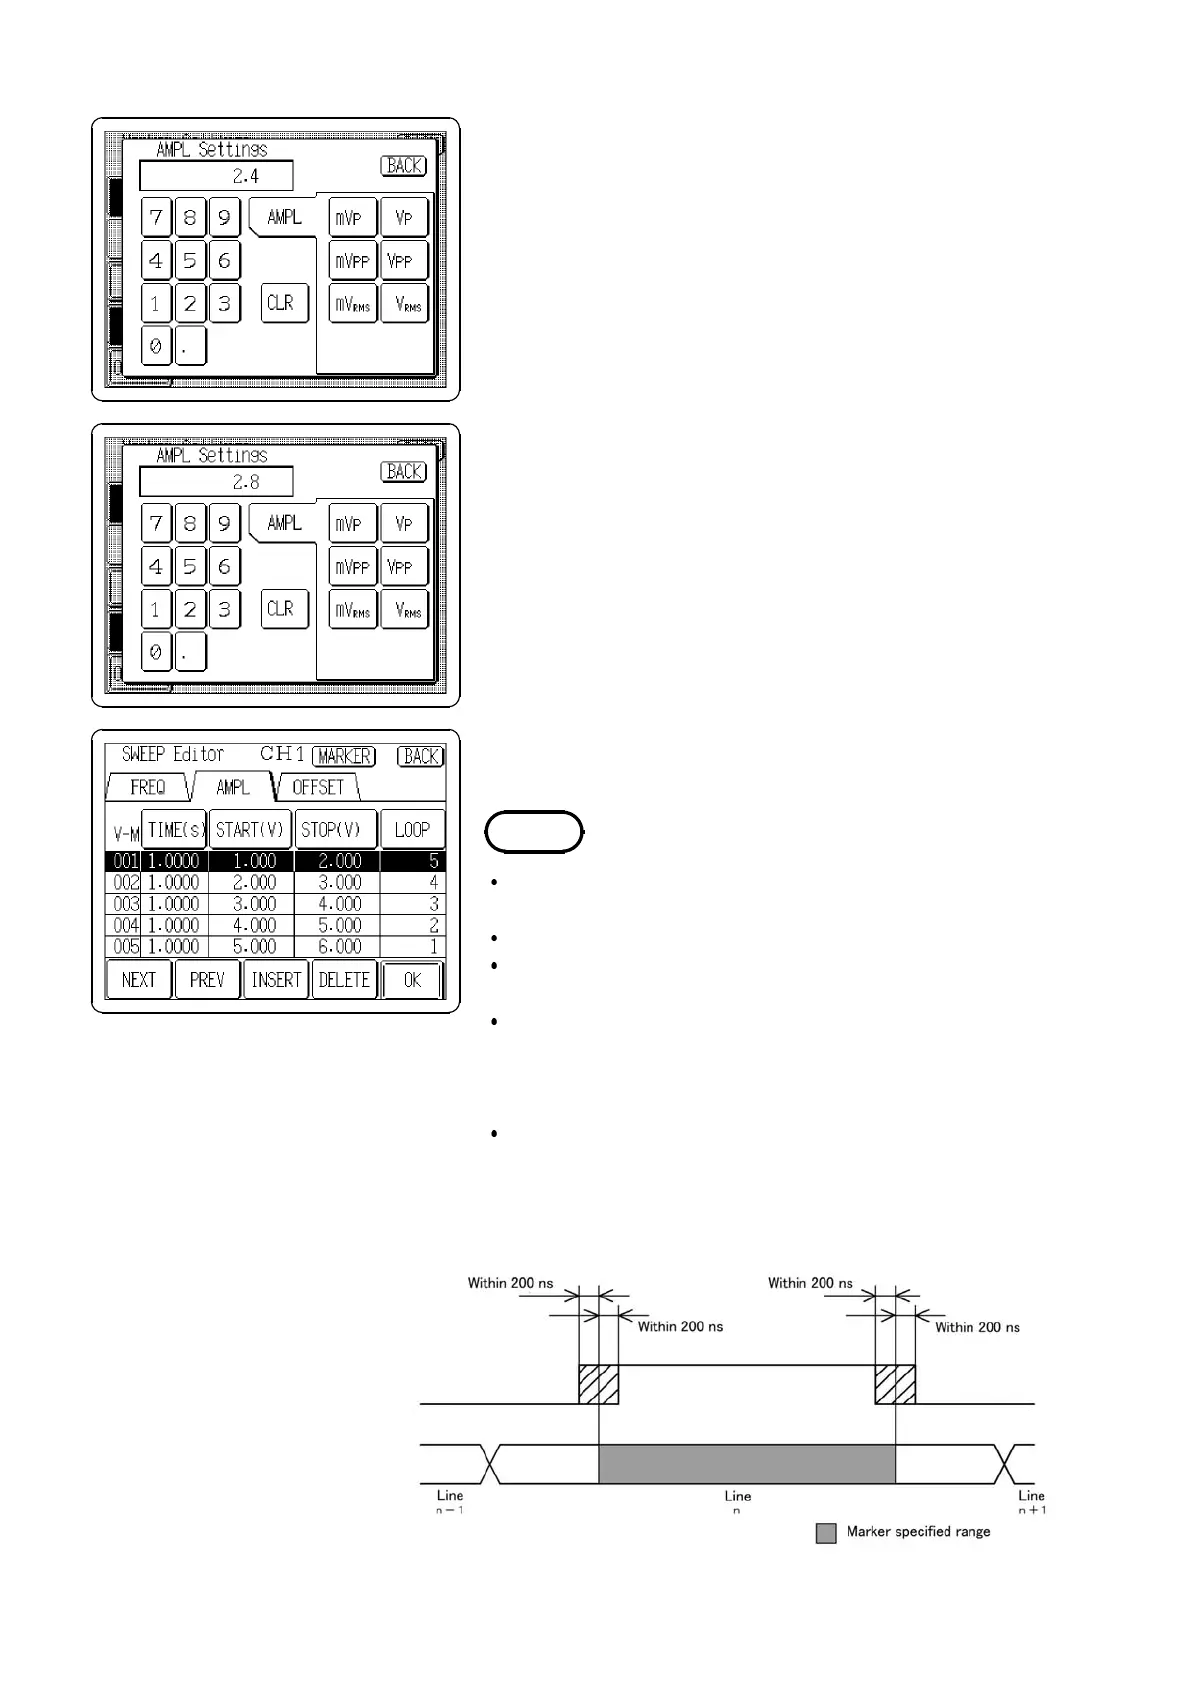
(4) Setting the output range
Specify the output range (
VALUE1/VALUE2
) of the item
selected for the output marking.
When the output value is in the setting range (
VALUE1 to
VALUE2)
, the output marker is active.
1. Press the
VALUE1
button to open the marker output
range setting window (in this example, AMPL Settings
window).
2. Enter a setting value "2.4 Vp" using the tenkeys.
3. Press the
VALUE2
button and enter an another value
"2.8Vp".
The settable range is within start and stop values
(START/STOP) set in step (1).
4. Press the
BACK
button to return to the SWEEP Editor
screen.
5. Press the
OK
button to update.
The output marker is effective after the sweep data is
updated.
Only one line can be selected for output marking.
It does not matter which of Setting 1 or Setting 2 is
higher.
When the item for output marking is frequency and if the
setting value is entered in period format, the value is
converted to the frequency which is made as close as
possible to the entered value.
When the item for output marking is amplitude and if
the setting value is entered in units, the value is
converted to the amplitude value (Vp) which is made as
close as possible to the entered value.
(5) Output marker timing