12 - 7
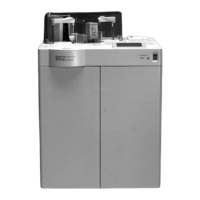
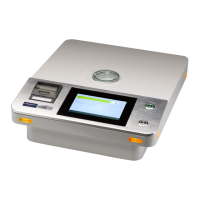
12.4 Setting of Instrument
(1) Set the S. disk.
(2) Set the R. disk.
(3) Set a bottle (50 mL) containing undiluted Hitergent solution to channel 40 of the R. disk.
(4) Set the roll paper to the printer.
(5) Set the FD. (drive 1: Parameter Disk, drive 2: Data Disk)
(6) Connect the signal cable leading from the deionized water supply unit.
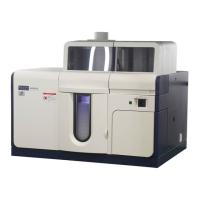
12.5 Wiring and Piping
(1) Measure the voltage of the power equipment prepared by the customer.
(2) Plug the power cable into the main unit, and fasten the cable with the cable fixture.
(3) Connect the power plug to the power equipment prepared by the customer.
(4) Attach the filter case to the water supply port and push in the water supply tube. Cut the
tube according to the distance to the deionized water supply unit, and push the tube into
the water supply port of the deionized water supply unit. Fasten the tube with hose
bands.
(5) Connect the pipe joint to the low-concentration water drain port. Cut the drain tube
according to the distance between the instrument and the drain port prepared by the
customer, and connect the tube. The tube should be fastened with hose bands and the
pipe joint with the pipe retainer.
(6) Attach the nipple to the high-concentration water drain port, push in the waste solution
tube and fasten it with the binder. Put the waste solution tube and waste solution sensor
in the waste solution tank.
 Loading...