12 - 8
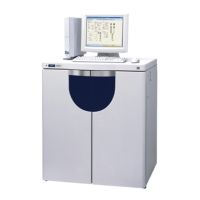
12.6 Fixing of Instrument
(1) Determine the installation place of the main unit through arrangement with the customer,
and fix the main unit by turning the adjuster screws.
(2) Wipe out contaminants from the incubator by use of gauze soaked with 2% Hitergent
solution or the like, and inject deionized water into the incubator.
(3) Check if the incubator is at a level by measuring the water level at 3 check points, and
adjust the height by turning the adjuster screws.
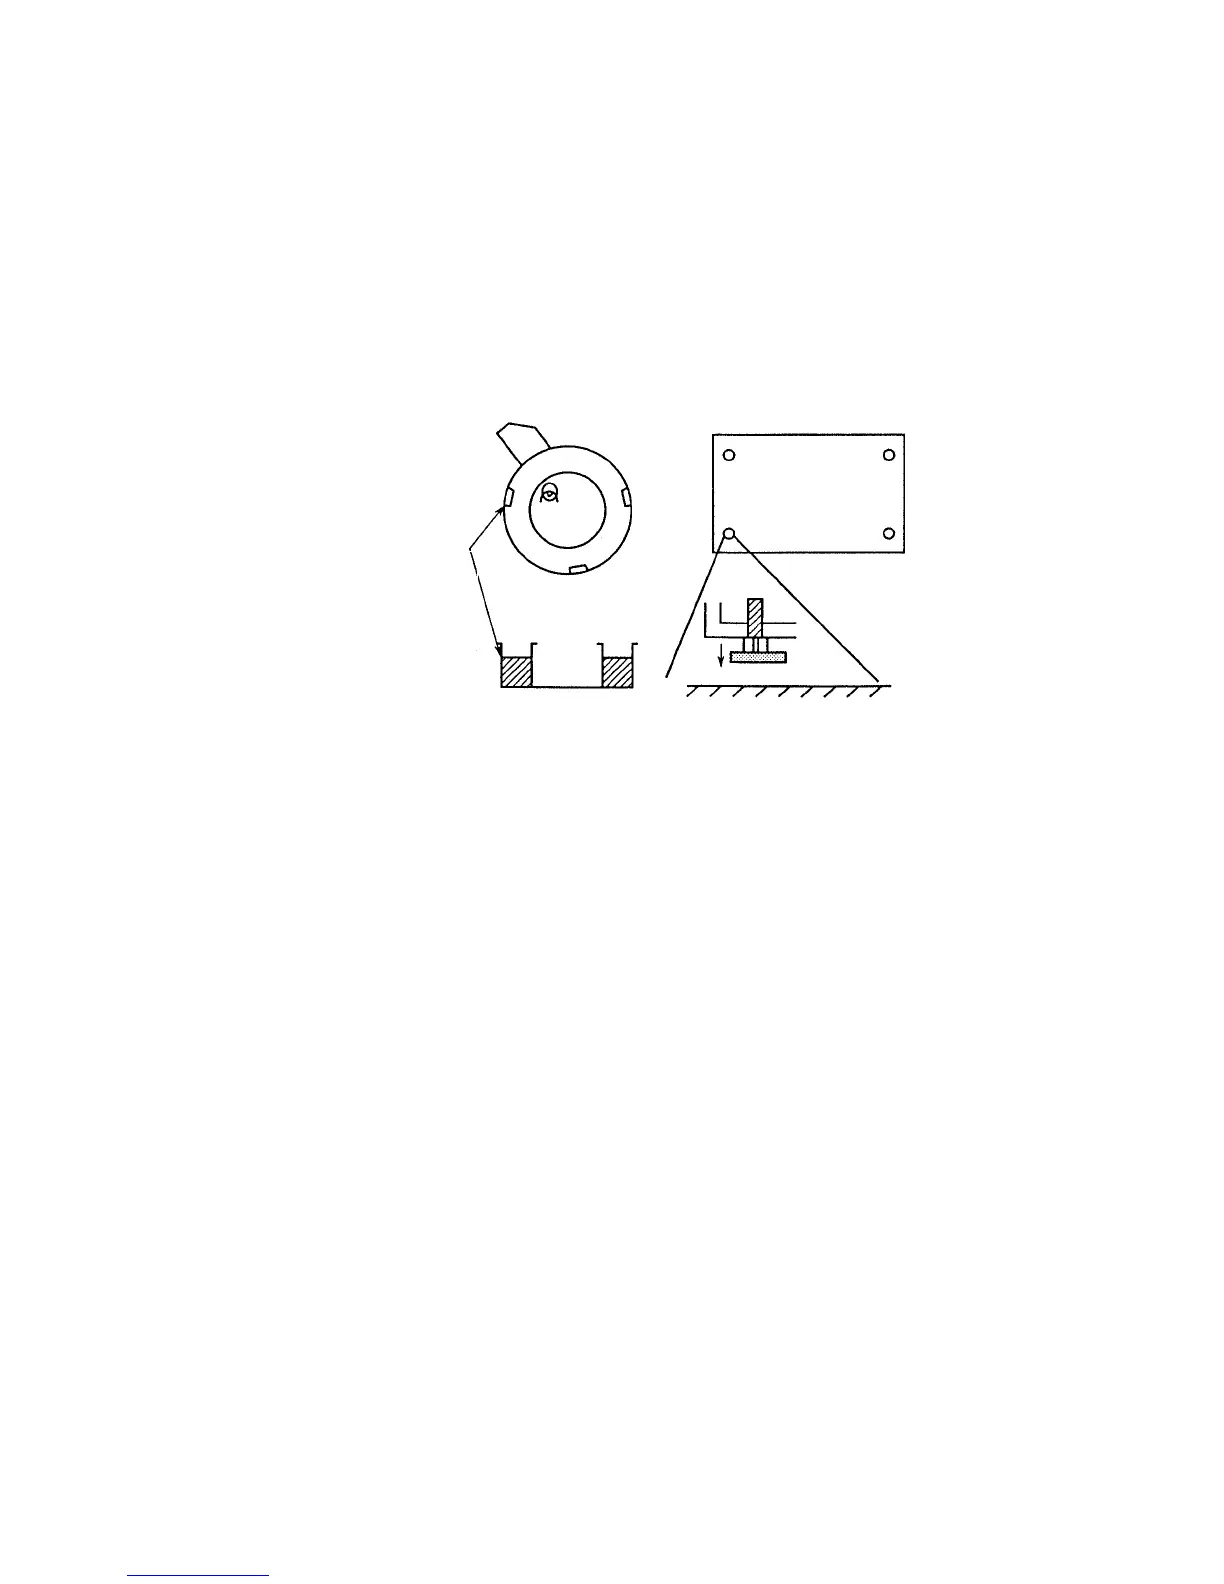
Fig. 12-3 Adjustment of Water Level in Incubator
12.7 Preparation for Analysis
(1) Prepare 2% Hitergent solution in a container, and immerse the reaction cells (6 sets) in
the solution. Before turning on power, set all reaction cells.
(2) Fill at least the deionized water tank at least
3
/
4
full with deionized water.
(3) Take of the water-return tube (from pump to tank) at the tank-side to de-activate the pump.
(4) When the water raised up in this tube, fix the tube again.
12.8 Operation after Turning On Power
(1) Turn on the main switch.
(2) Turn on the power switch.
(3) The initial screen (copyright notice) appears.
(4) Enter the date.
(5) Execute "Reset" to eliminate air bubbles from each syringe.
(6) Execute "Incubator Water Exchange" 2 or 3 times. Check if Hitergent is injected in the
incubator with the R. probe at water exchange.
Check point
(Incubator) (Main unit adjuster)