Chapter 6
Removing and Replacing Components
Removing and Replacing Airflow Guides
170
Step 5. Push in on the release lever to secure the drive in the bay and to ensure that the drive connector is
seated properly.
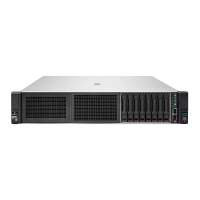
Figure 6-26 Hard Disk Drive Installation
Step 6. Lock the hard drives in place by press down on the LOCK lever. Replace the server cover if it was
removed to unlock drives.
Step 7. Verify the drive replacement and operation by using the system utilities. (See the Utilities chapter
or the HP Integrity and HP 9000 iLO MP Operations Guide for additional information.)
• Use the iLO MP commands to verify operation.
• Use the BCH commands to verify operation.
• Use diagnostics provided by the ODE to exercise the newly installed module.
Step 8. Reset the server to the BCH Service Menu to rescan the hard drives.
Removing and Replacing Airflow Guides
To upgrade, remove, or replace most server components, you must first remove the covers from the server
chassis.
The server has the following airflow guides:
• The processor airflow guide ensures that the proper volume of air for cooling the processor module power
pods, processor modules, and voltage regulator modules flows over these components.
 Loading...