Chapter 6
Removing and Replacing Components
Removing and Replacing a Removable Media Drive
208
CAUTION Observe all ESD safety precautions before attempting this procedure. Failure to follow ESD
safety precautions can result in damage to the server. Failure to properly complete the steps in
this procedure will result in erratic server behavior or system failure. For assistance with this
procedure contact your local HP Authorized Service Provider.
Removing a Removable Media Drive
To remove a removable media drive, follow these steps:
Step 1. Power off the server and disconnect power and external cables.
Step 2. Remove the top cover. (See “Removing and Replacing Server Covers and Bezel” on page 151.)
Step 3. Disconnect the IDE cable from the back of the drive.
Step 4. Grasp the front of the drive and squeeze in on the locking tabs to release the drive.
Step 5. Pull the drive straight out to remove it from the chassis.
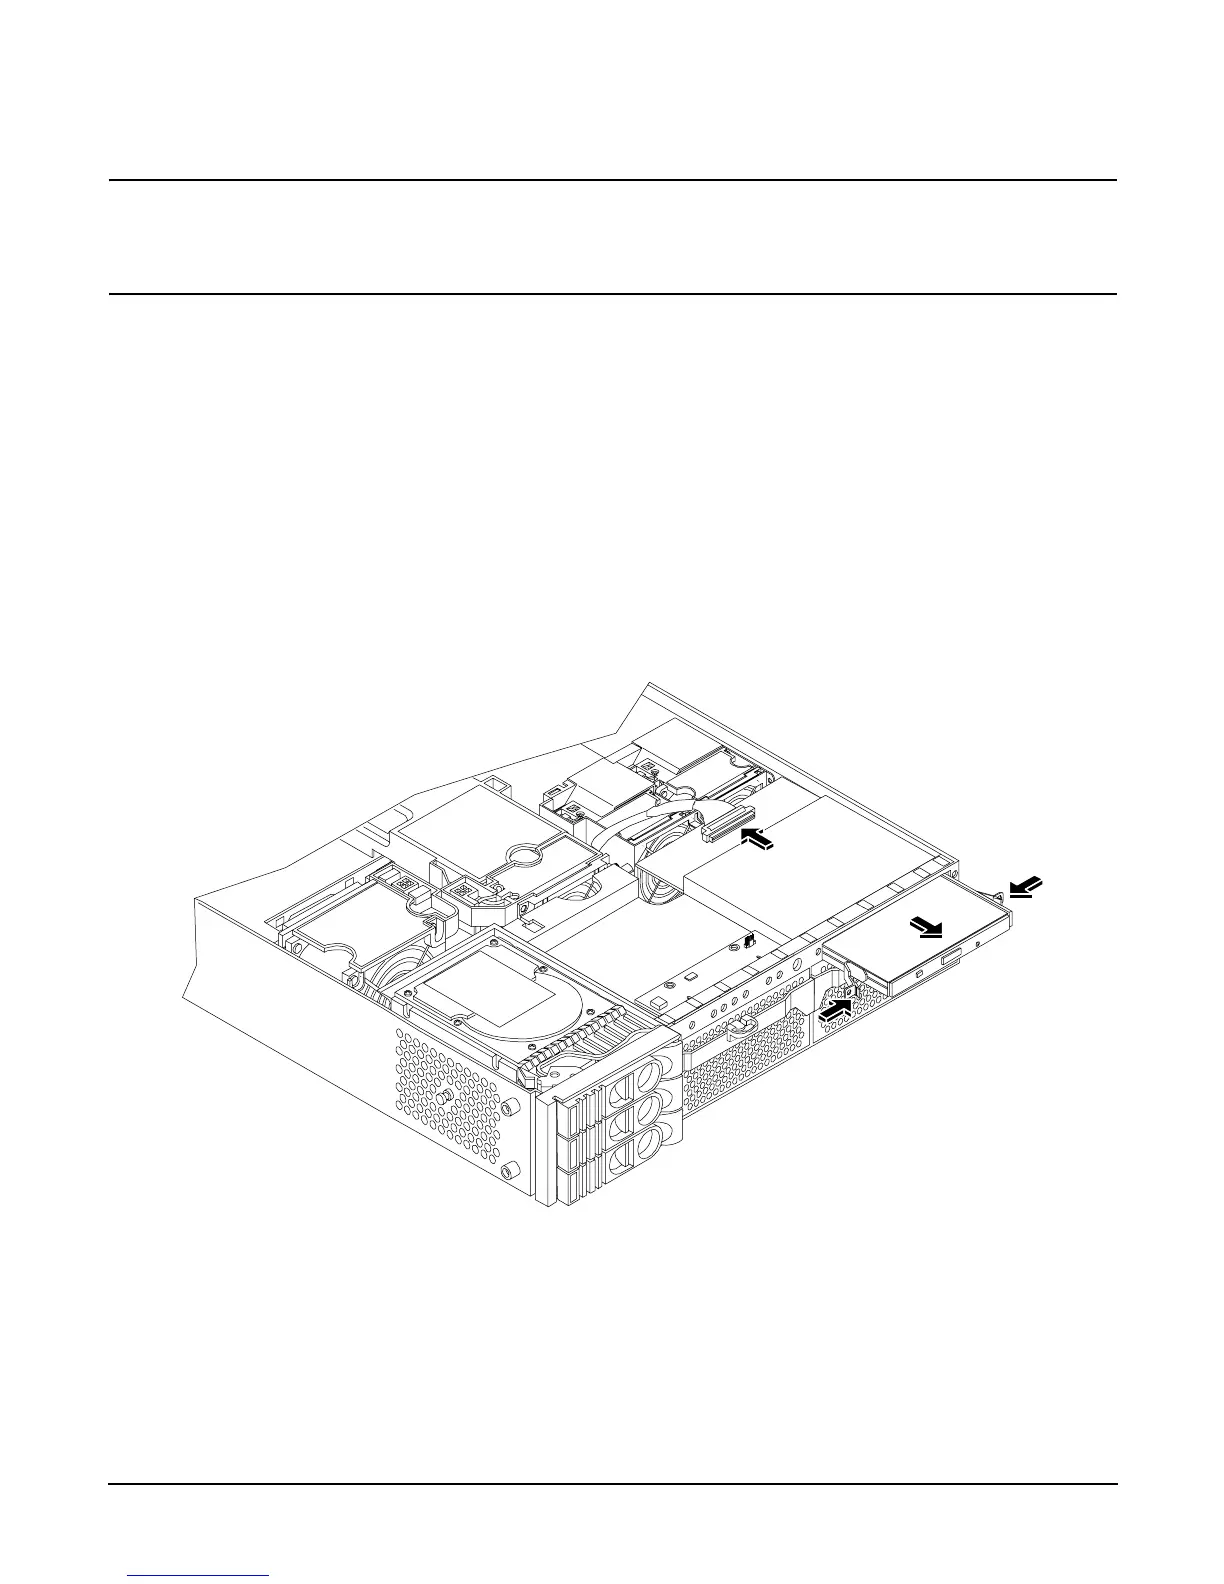
Figure 6-60 Removable Media Drive Removal and Replacement
Replacing a Removable Media Drive
To replace the removable media drive, follow these steps:
Step 1. If a removable media drive has not previously been installed in the server, the drive slot is covered
with a DVD drive filler. Remove the DVD drive filler.
 Loading...