Chapter 6
Removing and Replacing Components
Removing and Replacing the System Board
214
Removing and Replacing the System Board
Server information is stored on the system board. If you are installing a new system board, you must write
serial number and model string information to the system board after installation.
Removing the System Board
Step 1. Power off the server and disconnect all power and external cables.
Step 2. Remove the top cover. (See “Removing and Replacing Server Covers and Bezel” on page 151.)
Step 3. Remove these components from the system board:
• System fans. (See “Removing a System Fan” on page 161)
• PCI card cage. (See “Removing the PCI Card Cage” on page 200)
• Memory airflow guide. (See “Removing the Memory Airflow Guide” on page 171)
• Processor airflow guide. (See “Removing the Processor Airflow Guide” on page 172)
• Memory (DIMMs). (See “Removing System Memory” on page 180)
• Dual processor modules. (See “Removing a Dual Processor Module” on page 183)
• iLO MP card. (See “Removing the iLO MP Card” on page 209)
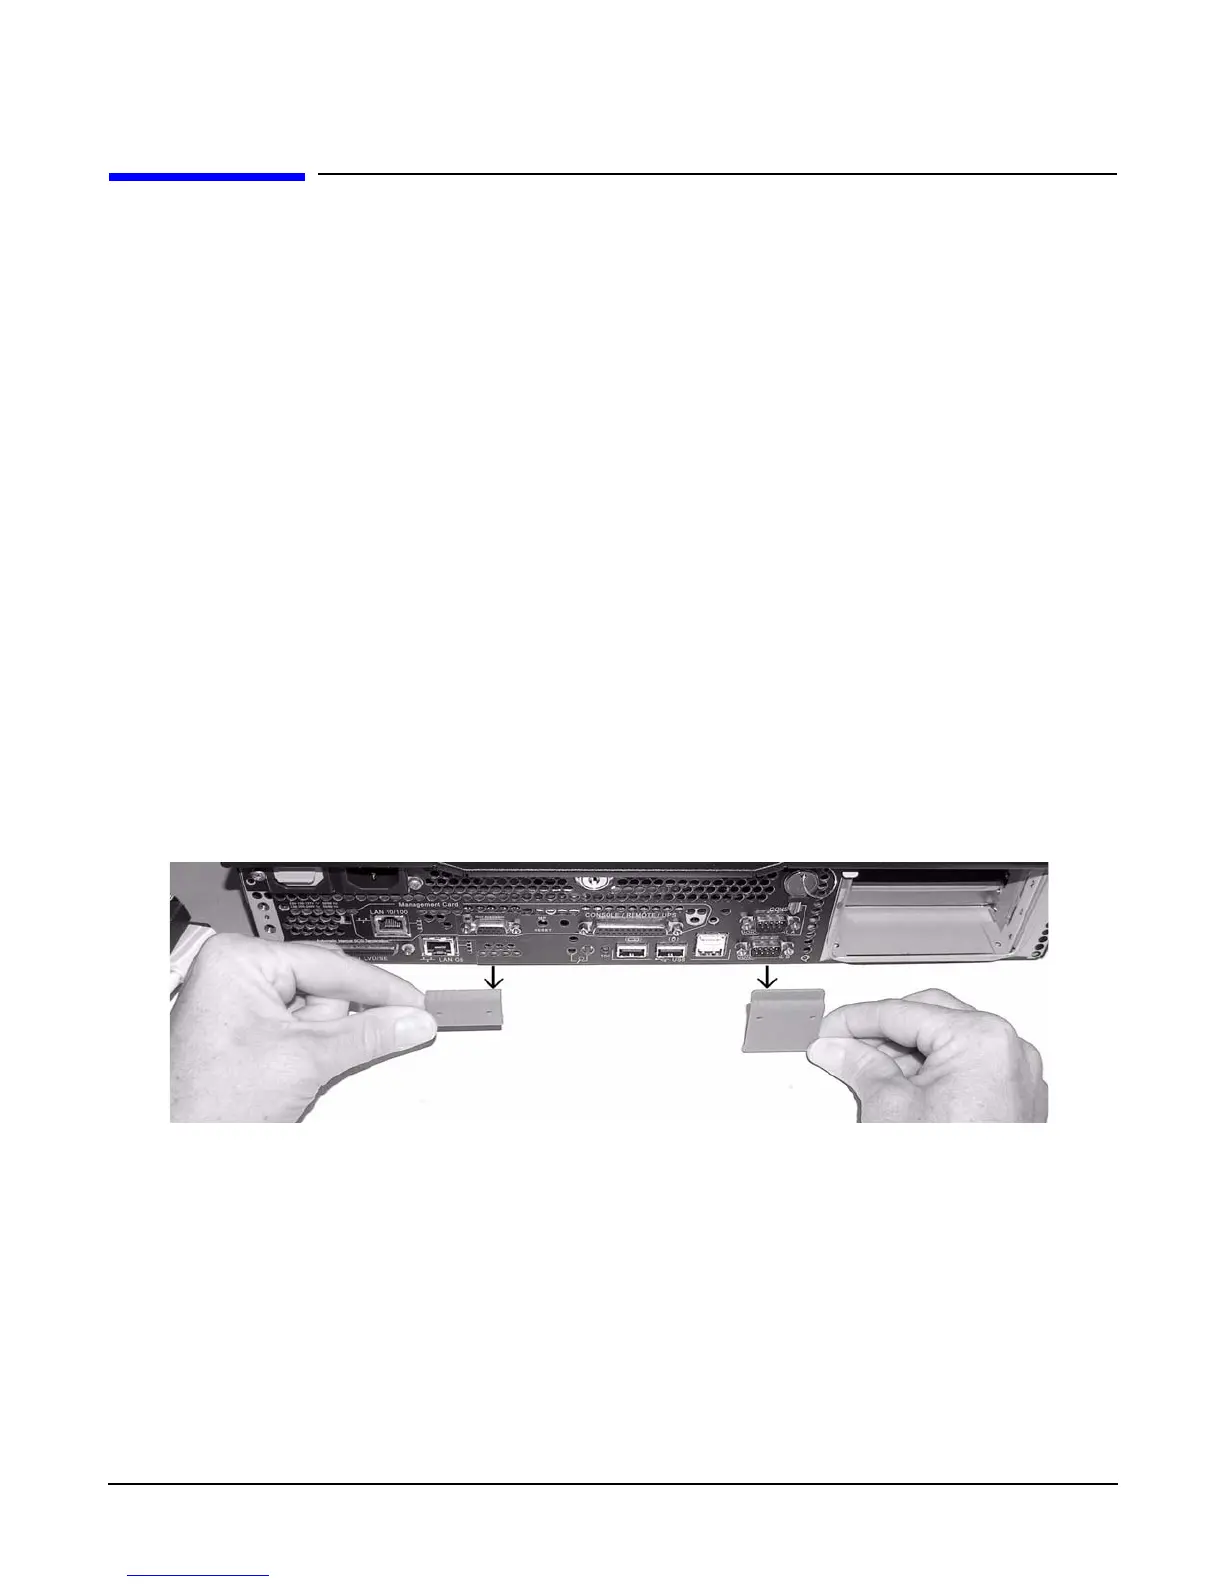
Step 4. Remove the mechanical covers that are covering the VGA and DB9 ports.
Figure 6-64 Remove Mechanical Covers
 Loading...