Manually Removing Storage Media
Manually Removing a DAT160 Tape Cartridge
Attention: The procedure for manually removing a tape cartridge could damage
your tape cartridge, the tape drive, or both. Use this procedure only after you
have:
1. Tried the Unload command (if available) from your system command menu.
2. Attempted an emergency eject of the cartridge by pressing and holding the
eject button for at least 5 seconds.
3. Attempted a drive reset by pressing and holding the eject button for at least 20
seconds.
4. Turned the power to the 7226 Storage Enclosure off and on again to clear
potential hang conditions.
5. Disconnected the 7226 Storage Enclosure from the system, and turned the
power to the 7226 Storage Enclosure on and off again several times.
The following procedure describes how to manually remove a data cartridge from
the tape drive. If this procedure is performed, replace the drive, discard the used
media, and use new media.
1. Remove the drive from the 7226 Storage Enclosure (see “Replacing a Tape
Drive Feature or a Removable Disk Drive Feature” on page 151).
2. Remove the front bezel (the bezel snaps on) by doing the following:
a. Use a small screwdriver to depress one of the bezel side tabs.
b. Pull the bezel down from the top.
c. Lift the bezel off the bottom locating tabs.
d. Remove the bezel from the unit.
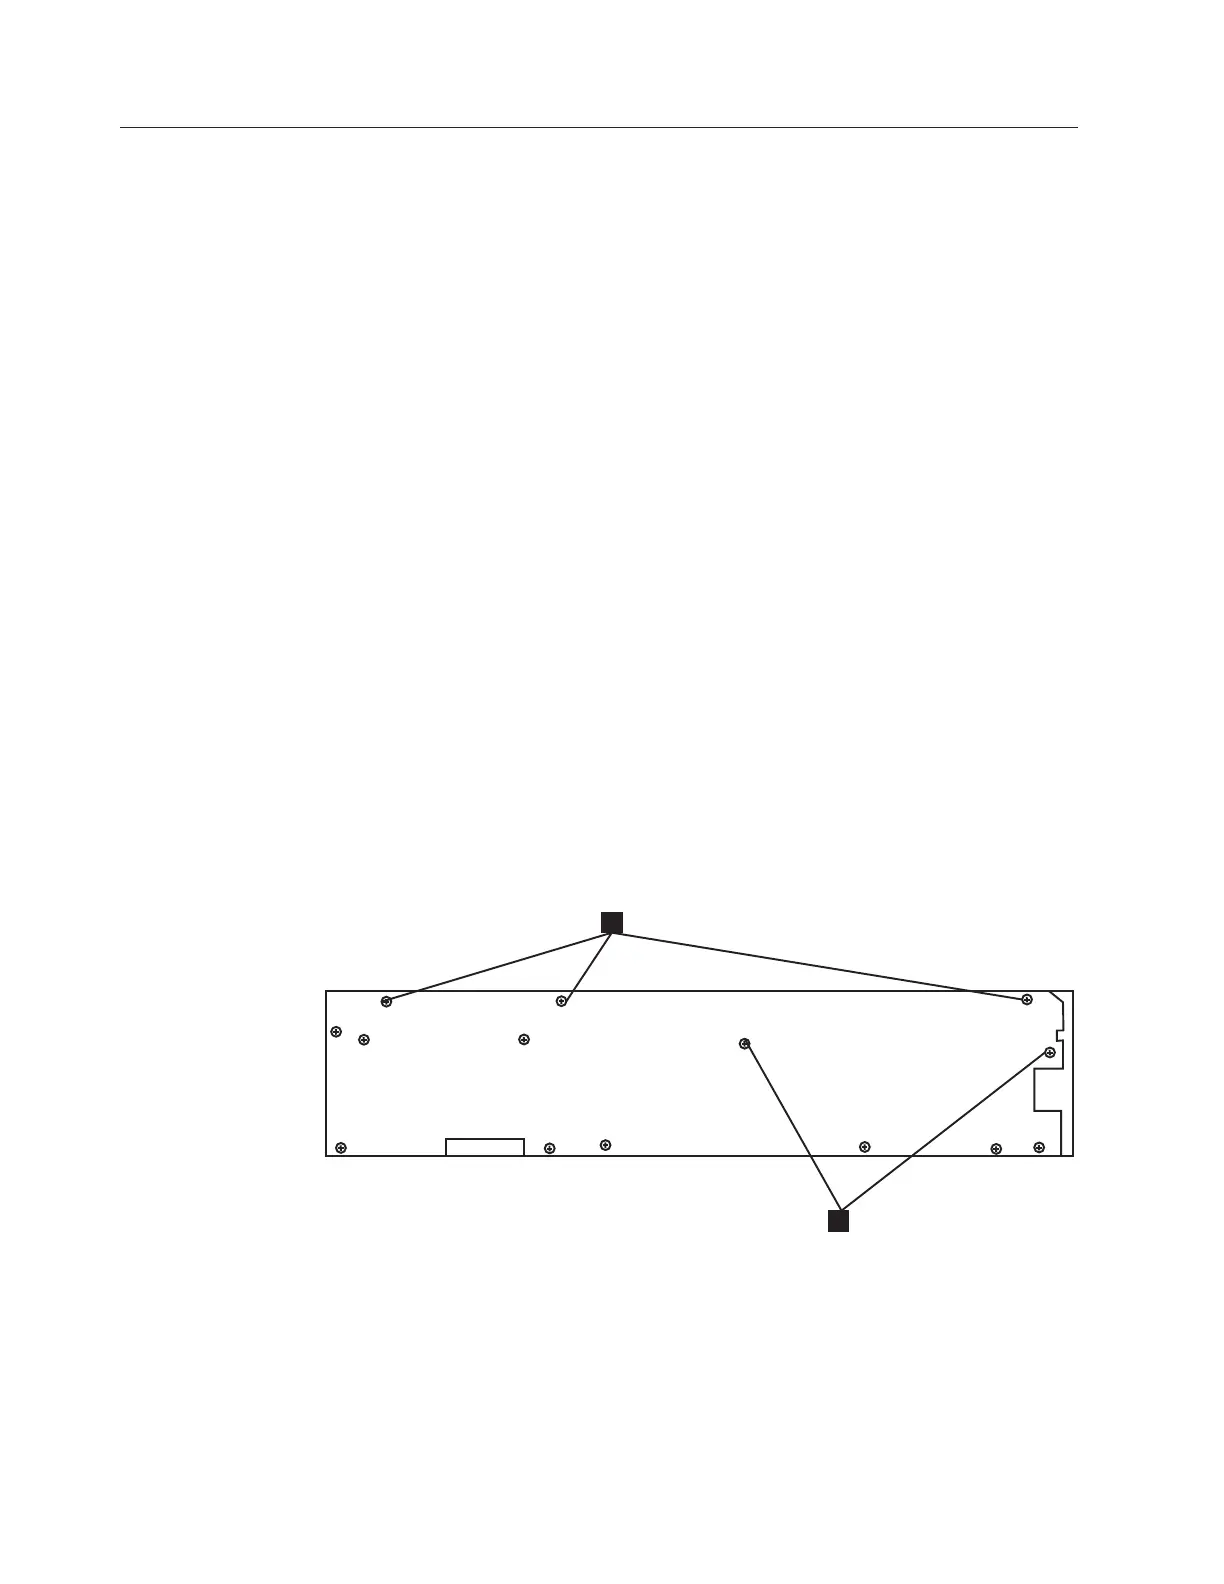
3. Remove the three screws (1 in Figure 113) on the upper left side of the drive
chassis and lift top lid of the drive off of the chassis.
4. Remove the three screws (1 in Figure 114 on page 181) on the upper right
side of the drive chassis and lift top lid of the drive off of the chassis.
1
2
RLHSV526-0
Figure 113. Removing the Left Side Screws
180 7226 Storage Device Enclosure Setup, Operator and Service Guide

 Loading...


