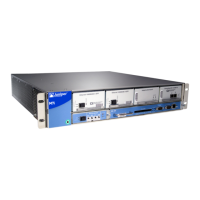
First, perform the following prerequisite procedures:
•
Verify that the router site meets the requirements described in “M7i Router Site
Preparation Checklist” on page 73.
•
Place the rack in its permanent location, allowing adequate clearance for airflow and
maintenance, and secure it to the building structure. For details, see “M7i Router Rack
Requirements” on page 75.
•
Read the information in “General Safety Guidelines for Juniper Networks Devices” on
page 225 and “General Safety Warnings for Juniper Networks Devices” on page 226.
•
Review the guidelines in “M7i Chassis Lifting Guidelines” on page 233.
•
Remove the router from the shipping carton, as described in “Unpacking the M7i Router”
on page 105.
Then, perform the following procedures to install the router:
NOTE: If you are installing multiple routers in one rack, install the lowest one
first and proceed upward in the rack.
1. If you are center-mounting the router, move the mounting brackets on the chassis as
described in “Moving the Mounting Brackets” on page 110.
2. Have one person grasp each side of the router, lift the router, and position it in the
rack.
3. Align the bottom hole in both mounting brackets with a hole in each rack rail, making
sure the chassis is level.
4. Install one of the mounting screws provided (in the accessory box shipped with the
router) into each of the two aligned holes. Use a Phillips screwdriver to tighten the
screws.
111Copyright © 2019, Juniper Networks, Inc.
Chapter 16: Installing the M7i into a Rack

 Loading...