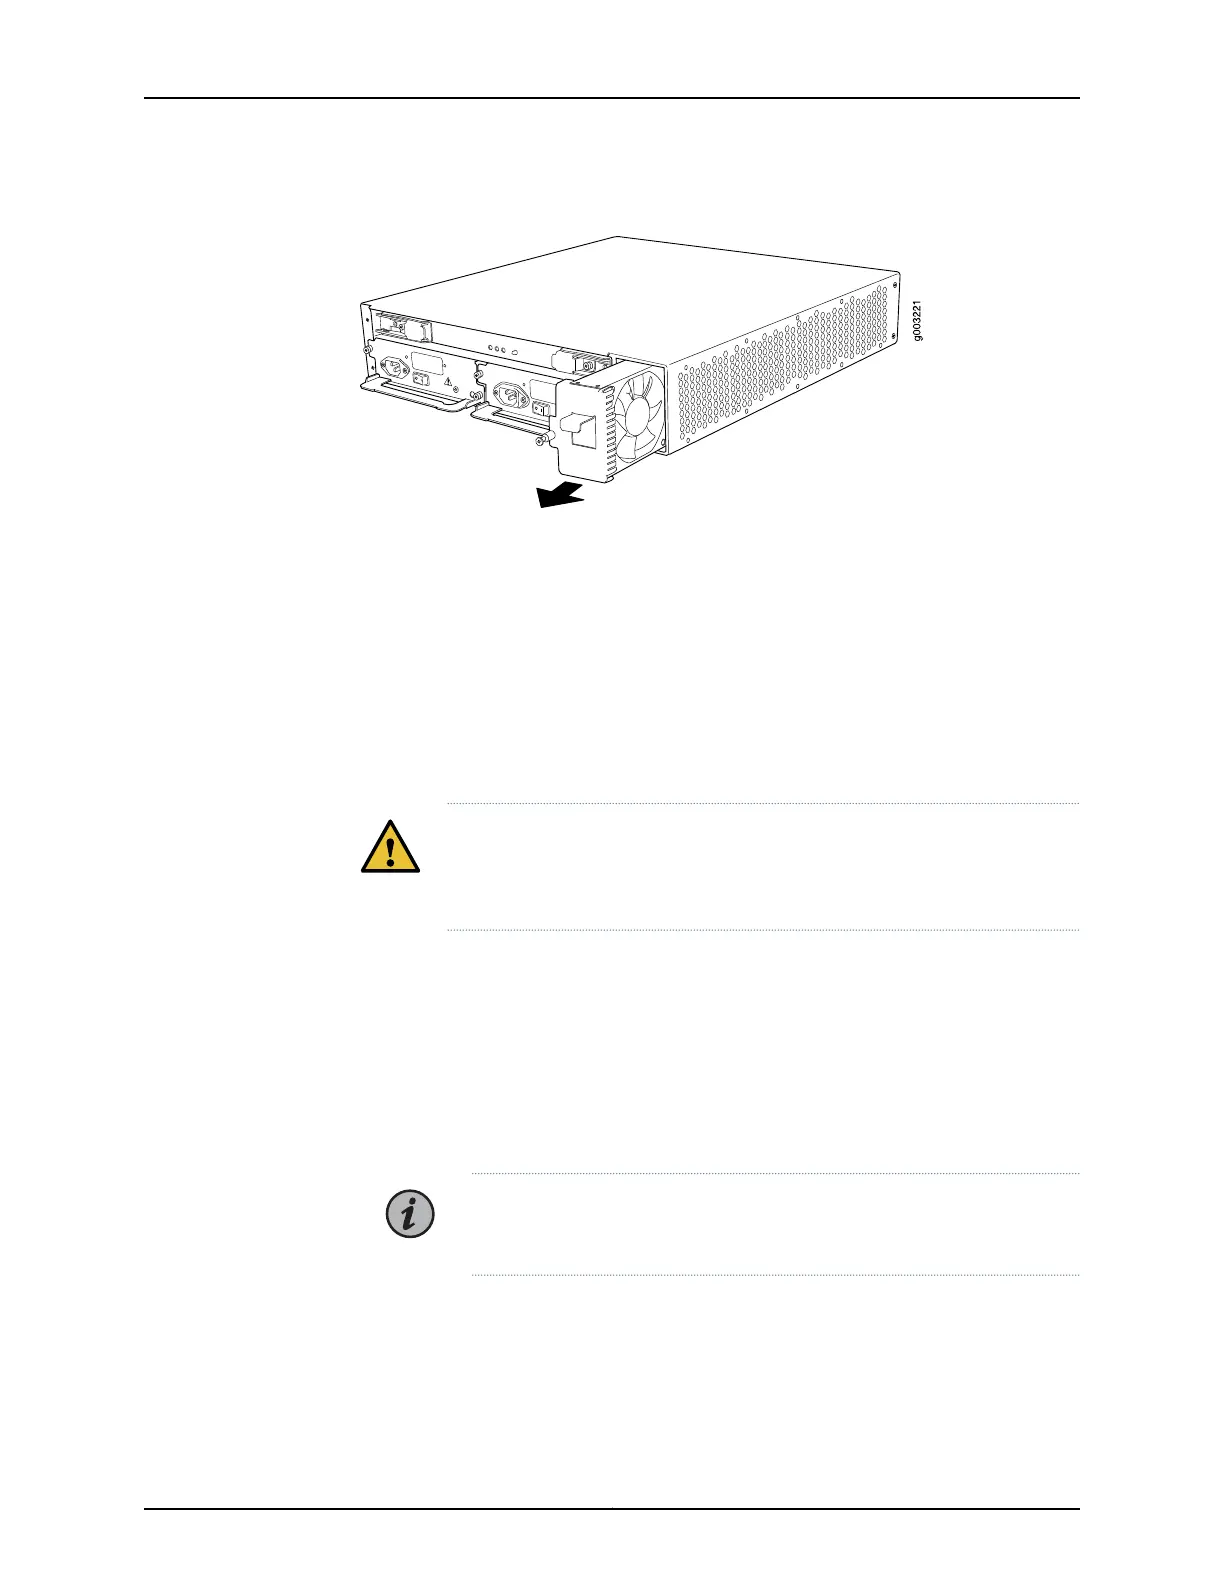
Figure 39: Removing the Fan Tray
See Also M7i Cooling System Overview on page 15•
• M7i Chassis Description on page 11
• Troubleshooting the M7i Fan Tray on page 204
• Installing the M7i Fan Tray on page 138
Installing the M7i Fan Tray
To install the fan tray (see Figure 40 on page 139):
CAUTION: When sliding the fan tray into the chassis, make sure your fingers
are not near the fans, which start spinning as soon as the fan tray contacts
the midplane.
1. Attach an electrostatic discharge (ESD) grounding strap to your bare wrist and connect
the strap to one of the ESD points on the chassis. Verify that the router is attached to
a proper earth ground.
2. Grasp the sides of the fan tray and align the rear of the tray with the guides inside the
chassis.
3. Slide the fan tray all the way into the chassis.
NOTE: Use the fan tray handle to slide the fan tray into the chassis. Do
not push on the fan tray faceplate.
4. Tighten the thumbscrew on the fan tray.
Copyright © 2019, Juniper Networks, Inc.138
M7i Multiservice Edge Router Hardware Guide