518 N9030B PXA Signal Analyzer Service Guide
Assembly Replacement Procedures
Disk Drive
5. Remove the disk drive (2) from the carrier assembly.
6. Place the new disk drive onto the carrier assembly and attach with the 4
machine screws (1) (0515-0372). Torque to 9 in-pounds.
7. Refer to Figure 16-80. Replace the disk drive carrier assembly (2) into the
instrument and tighten the screw to 9 in-pounds.
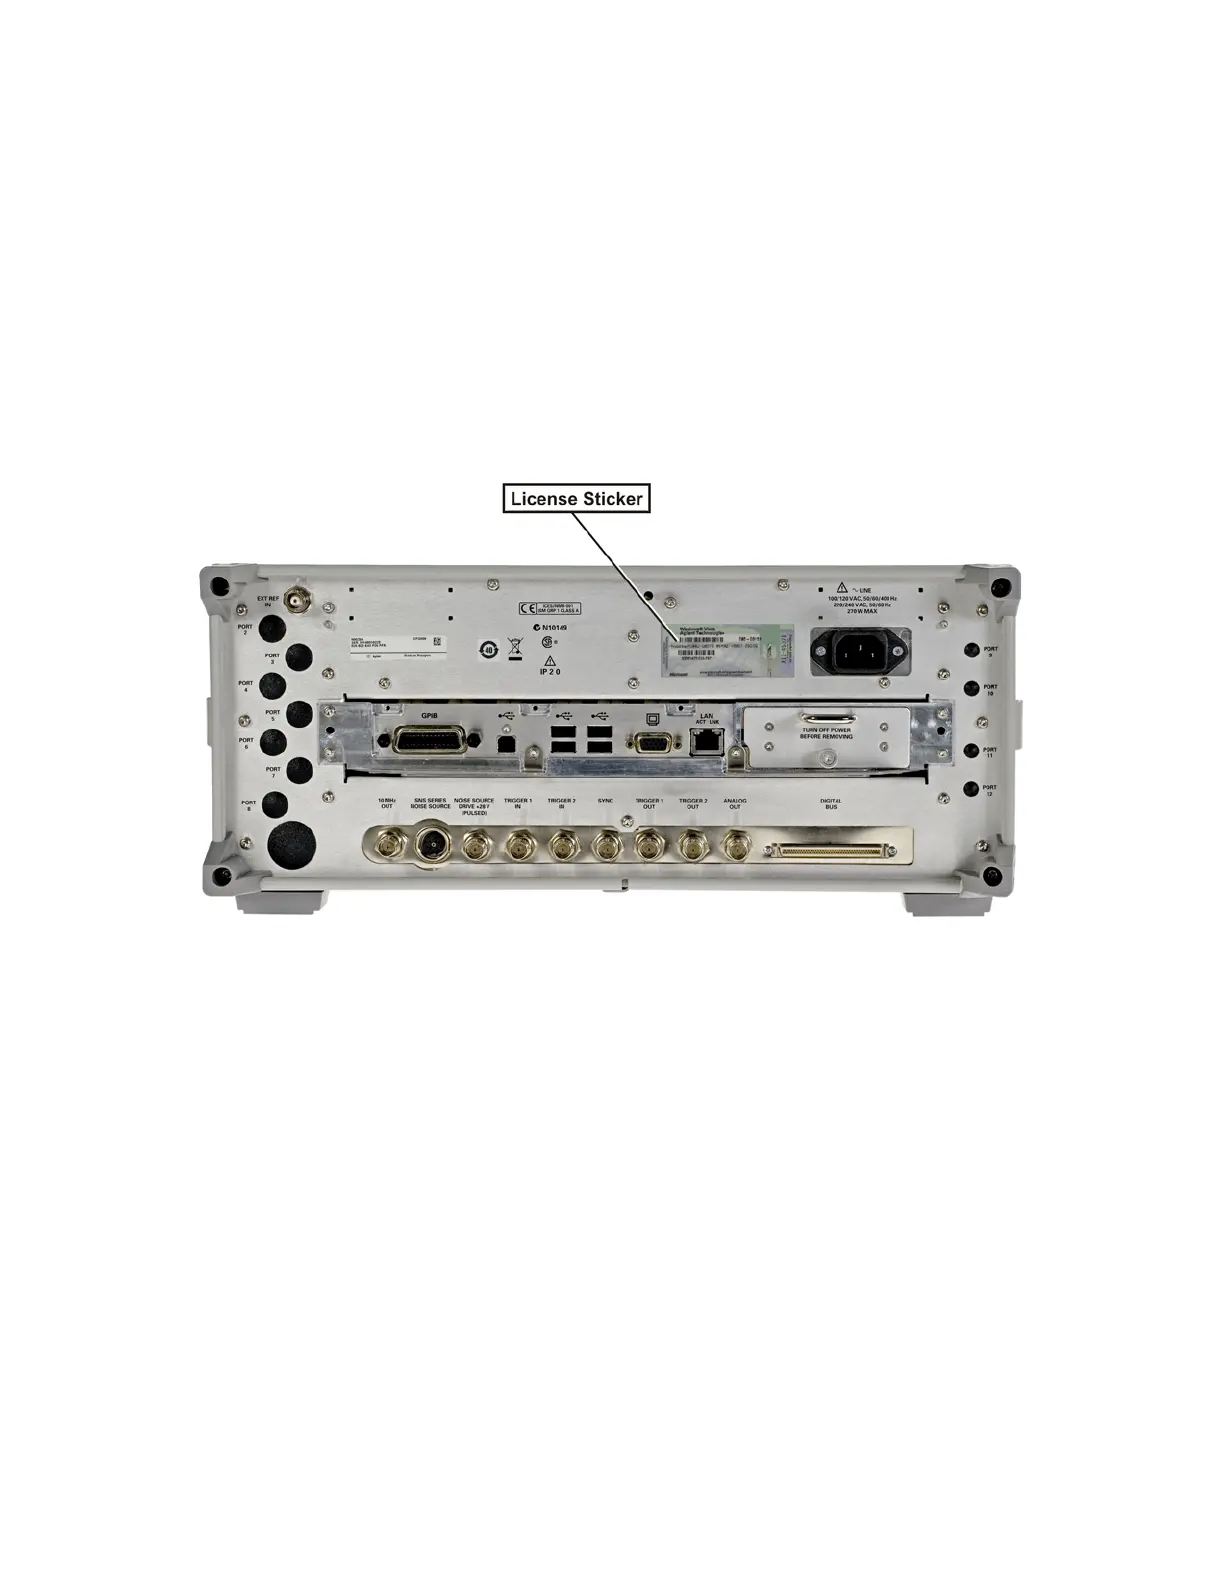
8. Locate the Windows License Sticker from the kit and apply the sticker to
the rear of the instrument as shown in Figure 16-82, covering the existing
license sticker.
Figure 16-82 Windows License Sticker Rear Panel Location
9. Refer to Chapter 17, “Post-Repair Procedures.” and perform all of the
specified tasks for replacing the A5 Disk Drive assembly.