234
Network connection settings (Ethernet, mobile Internet, Bluetooth (GR25 only), WLAN (GR25 only)
• DynDNS settings
• Web server settings
• Changes in the device configuration if the device is used for mobile Internet setup or for Spider or
remote access
Press Format receiver settings.
After the system format is completed, the receiver reboots with all settings set back to the default settings.
The Web interface will be redirected to the login page.
Related topics
Receiver setup: Tools
Appendix G: Default settings
Format receiver settings via instrument buttons step-by-step
Format receiver settings via instrument buttons step-by-step
Background information
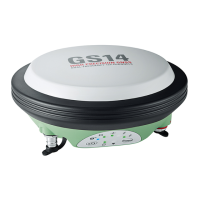
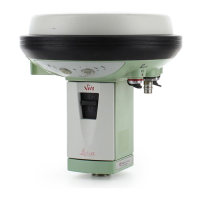
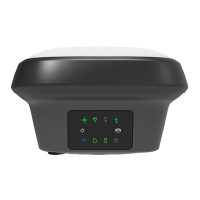
The receiver settings can be deleted without the web interface by using the Power and Function button on the GR10/30 & GM10/30 or
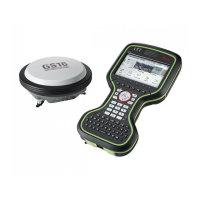
buttons and display on the GR25/50.
For detailed information on the instrument buttons go to User Interface GR10/30 & GM10/30: Keyboard or User Interface GR25/50:
Keyboard.
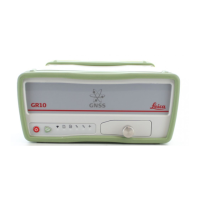
Format receiver settings on the GR10/30 & GM10/30 step-by-step
Make sure the receiver is turned on.
Activate the dual button functionality.
Press and hold both the Function button and Power button for 2s until all LEDs are flashing red.
After 1s, the Raw data logging LED starts flashing green.
Press the Function button (4 times) until the Power LED starts flashing green.
Press the Function button for 3 s to set all configured instrument settings back to factory default
After the system format is completed, the receiver reboots with all settings set back to the default settings.
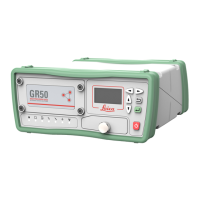
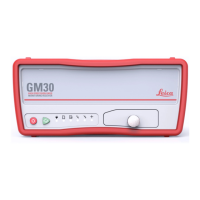
Format receiver settings on the GR25/50 step-by-step
Make sure the receiver is turned on.
Press any button to turn on the screen when in sleep mode.