16
Installation Options
Description of the system: Overview
Installation Options
Description
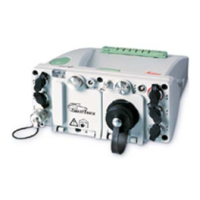
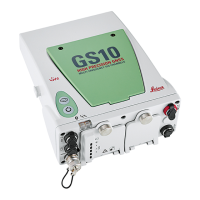
GR/GM receivers are designed for various installation cases. Below is a short description of four possible installation setups. Please
note that the diagrams do not show all the equipment required for a complete reference station installation. For full installation details,
please refer to the
• GNSS Reference Station and Networks - An Introductory Guide.
• GNSS Networks and Reference Stations Equipment List
Rack Mount
Together with the rack mount accessory kit the instrument can be easily mounted into a standard 19 inch IT rack.
• If space in the rack is limited, then the rubber bumpers on the instrument can be removed. The total height of the rack kit and
instrument is then 2U. If the bumpers are removed, please remove the small feet from the mounting brackets.
• The radio/GSM antenna must be installed on the outside of the rack if a slot-in radio or GSM device is used. Attach the
Radio/GSM antenna cable to port P3.
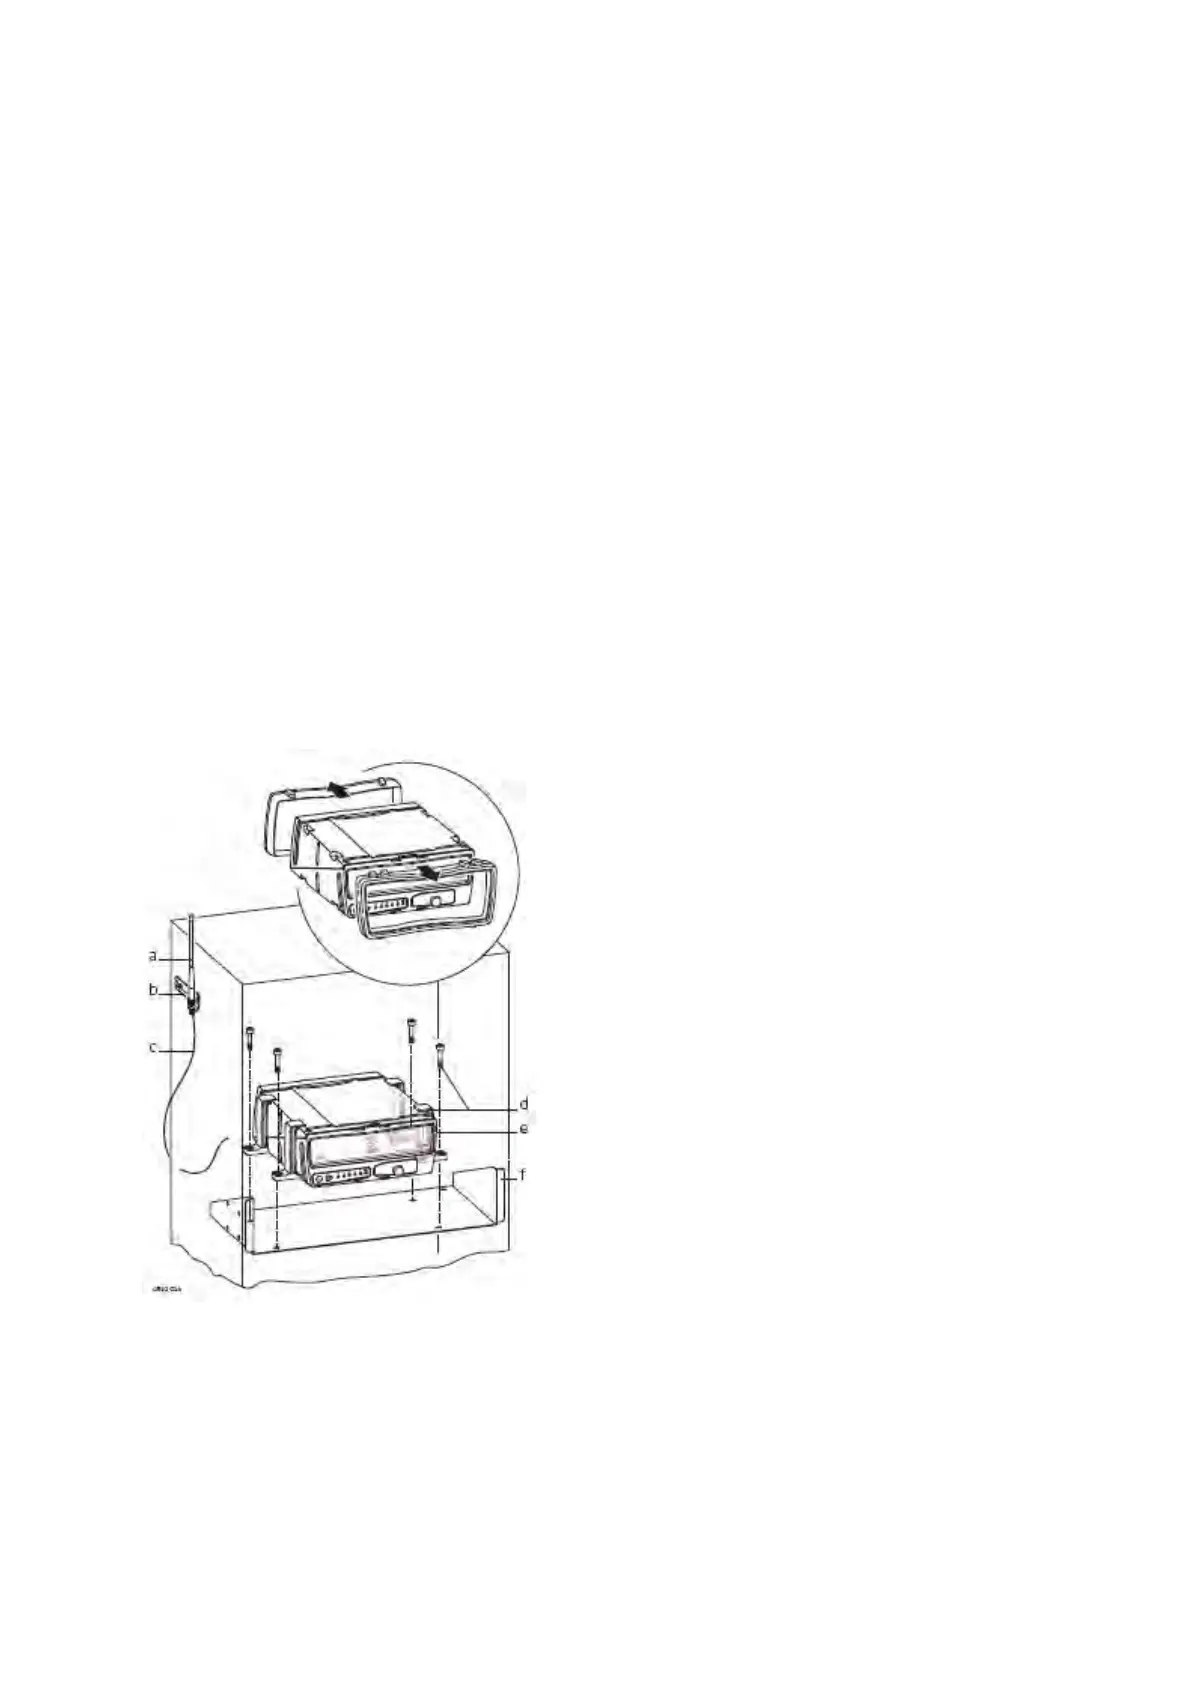
a. Radio/GSM antenna
b. Antenna bracket
c. Radio/GSM antenna cable
d. Wall mount accessory - screws
e. GR/GM receiver
f. Rack accessory
g. Wall mount accessory - bracket
Wall / Cabinet Mount
Together with the wall mount accessory kit the instrument can be easily mounted onto an existing wall or structure, or inside an
environmental case.
• If space in the cabinet is limited, then the rubber bumpers on the instrument can be removed. If the bumpers are removed,
please remove the small feet from the mounting brackets.