4-58 Service Manual
5060-4xx
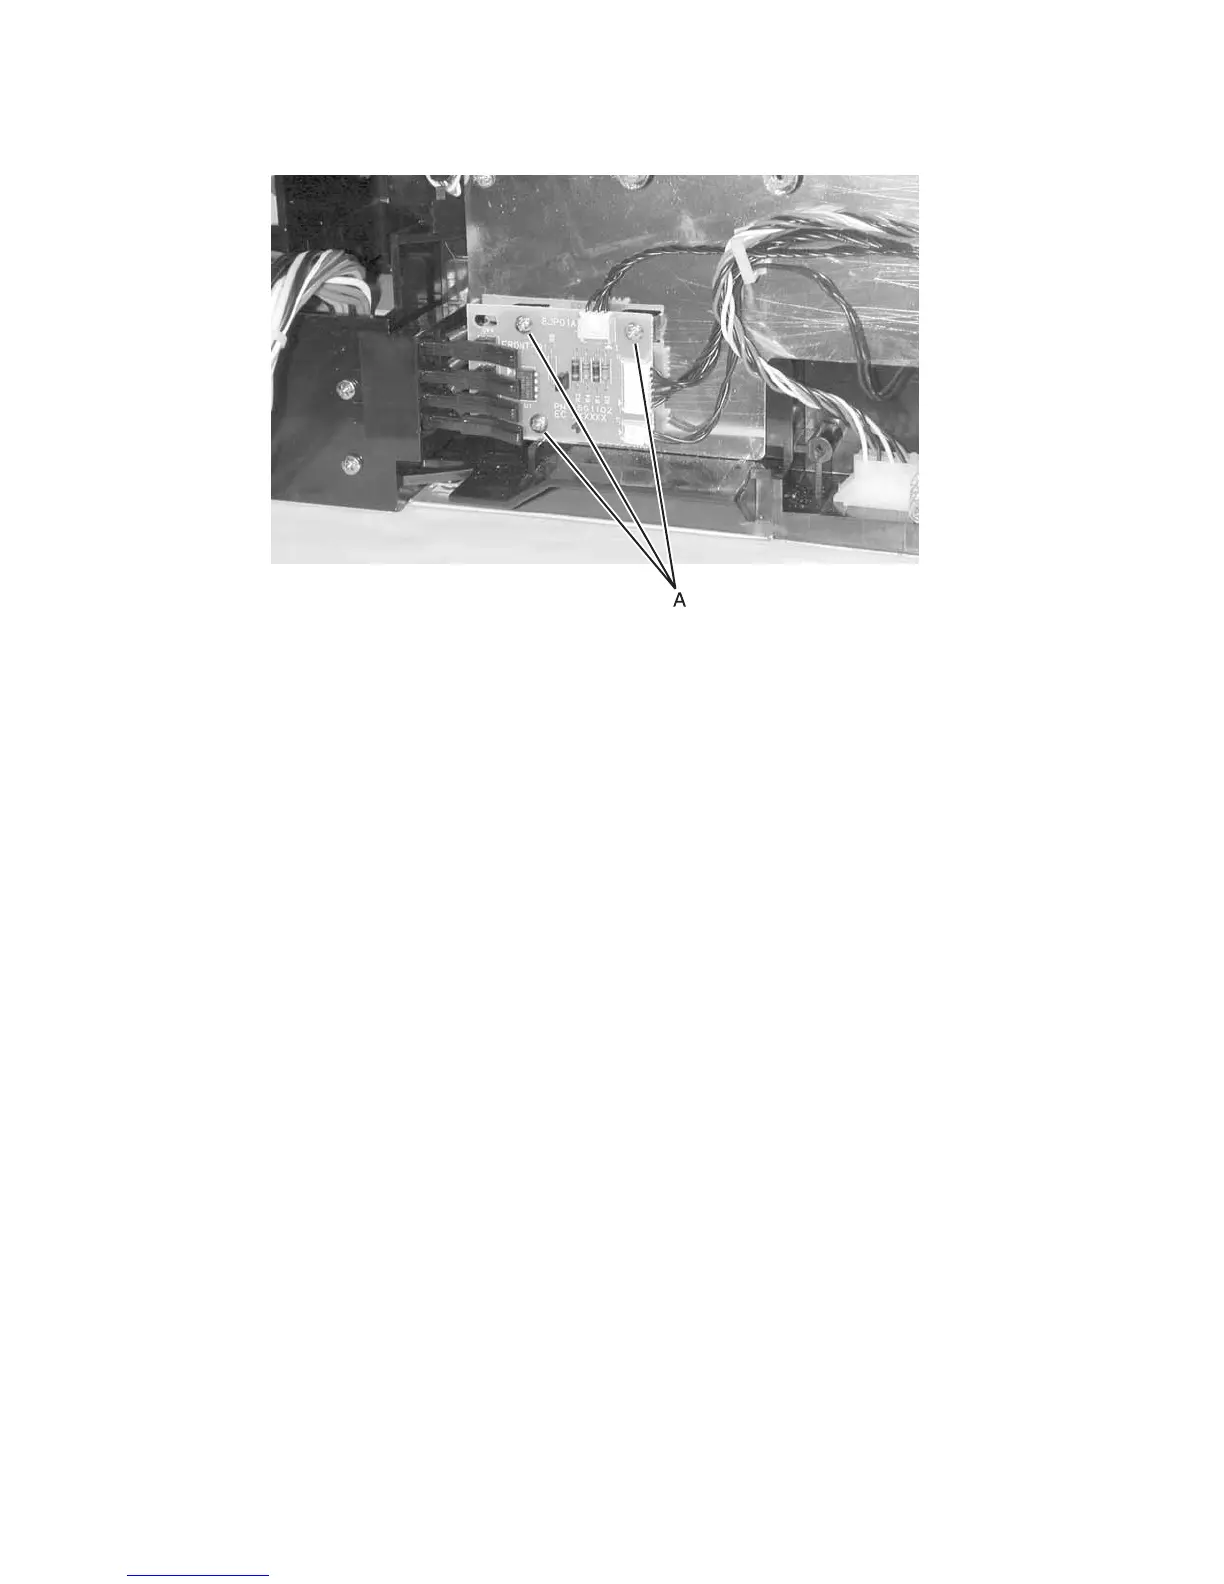
4. Remove the paper size sensing board screws (A).
5. Remove the board.
Replace the new board
1.
Power up the printer in Diagnostics mode (holding Go and Return until Performing Self Test
appears.)
2. Verify the model name to make sure the correct paper size sensing board is installed.
a. Select PRINTER SETUP from the Diagnostics mode.
b. Select Model Name.
The model name should match the model name on the Quick Test Page or on the printer logo. If it
does not, you have the wrong paper size sensing board.
c. Press Select to save the Model Name.
3. Verify or change the serial number to the number on the Quick Test Page or on the printer.
a. Select Serial Number from PRINTER SETUP in the Diagnostics mode.
b. The leftmost digit blinks, indicating it is the first digit to be changed. To change the value, press Menu
until the desired value is displayed. Press Select to move to the next digit. The digit blinks. Continue
modifying each digit using this method. To skip a digit, and keep its current value, press Select.
4. Perform the Motor Detect test.
a. Remove all the print cartridges from the printer and close the cover.
b. Select Motor Detect from MISC TESTS.
c. Press Go.
Motor Detection in Progress is displayed.
The test lasts approximately ten seconds. No buttons are active during detection and the test
completes automatically.
5. Turn off the printer.
6. Replace the print cartridges.
7. Power up the printer in Diagnostics mode (holding Go and Return until Performing Self Test
appears.)
8. Set the Configuration ID. See “Configuration ID” on page 3-33. The printer will POR.
9. Turn the printer off and power up the printer in Diagnostics mode (holding Go and Return until
Performing Self Test appears.)
10. Set the registration. See “REGISTRATION” on page 3-14. Refer to settings on the Quick Test Page you
printed at the beginning of this removal.
11. Set the alignment. See “ALIGNMENT MENU” on page 3-15. Refer to settings on the Quick Test Page.