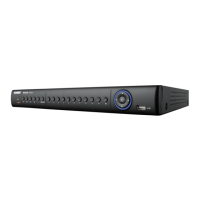
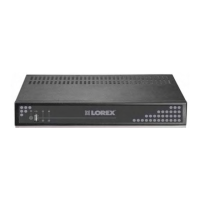
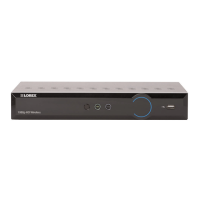
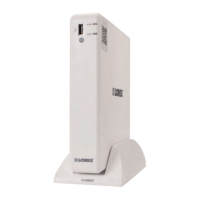
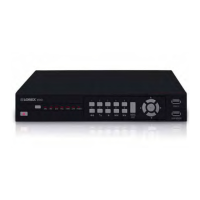
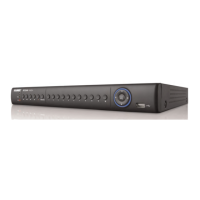
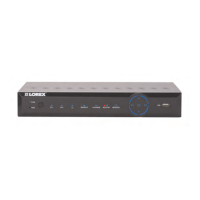
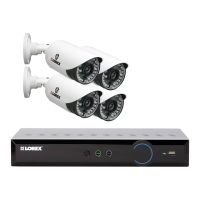
DVR Overview
3
2. Audio Input: Connect a self-powered microphone (not included) to the Audio Input
ports to record up to 4 channels of audio. To hear and record audio from the cameras,
ensure you have enabled audio for both the mainstream and substream. See 12.2.11
Configuring System Recording Quality (Mainstream and Substream), page 60 for full
instructions.
3. Audio Output: Connect a speaker (not included) to the Audio Output port.
4. HDMI: Connect to an HDMI monitor or TV (not included – 4K output supported) to view
the system interface.
5. LAN: Connect a CAT5 RJ45 Ethernet cable for local and remote connectivity.
6. USB Port: Connect a USB mouse (included) or connect a USB flash drive (not in-
cluded) for data backup or firmware upgrades.
7. Power (12V): Connect the included 12V DC power adapter.
8. RS485: Connect RS485 cables.
NOTE
• For full instructions on connecting PTZ cameras using RS485 cables, see 17 Connecting PTZ
Cameras to the DVR, page 138.
• Once you have connected the PTZ camera to the DVR, you will need to enter the PTZ camera’s
information so it can receive commands from the DVR. See 12.4.3 Configuring PTZ Cameras,
page 75 for details.
9. VGA: Connect a VGA monitor (not included) to view the system interface.
#LX400086; r. 1.0/39246/39246; en-US
6
 Loading...

