Using the Main Menu12
4. Click Save. The camera image for the selected channel will appear entirely black with
the caption Privacy Mode to indicate that covert recording is enabled.
5. (OPTIONAL) Use the Copy function to copy your settings to another or all connected
cameras. See 12.1.1 Copying Channel Settings to Another Channel, page 49 for de-
tails on using the copy function.
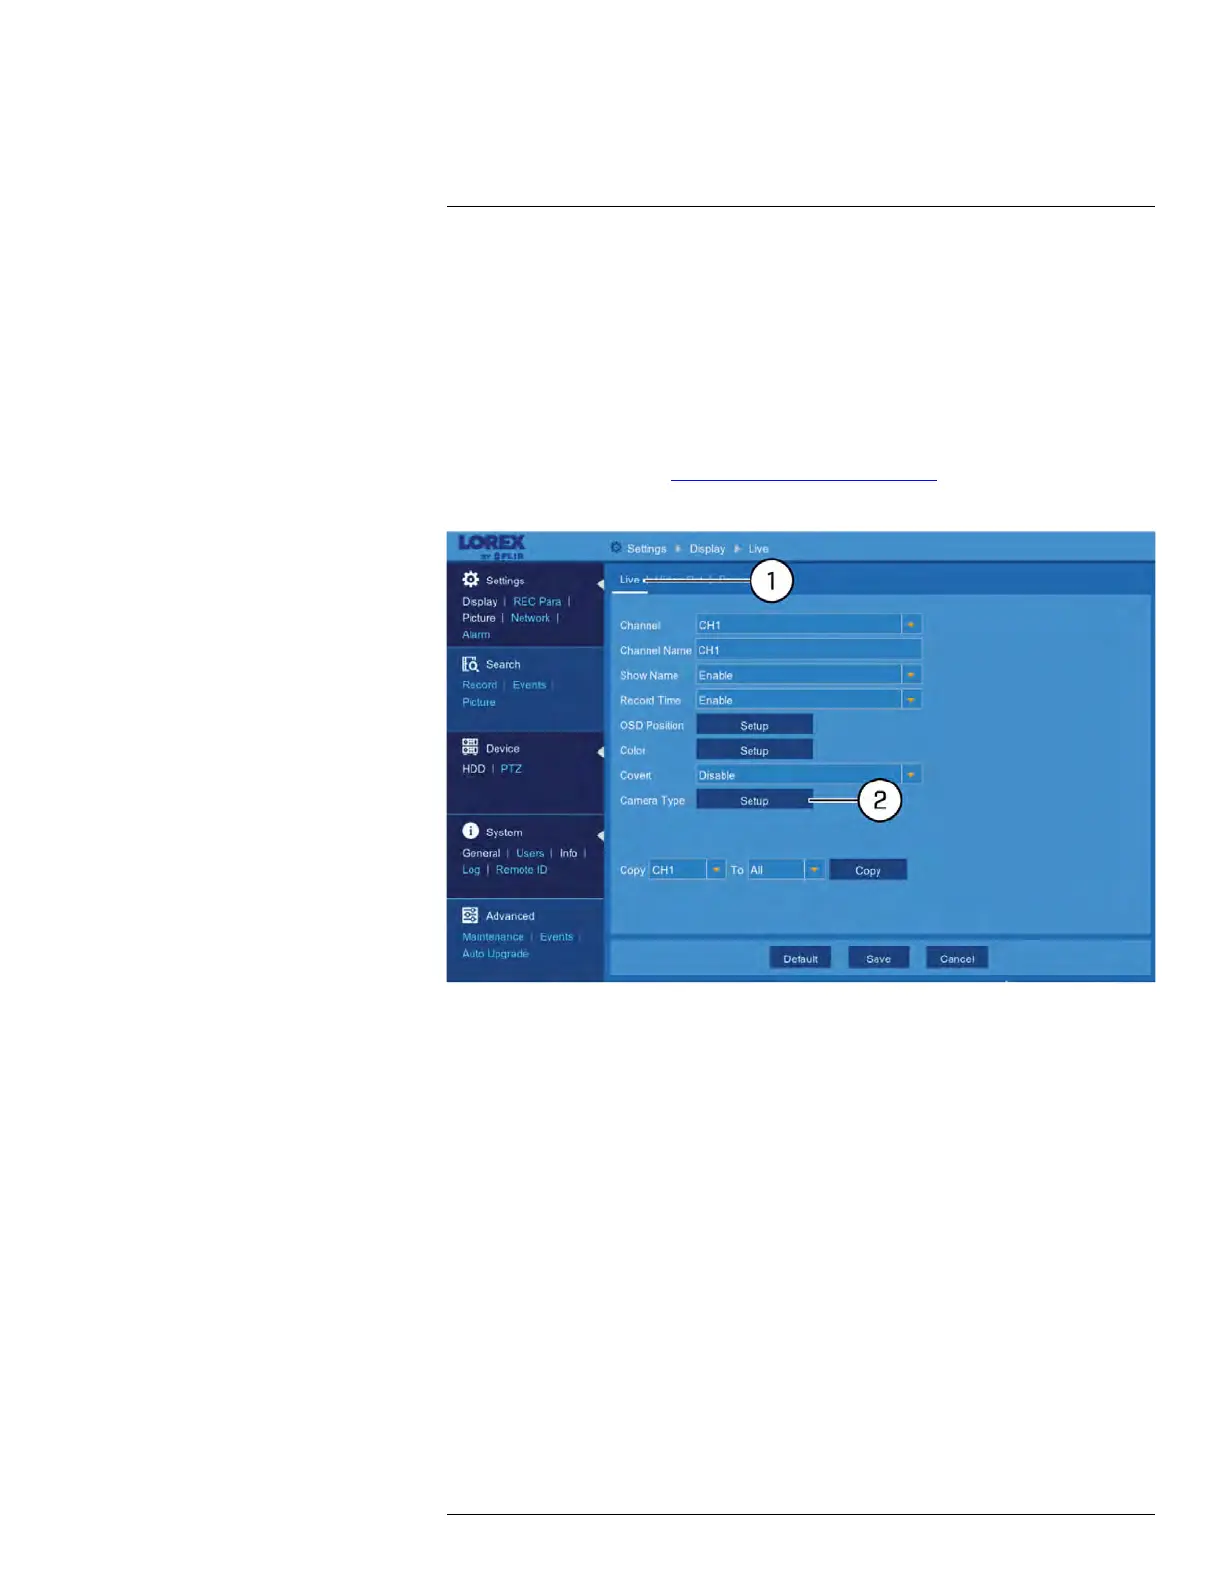
12.2.4 Camera Type
The DVR works with multiple types of HD analog cameras. By default, the system is set to
automatically detect the type of camera so it works instantly with the recorder. For a full list
of compatible cameras, visit lorextechnology.com/compatibility.
To access the camera type menu:
1. Under Settings, click Display, then click on the Live tab.
2. Click Setup next to Camera Type.
The Camera Setup menu opens.
3. Ensure channels are set to AUTO, which automatically recognizes the camera type for
instant viewing:
• AUTO: Automatically detects the camera type.
• AHD: Advanced only (1080p AHD cameras).
• AHD-3MP: Advanced only (3MP AHD cameras).
• AHD-4MP: Advanced only (4MP AHD cameras).
• TVI: Advanced only (HD-TVI cameras).
• CVI: Advanced only (HD-CVI cameras).
4. Click Save.
12.2.5 Changing the DVR’s Output Resolution
To optimize display, you can change the output resolution of your DVR to match the maxi-
mum supported resolution of your monitor.
#LX400086; r. 1.0/39246/39246; en-US
53