FLIR Client 12 for PC / Mac
13
19. Manual Recording: Click to start manually recording video. Click again to stop record-
ing. Manual recordings are saved to your computer. To set the location for manual re-
cordings, see 13.7 Local Settings Menu — Set Download Location and File Type,
page 123.
20. Snapshot: Click to save a snapshot of the current live display to your computer. To set
the location for snapshots, see 13.7 Local Settings Menu — Set Download Location
and File Type, page 123.
21. Digital Zoom: Click, then click-and-drag over an area of the live image to enlarge.
Right-click to return to the full image.
22. Mute/Unmute: Requires audio-enabled cameras (not included).
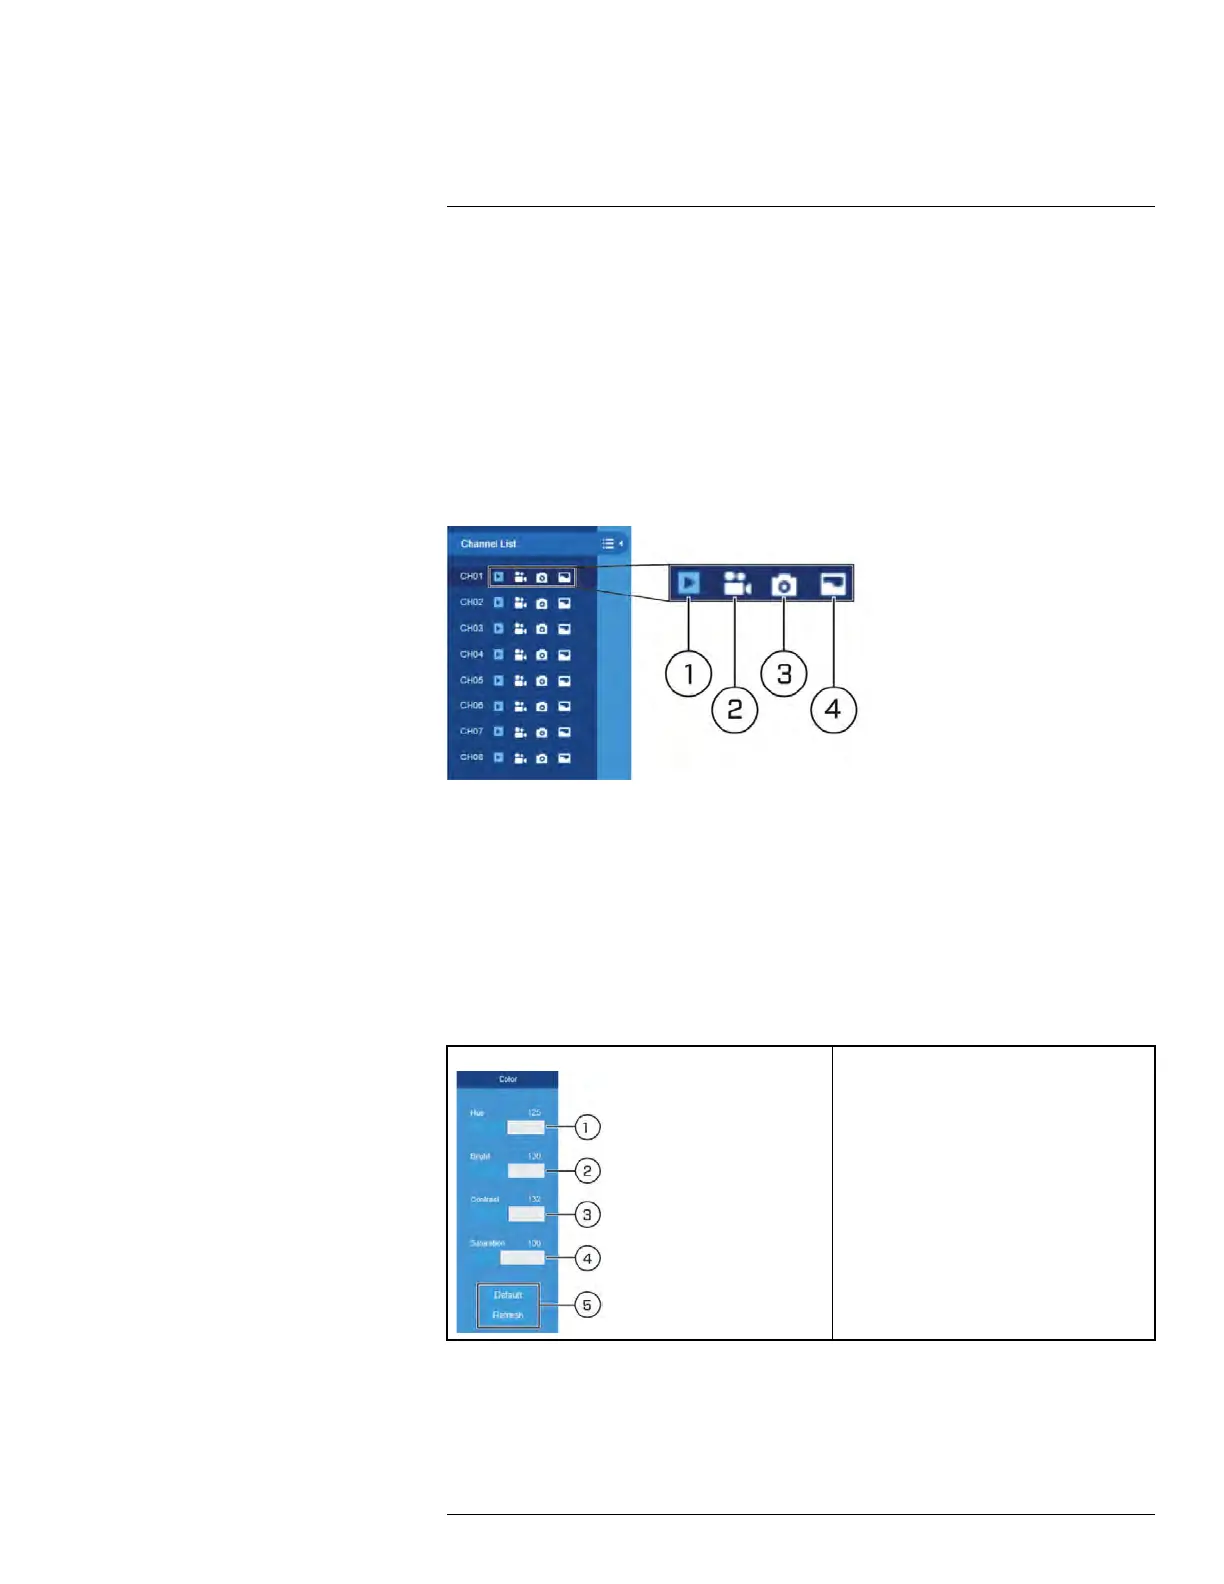
13.4.1 Channel List
1. Play Channel: Turn the video stream on/off.
2. Manual Recording: Click to start manually recording video. Click again to stop record-
ing. Manual recordings are saved to your computer. To set the location for manual re-
cordings, see 13.7 Local Settings Menu — Set Download Location and File Type,
page 123.
3. Snapshot: Click to save a snapshot of the current live display to your computer. To set
the location for snapshots, see 13.7 Local Settings Menu — Set Download Location
and File Type, page 123.
4. Bitrate: Set camera to use mainstream or substream video settings.
13.4.2 Color Controls
1. Adjust Hue
2. Adjust Brightness
3. Adjust Contrast
4. Adjust Saturation
5. Click Default to reset all sliders to default
positions, or click Refresh to see the ef-
fects of your changes on the live video.
#LX400086; r. 1.0/39246/39246; en-US
95