Basic Setup
4
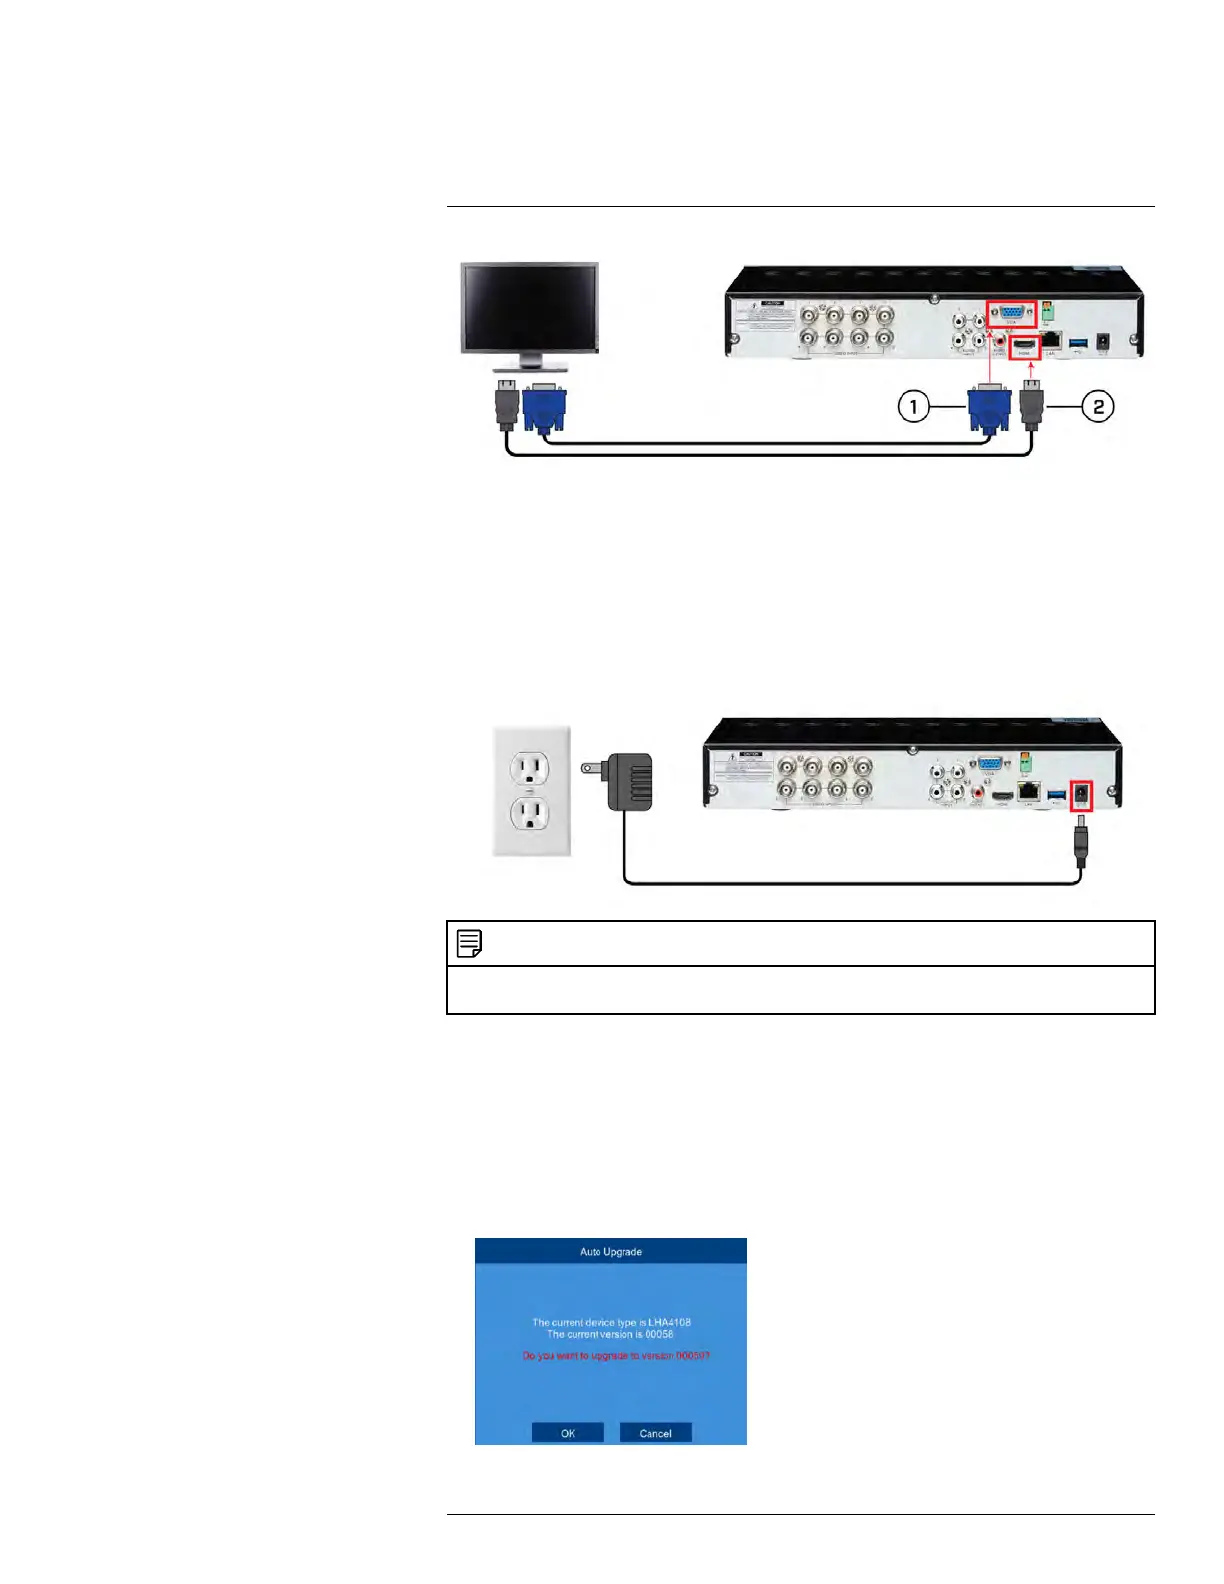
1. VGA cable (not included) — supports up to 1080p output.
2. HDMI cable (included)
• 4–channel DVRs: Supports up to 1080p output.
• 8/16–channel DVRs: Supports up to 4K output (4K monitor/TV required).
4.5 STEP 5: Connect the power adapter
Connect the included power adapter to the 12V port. Connect the end of the power adapt-
er to a wall socket or a surge protector. The DVR will power on.
NOTE
At startup, the system performs a basic system check and runs an initial loading sequence. After a few
moments, the system loads a live display view.
4.6 STEP 6: Upgrade firmware to latest version (if available)
If a firmware upgrade is available, you will be asked to install it once the DVR starts up. It is
required to upgrade your system firmware and client software / mobile apps to the latest
version to enable remote connection to the system.
If a firmware upgrade is available:
1. After startup, a notification will appear asking you to upgrade the firmware. Click OK to
upgrade.
#LX400086; r. 1.0/39246/39246; en-US
8