Body Marks (Pictograms)
15-3
15.5 Moving Body Marks
You can move the Body Mark graphic to any desired position within the image area.
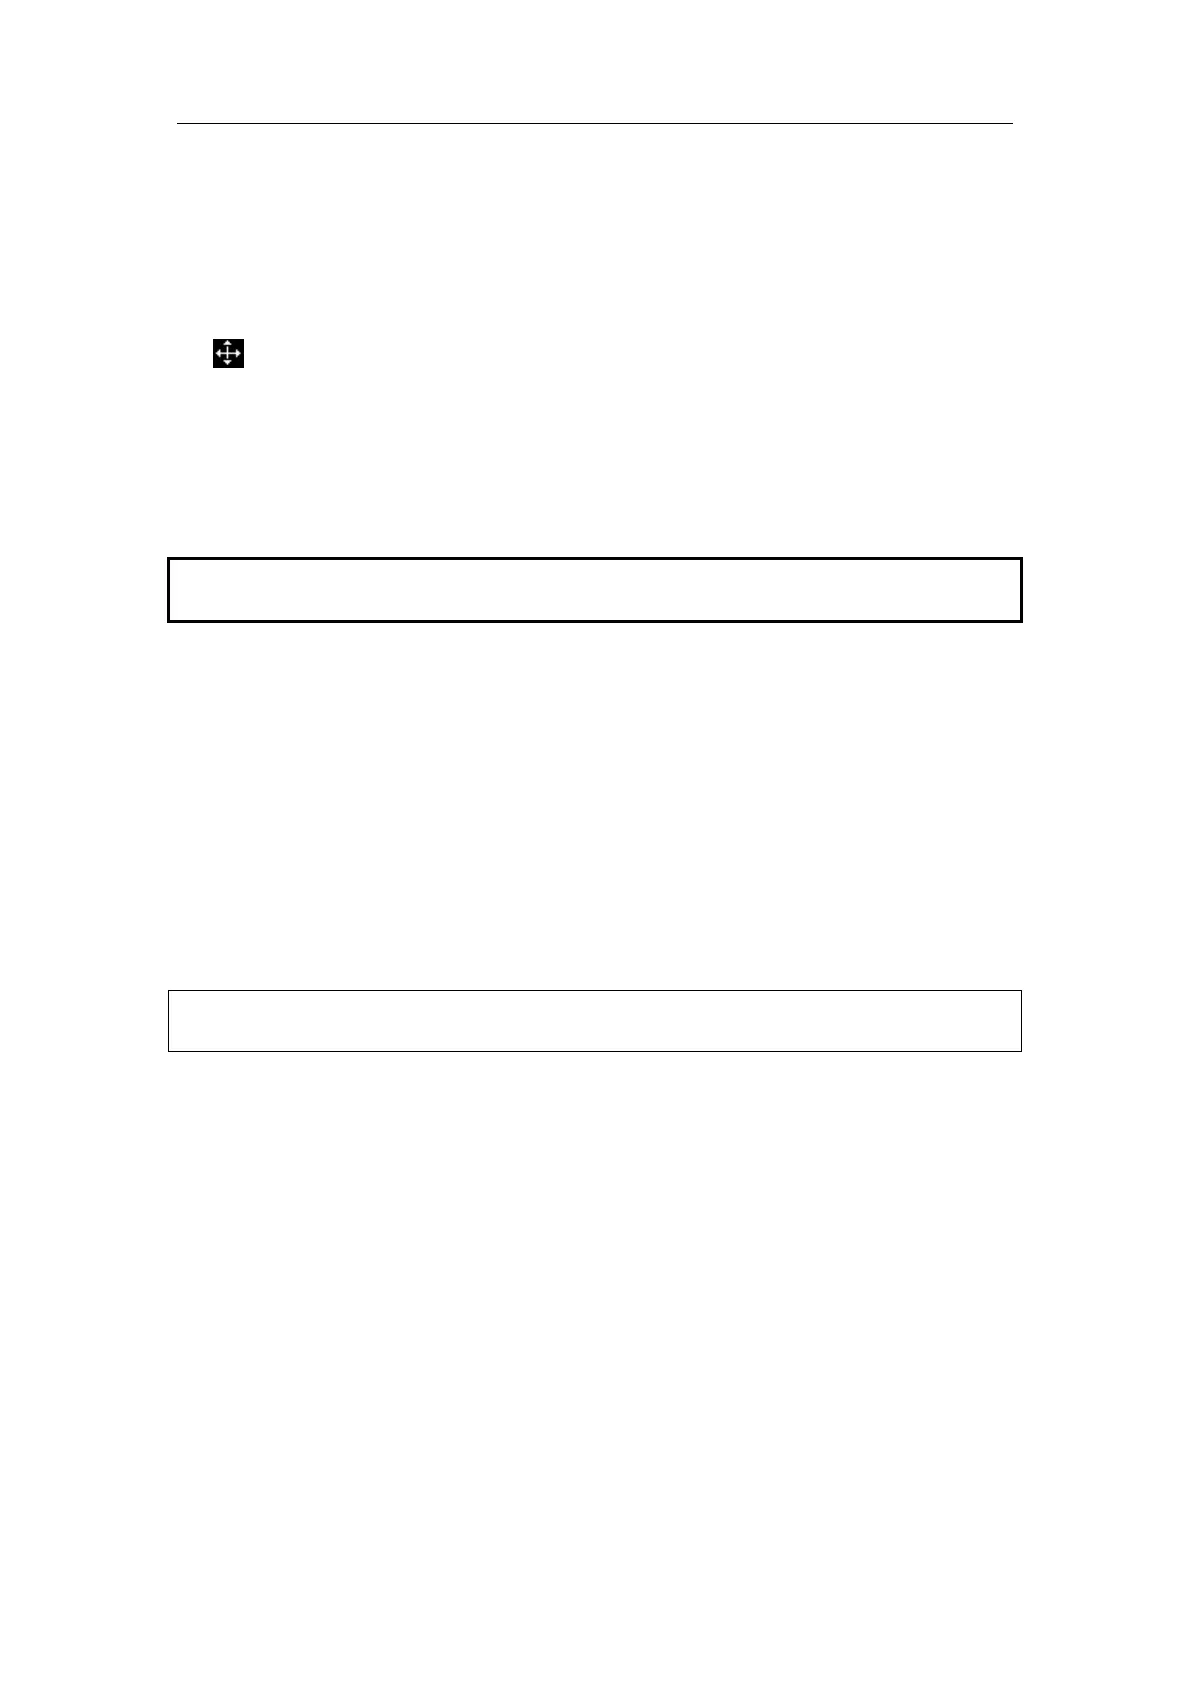
1 Roll the trackball to move the cursor onto the Body Mark graphic. The cursor becomes
, indicating you can move the pictogram to a new position.
2 Click the [Set] key to select the Body Mark graphic, a frame will now appear around the
graphic.
3 Roll the trackball to move the Body Mark graphic to the desired position.
4 Click the [Set] key to anchor and confirm the new graphic position.
NOTE: In Dual B Mode, a Body Mark cannot be moved between the separate image
windows.
15.6 Deleting Body Marks
To delete a Body Mark,
1 Use the trackball to position the selection pointer over the Body Mark graphic.
2 Click the [Set] key to select the Body Mark graphic.
3 Press the [Clear] key to delete the selected body mark.
NOTE: In the Body Mark mode, if no object is selected, pressing the [Clear] key will
clear all comments, body marks and general measurements from the screen.
Delete body marks in reversed order
In the body mark status, press the [Back] key to delete the body marks in the reversed
order.
15.7 Body Mark Preset
In order to accommodate your workflow – numerous preferential settings can be captured
in Body Mark Preset. This function is to preset,
1. body marks in each exam type, or
2. user-defined body marks.