Image Modes
10-20
c) Select “iZoom” in the Other page.
d) Click [OK] to complete the setting.
(2) Open the image (or the under scanning image), press the defined iZoom key to
zoom in the area in the first type; press the key again to zoom in the area in the
second type.
(3) Press the defined iZoom key again to return to normal status.
In iZoom status:
z Press any key of the soft menu controls, the soft menu will appear in the screen for
image adjustment.
z Measurements, adding comments and body marks are allowed in the status.
z It is the currently zooming region that is used for video output, image saving and
print functions.
z Press <Probe>, <Info>, <iStation>, <Review> or enter Report or Preset, the
system will exit zoom status.
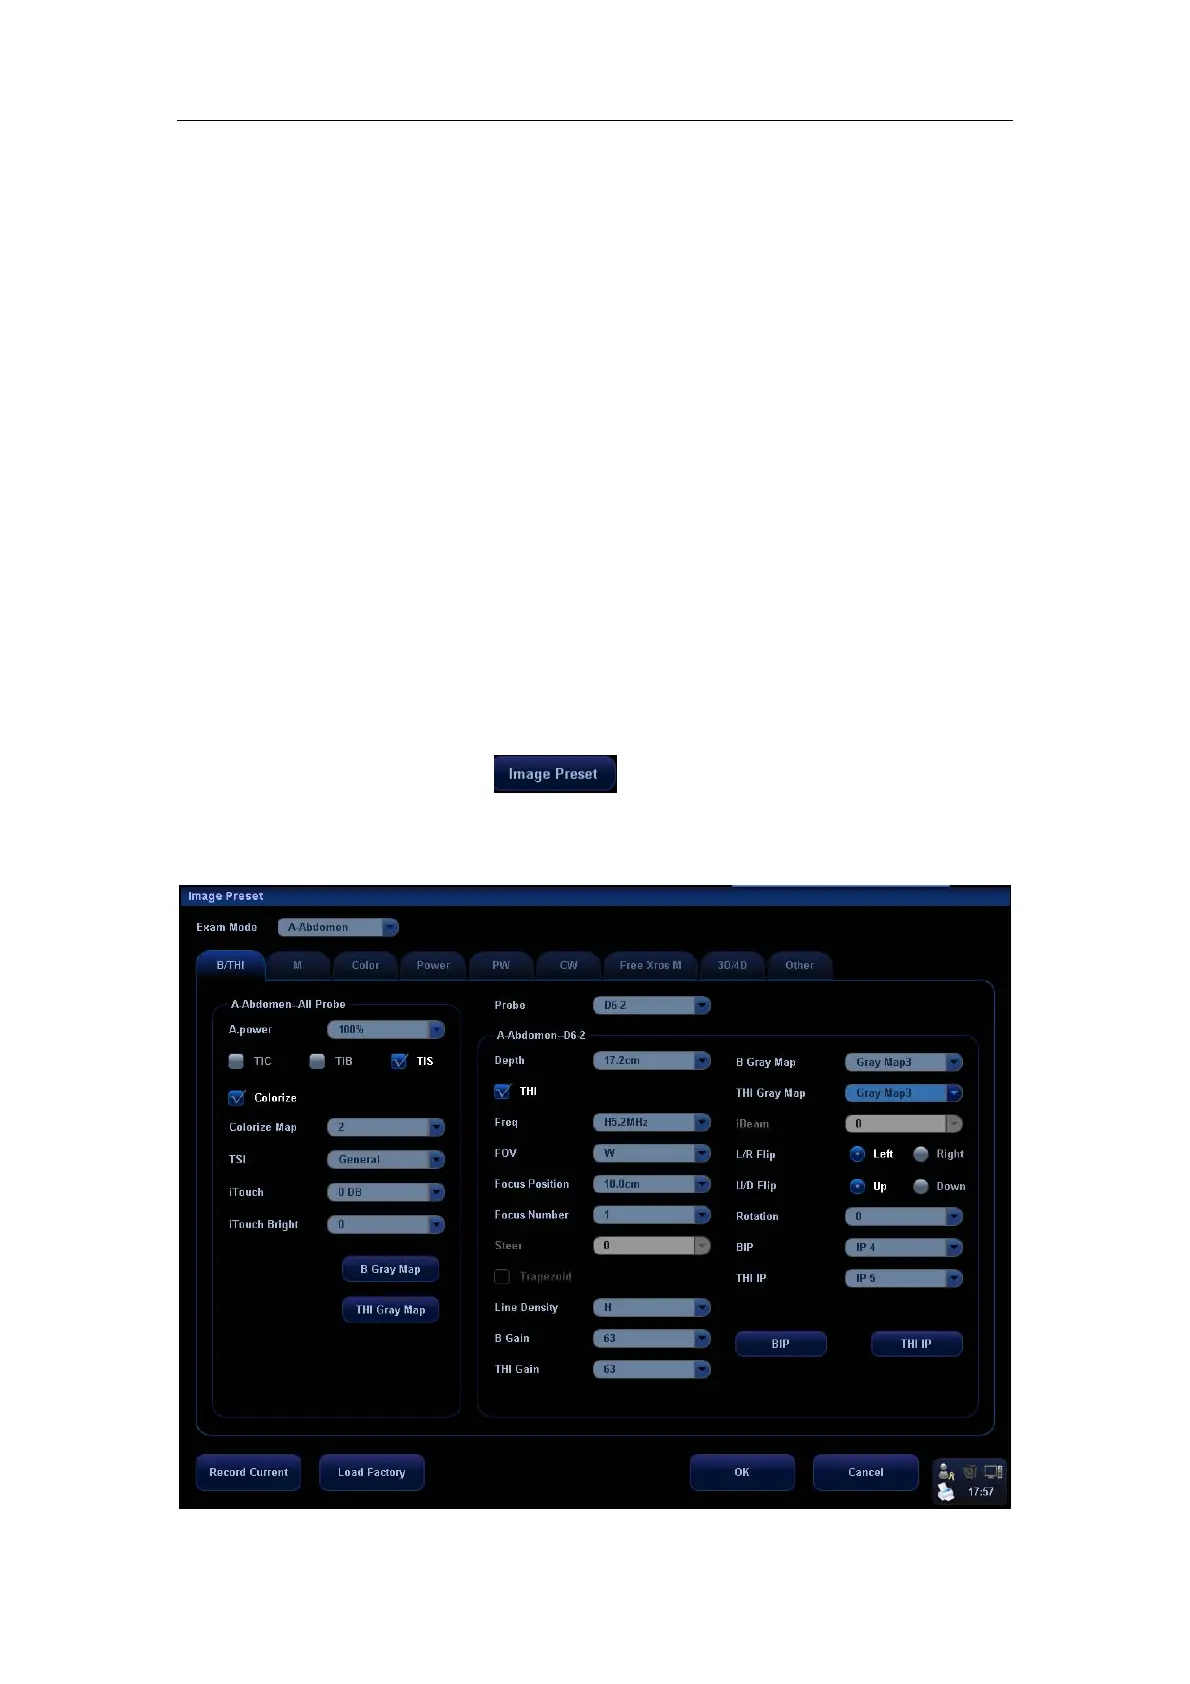
10.4 Image Parameter Preset
To enter the [Image Preset] screen,
1. Press the [Image Preset] item in the [Setup] menu; or
2. Press the [Exam Preset] item in the [Setup] menu to enter the [Exam Preset] screen, and
select [Exam Config] and click
.
The image preset is used to set image parameters for a specific transducer in a specific
exam type. In this example notice the various settings available for the 3C5A transducer
in B / THI Mode, A-Abdomen exam.