Probes and Biopsy
18-41
NGB-011
(1) Inosculate the locating groove on the clamp with the two raised edges on the
probe head and align the locating pit of the clamp to the convex point on the
probe head.
(2) Turn the grip knob at the tail of the needle-guided bracket tightly.
CAUTION:
Ensure that all guide parts are seated properly prior to performing
a biopsy.
18.2.4 Entering or Exiting Biopsy Menu
To enter the biopsy,
1 Press the [Biopsy] key on the control panel, and the screen displays “Please verify
guidelines before biopsy”. Click [OK] to show the biopsy guide line.
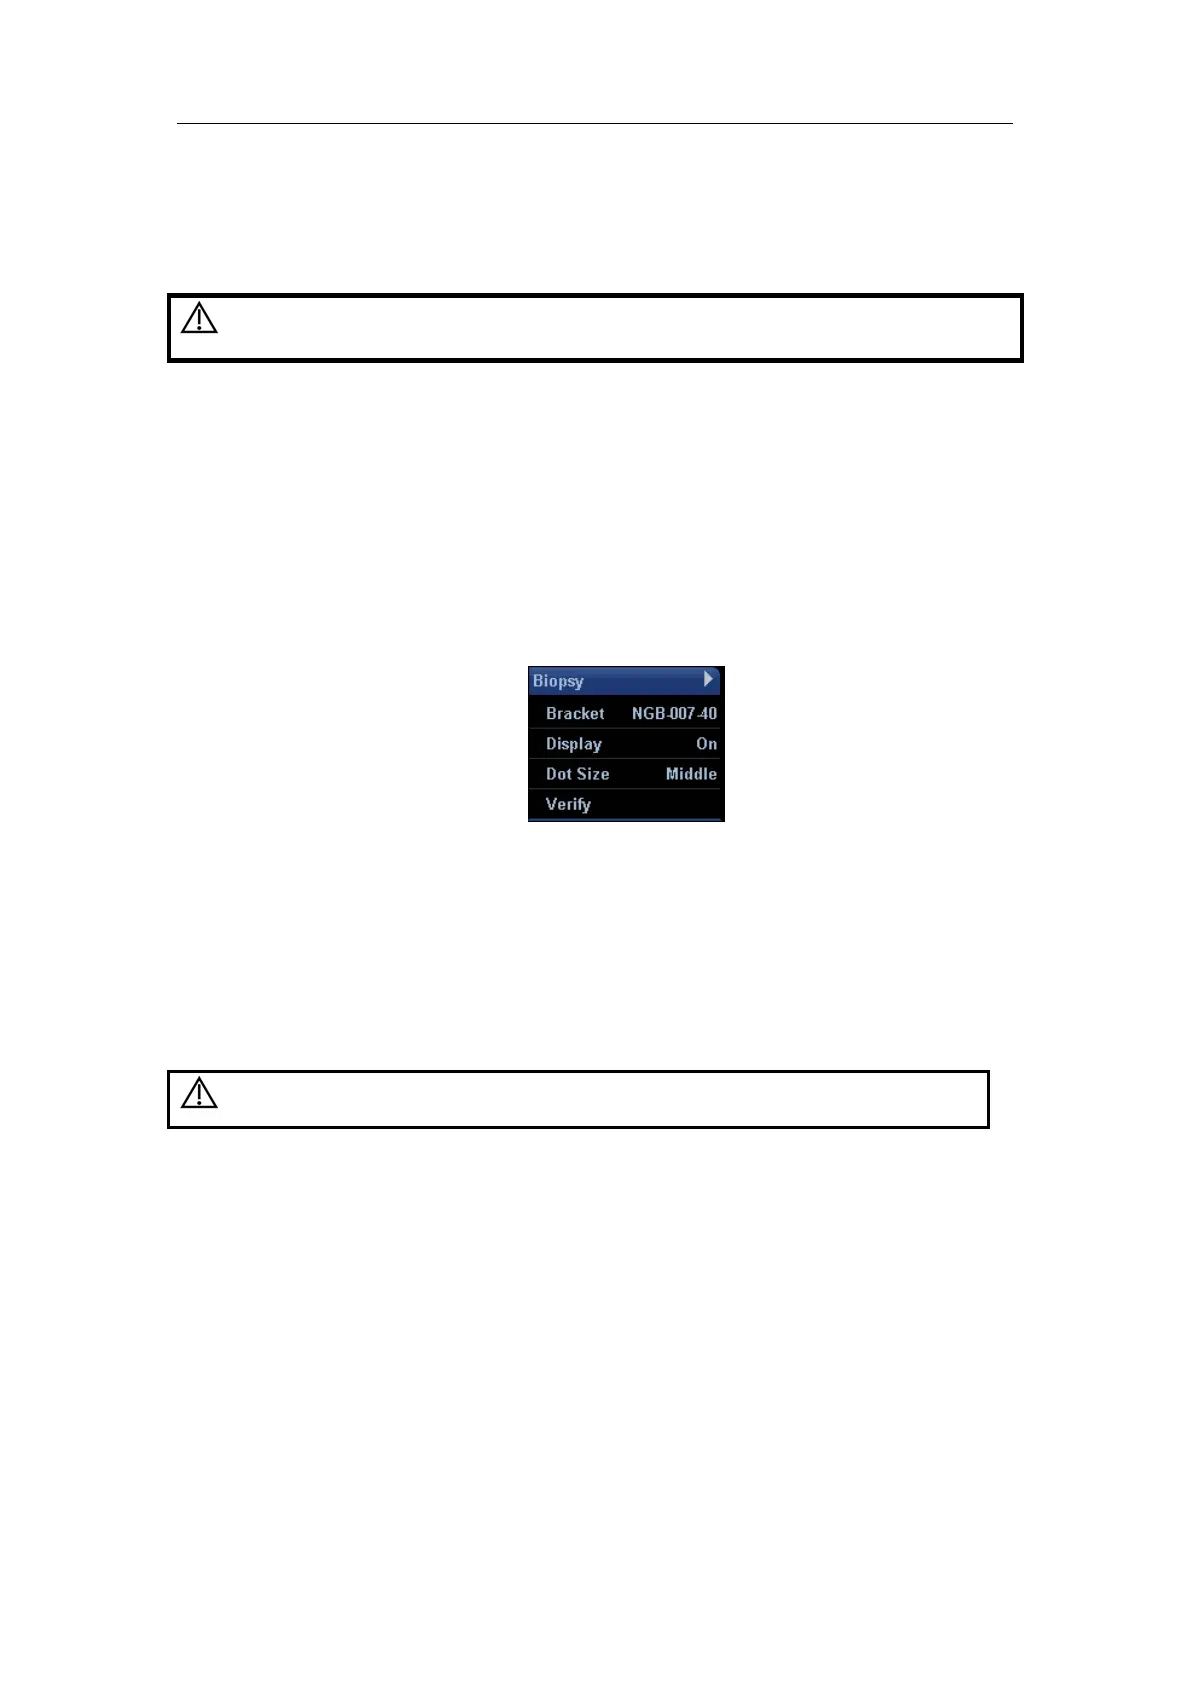
2 Press the [Menu] key to show the image menu, and move the cursor onto the menu
title and click Biopsy in the pop-up menu. A screen will open as shown in the figure
below.
To exit the biopsy,
1 Press the [Esc] key. Or
2 Move the cursor onto the Biopsy menu title and navigate to select other menus in
the pop-up menu.
WARNING:
Do not freeze an image while performing biopsy procedure.
18.2.5 Displaying Biopsy Guide Lines
1
Select biopsy bracket angle.
Select the biopsy bracket angle (by changing the last two digits of the parameter
value) on the bracket selection.
2
Display or hide the guide line,
a) To display the guide line, turn on [Display].
b) To hide the guide line, turn off [Display].
3
Select guide line dot size.
Roll the trackball to move the cursor on [Dot Size], and press <Set> key or [Back]