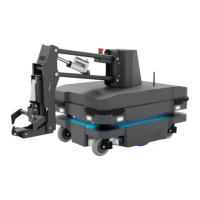
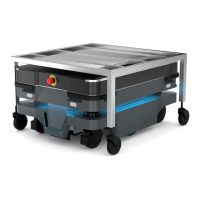
13. Usage
MiR250 Hook User Guide (en) 01/2023 - v.1.2 ©Copyright 2021-2023: Mobile Industrial Robots A/S. 205
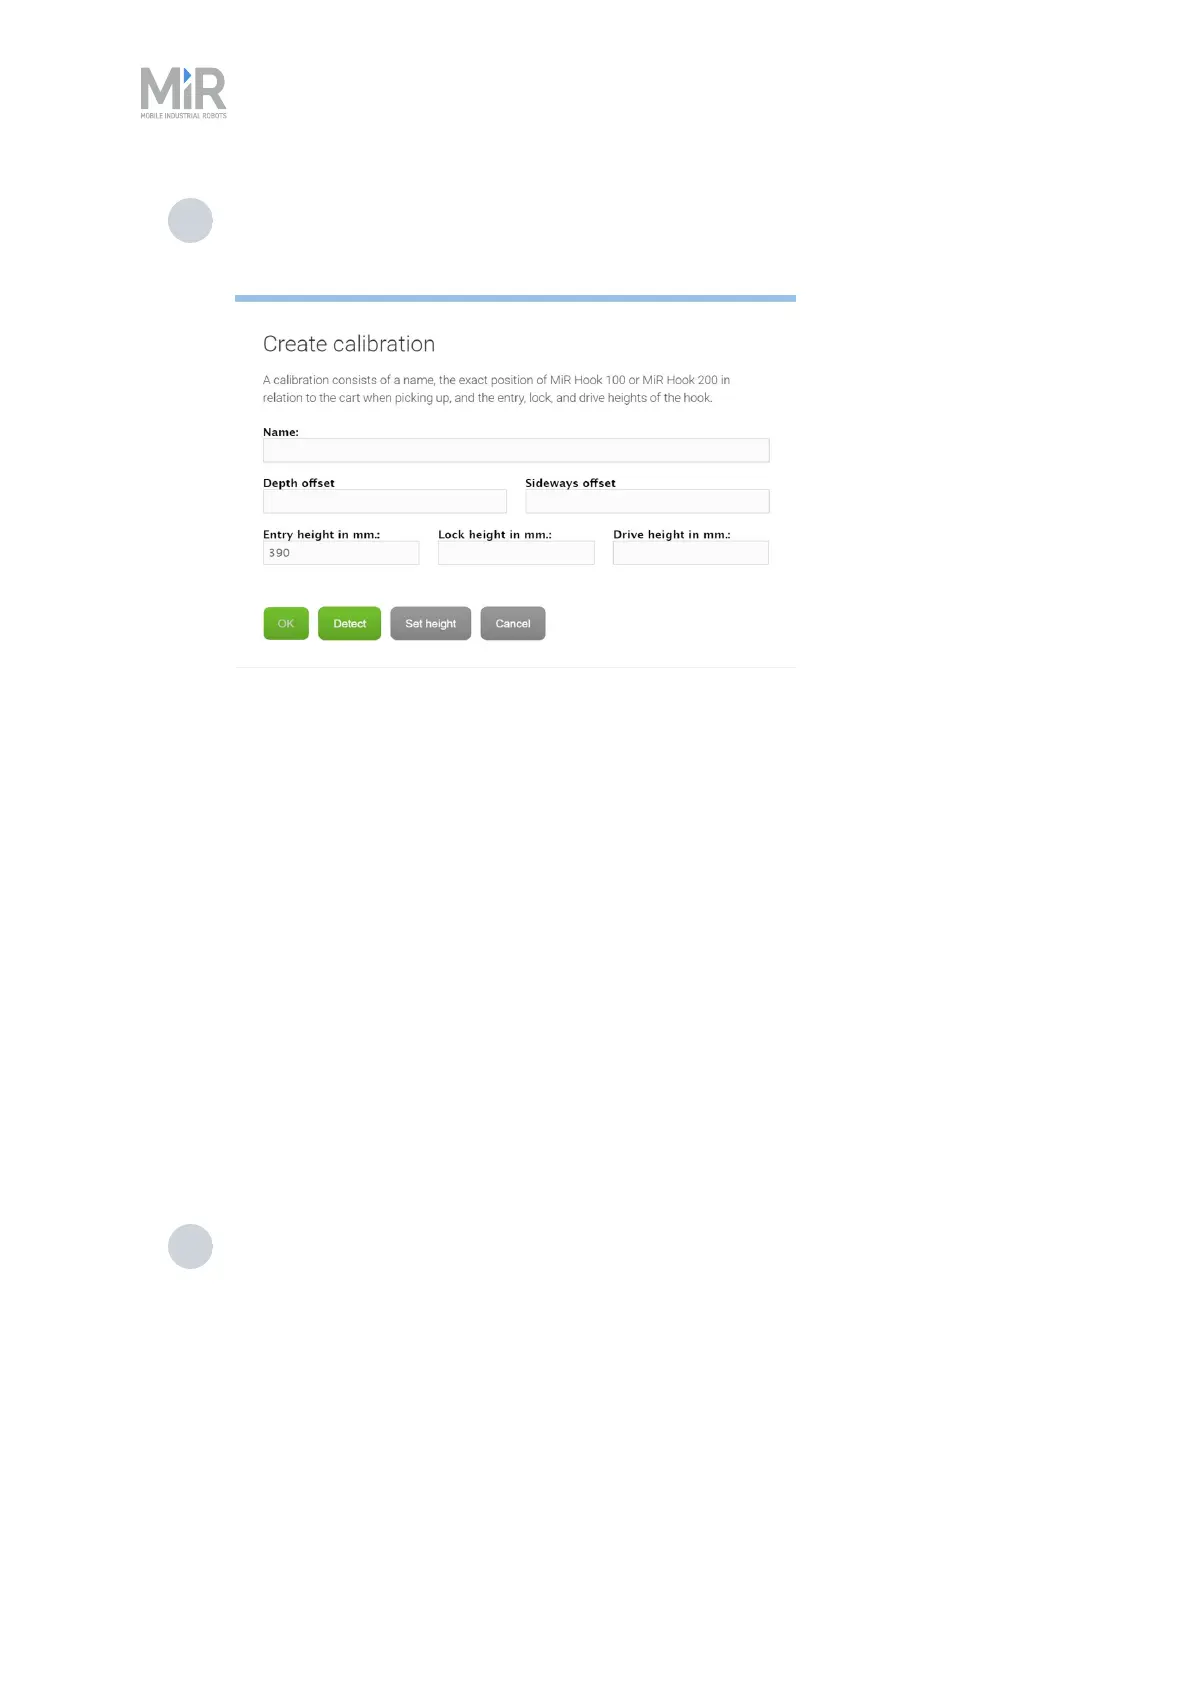
4 Under Calibration, select Create / Edit. Here you can either select an existing cart
calibration, or create a new calibration by selecting Create calibration. When creating
a new calibration you must defined the following parameters:
• Name: Is used to identify the calibration settings. This will automatically be filled
when you select Detect and MiR250 Hook is correctly positioned to read the ID tag
of the cart.
• Entry height: Defines the height of the hook when the robot can move the gripper
beneath the gripper bar. This is the height the robot should currently be set to.
Select Detect, and if MiR250 Hook is correctly positioned to read the ID tag of the
cart, the Entry height will be entered.
• Side and Depth Offset: These are used to define the exact position of MiR250
Hook relative to the cart. If MiR250 Hook is positioned at the Entry height
determined in "Calibrate cart" on page144 and the camera is in front of the ID tag,
you can select Detect to automatically fill in these parameters.
• Lock height: Defines the height of the hook when the gripper is securely attached
to the gripper bar. This is the value determined in "Calibrate cart" on page144 step
3.
• Drive height: Defines the height of the hook that should be used while the robot is
towing the cart. This is often the same as the Lock height.
5 Select Create cart when you are done. The cart is now displayed in the list of carts.