REAR SUSPENSION – Lower Arm and Toe Control Arm Assemblies
34-12
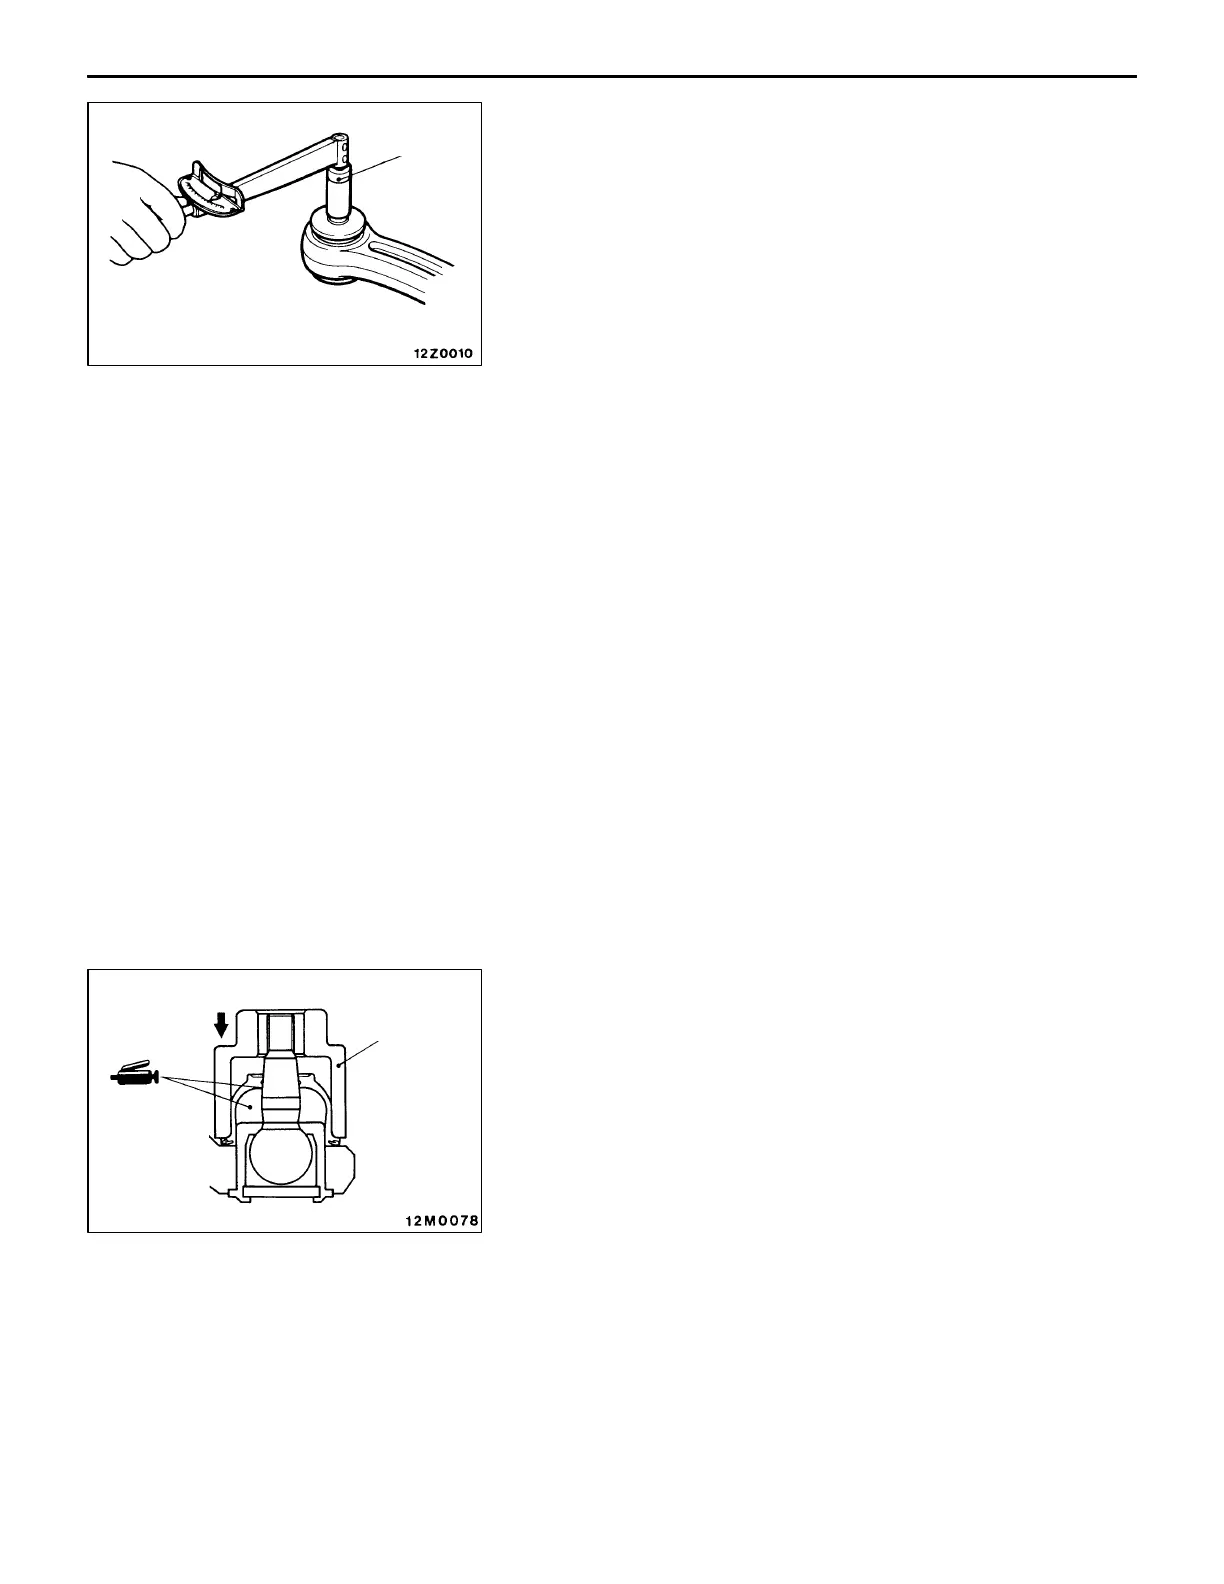
2. TOE CONTROL ARM SLIDE BUSHING OPERATING
TORQUE CHECK
(1) Insert a bolt into the slide bushing of the toe control arm.
Fit a washer onto the bolt from the opposite end and
screw a nut onto it. Turn the inner cylinder (together with
the washer) several turns, then measure the toe control
arm slide bushing operating torque using the special tool.
Standard value: 0.2 – 1.5 Nm {2 – 15 kgf@cm}
(2) If the measurement exceeds the standard value, replace
the toe control arm assembly.
(3) If the measurement falls short of the standard value, check
that the slide bushing turns smoothly without excessive
play. If so, the slide bushing should still be in good condition
for continued use.
3. TOE CONTROL ARM BALL JOINT DUST COVER
CHECK
(1) Check the dust cover for cracks or damage by pushing
it with a finger.
(2) If the dust cover is cracked or damaged, replace the
toe control arm assembly.
NOTE
A cracked or damaged dust cover can lead to a damaged
ball joint.
If the dust cover is damaged during servicing, replace
it with a new one.
TOE CONTROL ARM BALL JOINT DUST
COVER REPLACEMENT
Only when the dust cover is damaged accidentally during
service work, follow these steps to replace it with a new one.
(1) Remove the dust cover.
(2) Pack and apply the specified grease to the inside and
lips of the dust cover.
Molybdenum disulfide-base chassis grease:
SHOWA SHELL SEKIYU SUNLITE MB2, NISSEKI
CLAKNOCK FL, or equivalent
(3) Using the special tool, press the dust cover until it contacts
the snap ring.
(4) Push the dust cover with a finger to ensure that it is
free from cracks or damage.
MB990326
MB990800