- 76 -
3. Scan
6
When the [Please set next document] screen is displayed, set the next
document in the ADF or on the document glass.
If you set the next document to a different place, remove the document from the place you used first.
7
Press [Start Scan].
8
When scanning all sets of the documents is complete, press [Scan Complete].
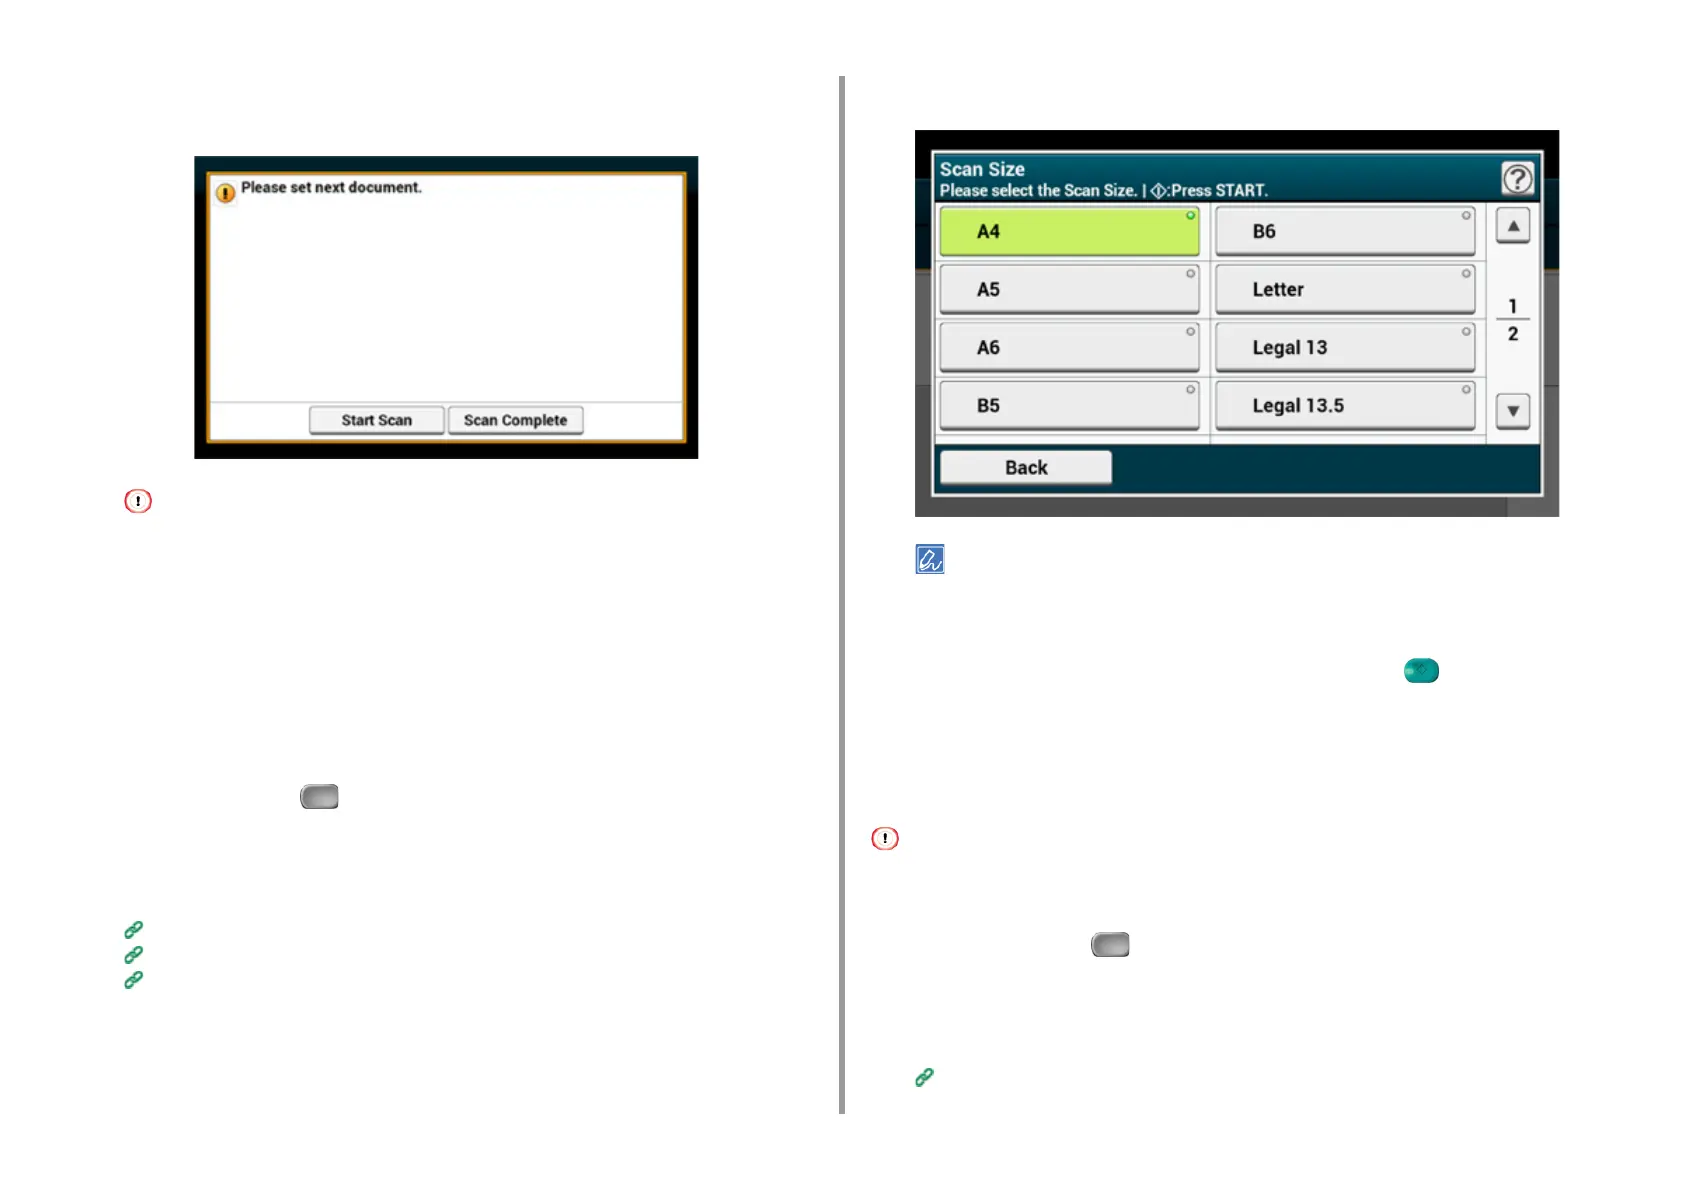
Specifying a Scan Size
You can specify the suitable size to scan a document.
1
Press [Scan] or the (SCAN) button.
2
Set a document in the ADF or on the document glass.
3
Select a scan function.
Sending Scanned Data as an E-mail Attachment
Saving Scanned Data in USB Memory
Saving Scanned Data in a Shared Folder
4
Press [Scan Size] in the [Basic] tab or [Scan To USB Memory] tab.
5
Select a size.
For both of the ADF and document glass, available custom sizes are as follows. Width: 105 to 297 mm / Height:
148 to 432 mm
*For custom sizes of 210 mm or more in height, duplex scanning is available.
6
Change other settings if necessary, and then press the (START) button.
Scanning a Duplex Document (Duplex Scan)
This section describes how to scan two-sided documents.
• Use standard size plain paper. Use of paper other than standard size plain paper may cause paper jams.
• To scan a duplex document, set the document in the ADF.
1
Press [Scan] or the (SCAN) button.
2
Set a document in the ADF.
3
Select a scan function.
Sending Scanned Data as an E-mail Attachment