- 77 -
3. Scan
Saving Scanned Data in USB Memory
Saving Scanned Data in a Shared Folder
4
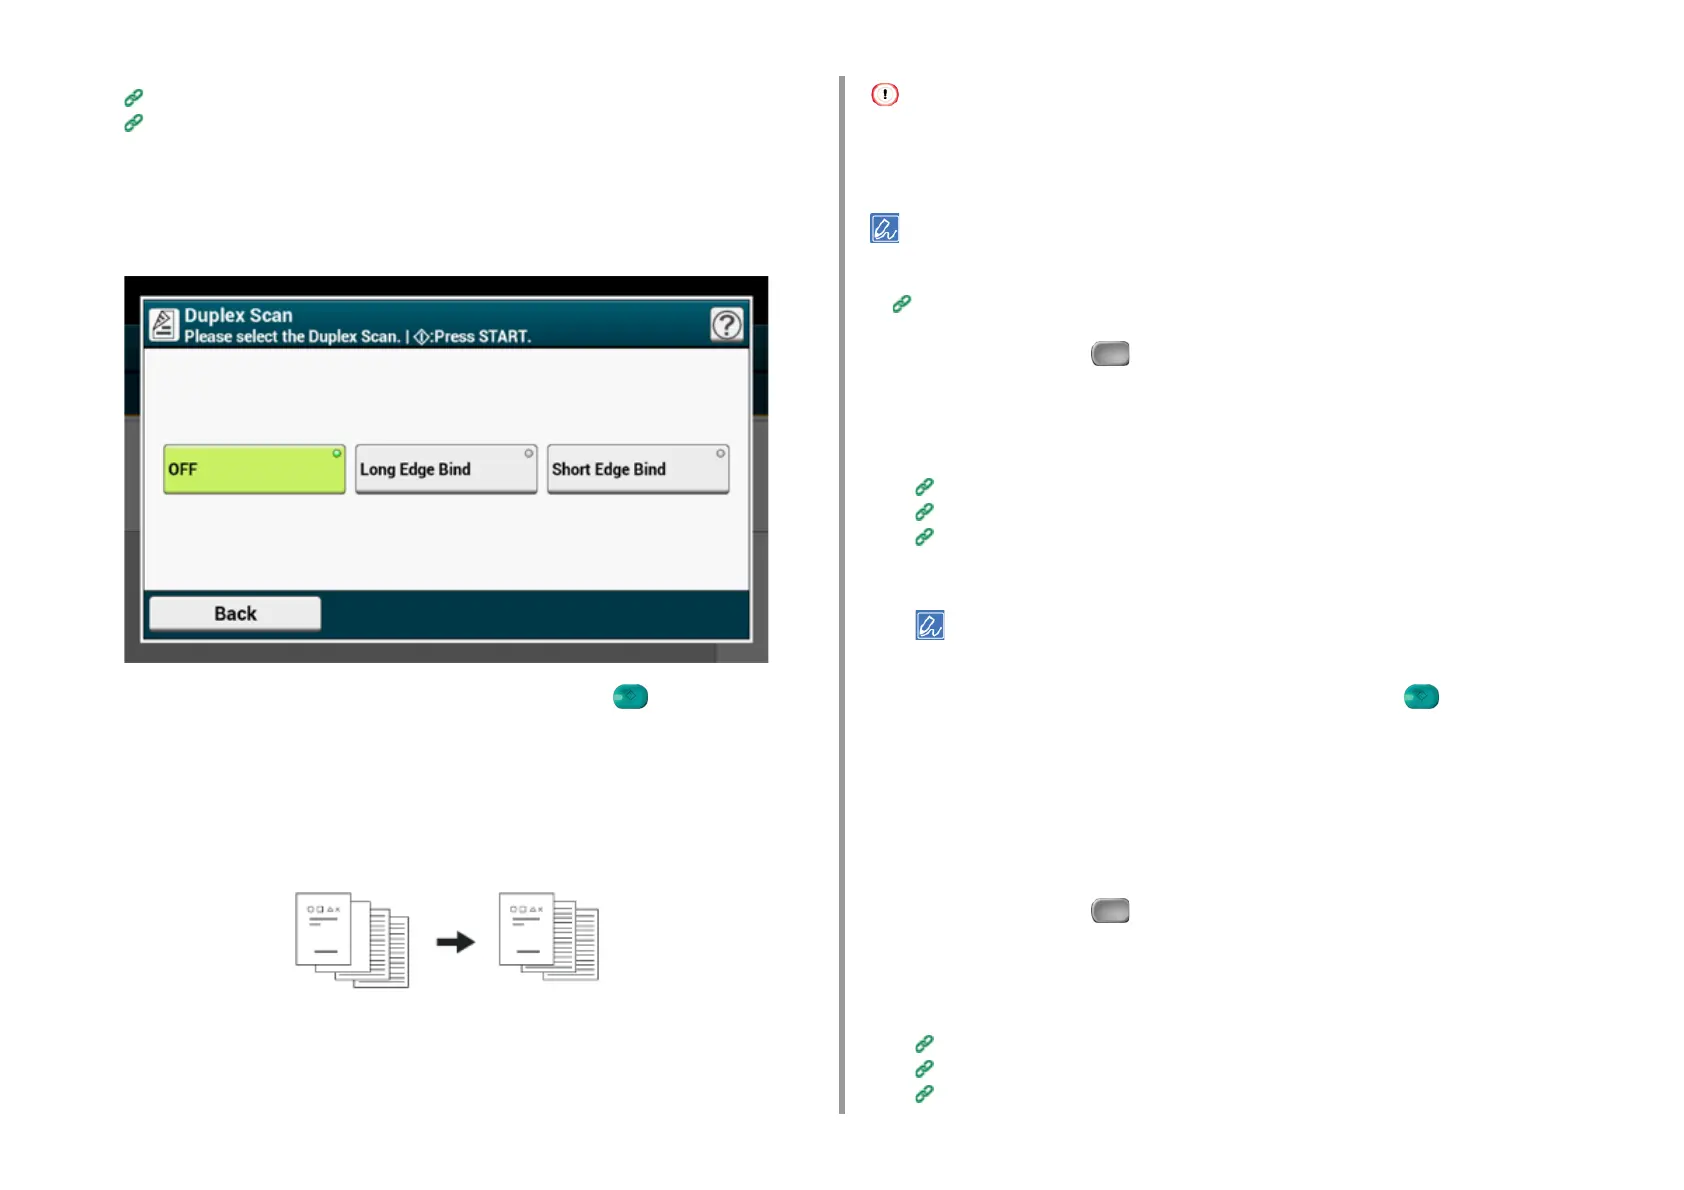
Press [Duplex Scan] in the [Advanced] tab, [Scan To USB Memory] tab, or
[Basic] tab.
5
Select a printing method.
6
Change other settings if necessary, and then press the (START) button.
Skipping White Pages When Scanning (Omit Blank Page)
If blank pages are included in documents, you can skip the blank pages from the scanned
results.
• Blank pages may not be detected correctly in the following cases.
- Halftone documents
- Documents with extremely small printed area (e.g. blank pages with page numbers)
You can change the criteria for determining blank pages from [Device Settings] > [Admin Setup] > [Scanner Setup] >
[Scanner Adjust] > [Blank Page Skip Level] on the touch panel.
Scanner Setup
1
Press [Scan] or the (SCAN) button.
2
Set a document in the ADF or on the document glass.
3
Select a scan function.
Sending Scanned Data as an E-mail Attachment
Saving Scanned Data in USB Memory
Saving Scanned Data in a Shared Folder
4
Press [Omit Blank Page] on the [Advanced] tab to set it to [ON].
Pressing [Omit Blank Page] switches between [ON] and [OFF].
5
Change other settings if necessary, and then press the (START) button.
Changing the Document Orientation (Direction)
You can specify the orientation of images.
Specify the top edge position of the image.
1
Press [Scan] or the (SCAN) button.
2
Set a document in the ADF or on the document glass.
3
Select a scan function.
Sending Scanned Data as an E-mail Attachment
Saving Scanned Data in USB Memory
Saving Scanned Data in a Shared Folder