Utility
12
d-Color MF25 12-53
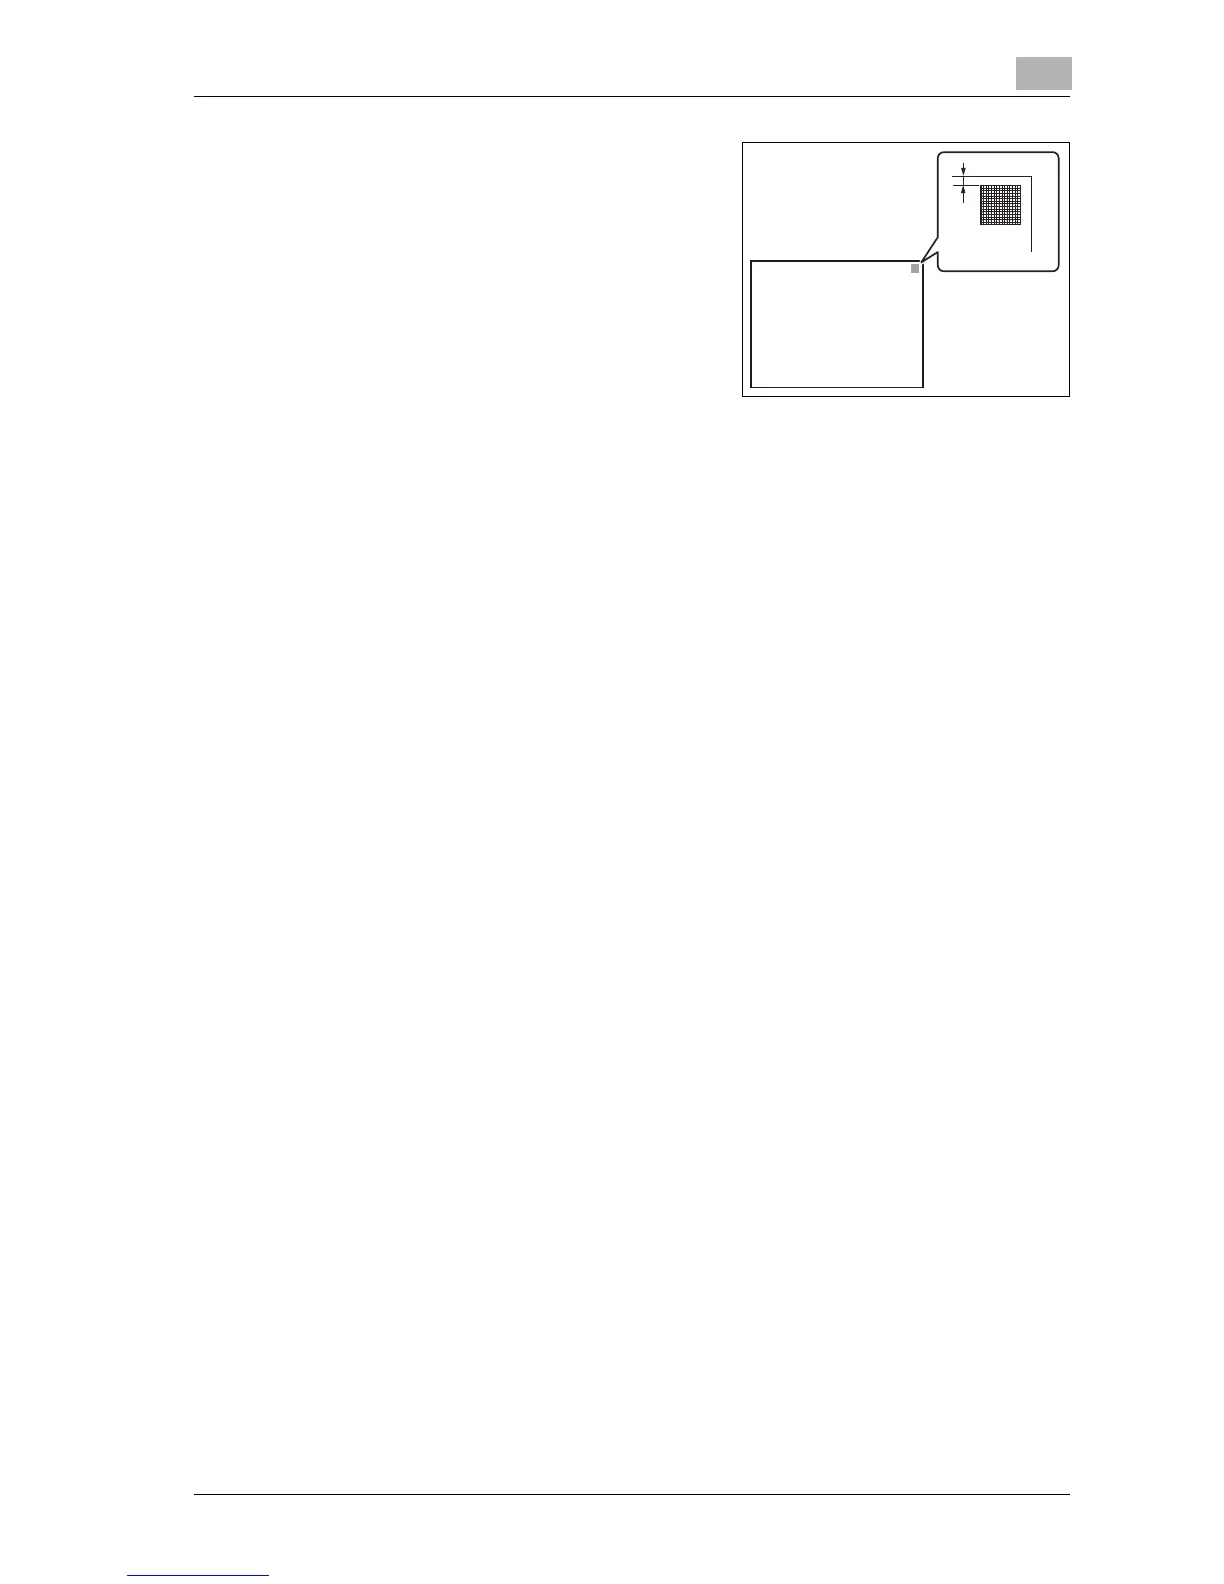
8 Check that the distance from the
starting print position of the test pat-
tern to the left edge of the paper (c) is
3 mm (± 0.5 mm).
– If the distance is less than 2.5
mm, touch [+] to increase the ad-
justment (between 0.2 mm and
3.0 mm).
– If the distance is more than 3.5
mm, touch [–] to reduce the ad-
justment (between –0.2 mm and –3.0 mm).
– If the distance is between 2.5 and 3.5 mm, skip to step 14.
– Each time [+] or [–] is touched, the value is increased or decreased
by one increment.
9 Press the [Start] key.
The adjusted test pattern is printed.
10 Adjust the distance from the starting print position of the test pattern to
the edge of the paper.
– Check that the distance has been adjusted to between 2.5 and 3.5
mm.
– If more adjustment is necessary, repeat steps 8 and 9.
– To adjust the print position for a different paper tray, return to step
6.
11 Touch [OK].
– To cancel changes to the settings, touch [Cancel].
The print position is adjusted.
c
c: 3.0 mm
± 0.5 mm

 Loading...