38 eCobra User's Guide 14402-000 Rev. F
4.1 System Cables, without SmartController EX
The XUSR, XMCP, and XFP jumpers intentionally bypass safety connections so you can test
the system functionality during setup.
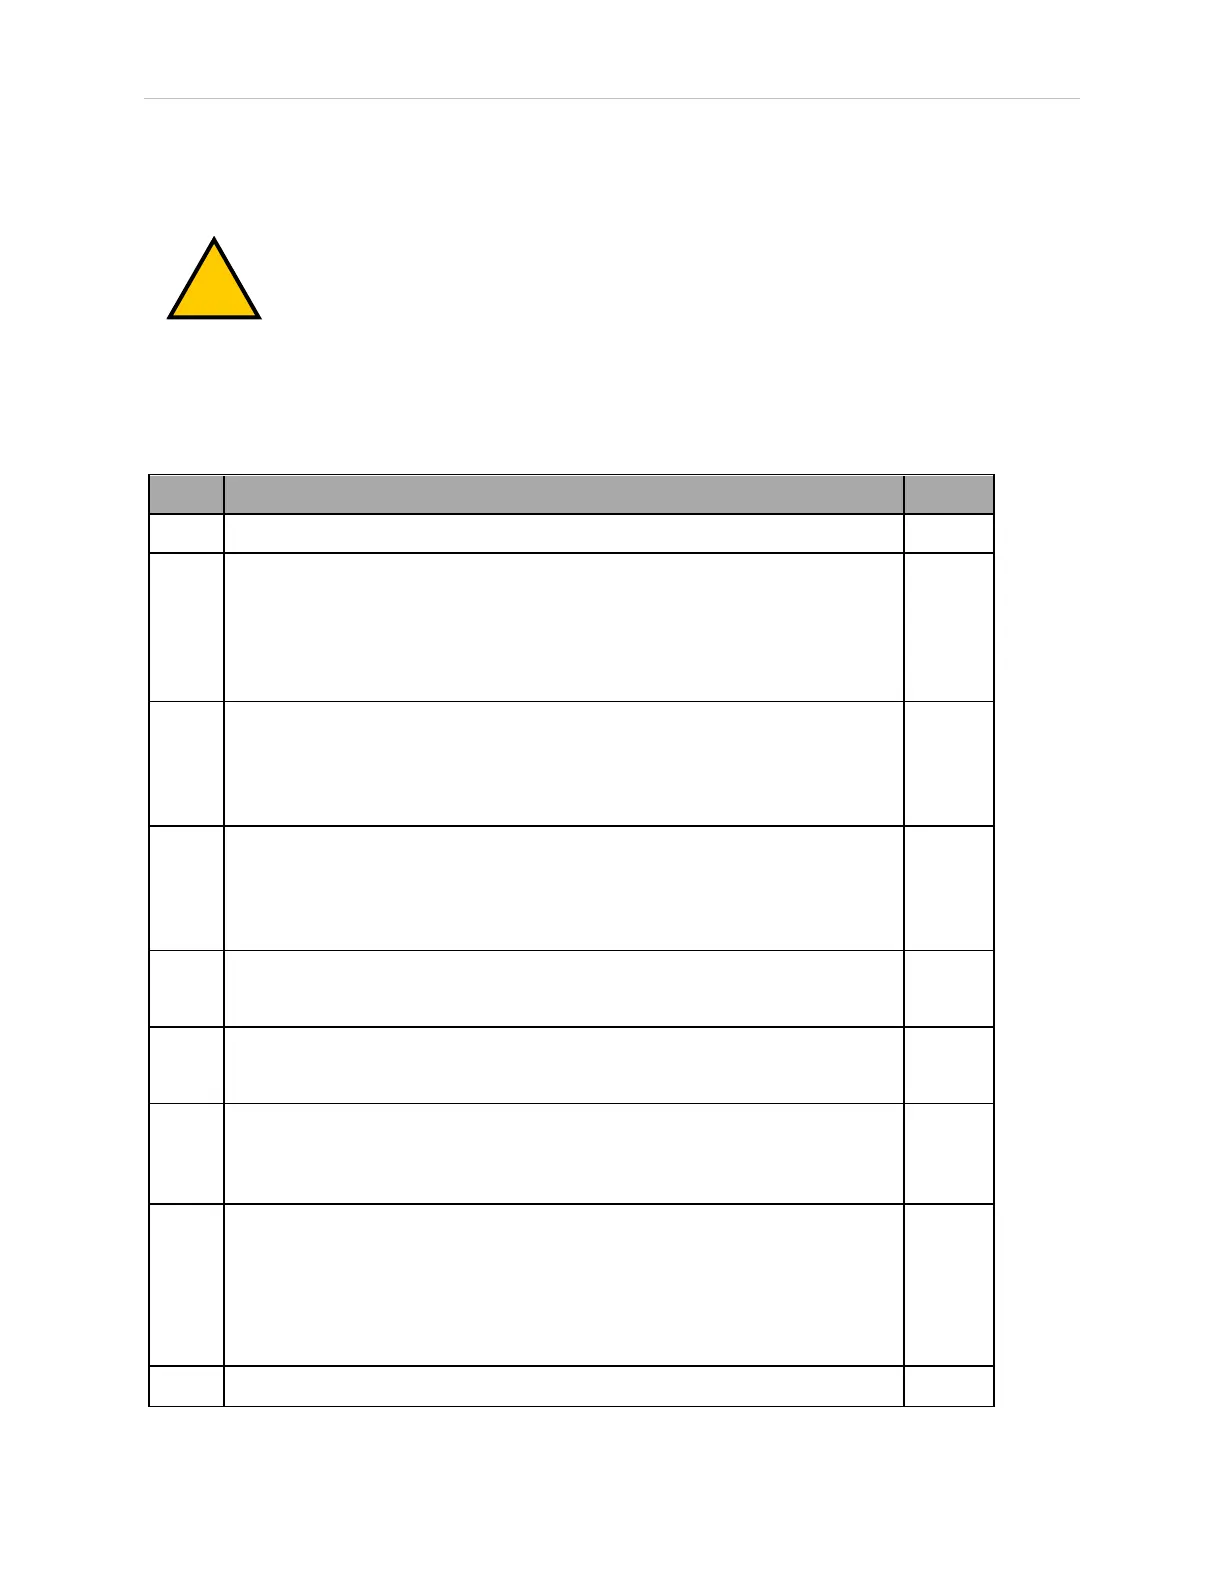
WARNING: PERSONALINJURYRISK
Under no circumstances should you run an eCobra system, in production
mode, with all three jumpers installed. This would leave the system with no E-
Stops.
Cable Installation Overview
Table 4-2. Connections Installation Steps
Step Connection Description Item
1 Connect eAIB XSYSTEM cable to XSYSTEM on eMB-40R. A, R
2 Connect a user E-Stop or Muted Safety Gate to the eAIB XSYSTEM cable
XUSR connector or verify XUSR jumper plug (2a) is installed in eAIB
XSYSTEM cable XUSR connector.
Refer to Installing User-Supplied Safety Equipment on page 62 for more
information.
B, C
3 Connect Front Panel cable to Front Panel and eAIB XSYSTEM cable XFP con-
nector.
If no Front Panel is used, install FP jumper (3a) on eAIB XSYSTEM cable XFP
connector. See NOTE after table.
D, E, F
4 Connect T20 adapter cable and the T20 Pendant to eAIB XSYSTEM cable
XMCP connector.
If no T20 Pendant, install XMCP jumper (4a) or T20 Adapter Cable with T20
bypass plug (4b).
G or H,
I, T20
Pendant
5 Connect user-supplied ground.
Refer to Grounding the Robot System on page 59 for more information.
S
6 Connect Ethernet cable from PLCto switch, if a PLCis used.
Refer to Configuring a PLC on page 60 for more information.
Q
7 Connect 200-240 VAC to VAC Input on eAIB Interface Panel; secure with
clamp.
Refer to System Installation on page 35 for more information.
J, R
8 Connect 24 VDC to DC Input on Interface Panel.
Connect 24 VDC and shield ground to SmartVision MX, if used (8a). See
SmartVision MX user's guide for location.
Refer to Connecting 24 VDC Power to Robot on page 50 for more inform-
ation.
K, L, R
9 Connect Ethernet cable from switch to eAIB. M, O, R