4: Repair Internal Assemblies — Front Case
106
Tubing Gasket Replacement
The Tubing Gasket protects the internal assemblies of the Efficia DFM100 from moisture and dust.
There are three Tubing Gaskets inside the Efficia DFM100:
• on the perimeter of the Front Case to seal off the gaps between Front Case and Rear Case assembly.
• on the perimeter of the Measurement Module
• on the perimeter of the Printer Module
Inspect the Tubing Gasket whenever you open the box or the Measurement Module. Replace the Tubing
Gasket if dirty, cracked, frayed, pinched, or there is a gap between the ends of the tubing.
To remove and replace the Tubing Gasket
1 Use tweezers to remove the old gasket.
2 Clean the groove.
3 Prepare the tubing:
– For the Front Case, tubing length is about 97 cm tubing.
– For the Measurement Module, tubing length is about 28 cm tubing.
– For the Printer Installation Position, tubing length is about 37 cm.
Do not stretch the tubing while measuring.
4 For the Front Case, install tubing gasket around perimeter but ensure the two ends meet at the
bottom of the device. and gently press the gasket into the groove till it is seated.
For the Measurement Module, start opposite to the ECG Connector (so that the Gasket ends meet
at the bottom of the Measurement Module).
For the Printer Installation Position, start in the middle of the bottom line.
Leave the ends out. Do not stretch the tubing.
5 Precisely cut the ends and make sure that there is no gap or overlap at where the ends meet.
6 Tuck the ends into the groove.
7 Slightly spread or stretch the gasket to remove any residual overlap or cover a gap.
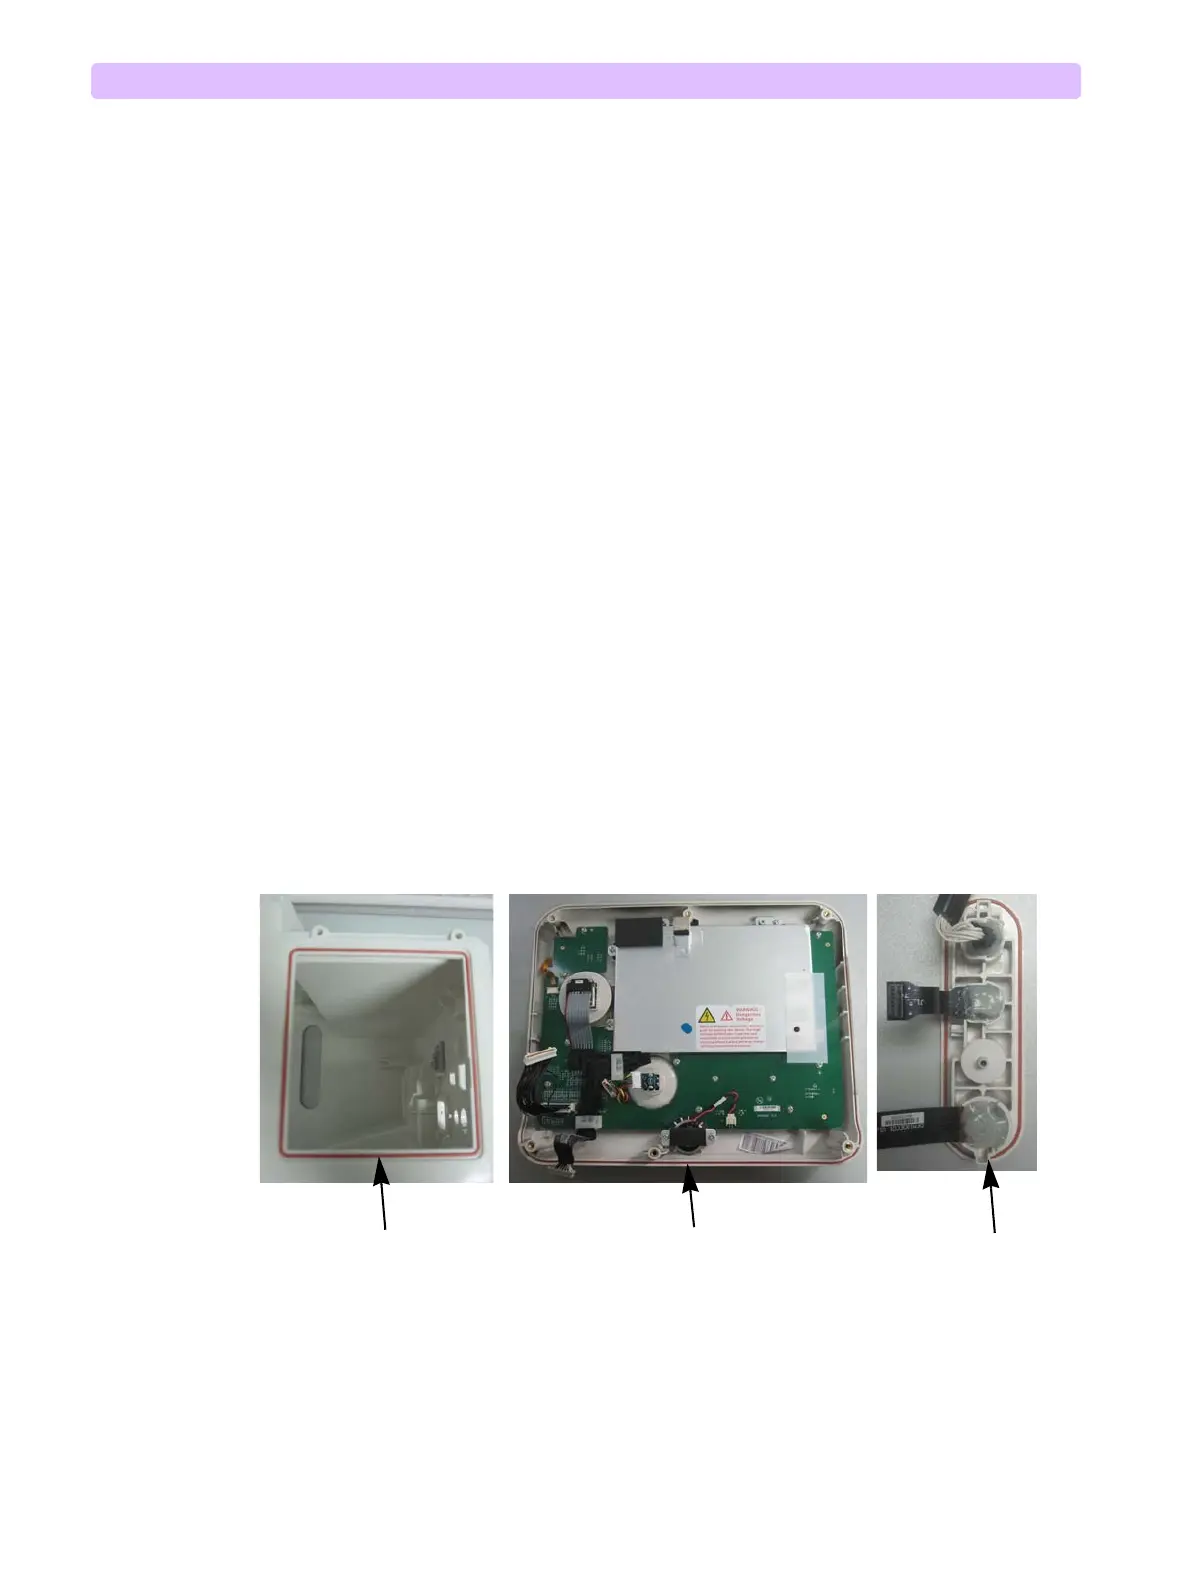
Figure 72 Tubing gasket Replacement
Ends meet Ends meet Ends meet