Section 3
Compressor Replacement
Maintenance Manual MM-0204 Copyright 2002
Issued 08-02 ArvinMeritor, Inc. Page 9
Section 3Compressor Replacement
The cylinder head portion of the compressor is
replaceable. The crankcase is not replaceable.
If the crankcase is damaged or malfunctioning,
replace the complete compressor.
WARNING
To prevent serious eye injury, always wear safe
eye protection when you perform vehicle
maintenance or service.
Remove all pressure from the air system before
you disconnect any component. Pressurized air
can cause serious personal injury.
Park the vehicle on a level surface. Block the
wheels to prevent the vehicle from moving.
Support the vehicle with safety stands. Do not
work under a vehicle supported only by jacks.
Jacks can slip and fall over. Serious personal injury
and damage to components can result.
Compressor Replacement
Information
CAUTION
The removal instructions given in this manual
are general. Depending on the type of vehicle
involved, additional steps may be required.
Refer to the vehicle manufacturer’s manual for
additional information.
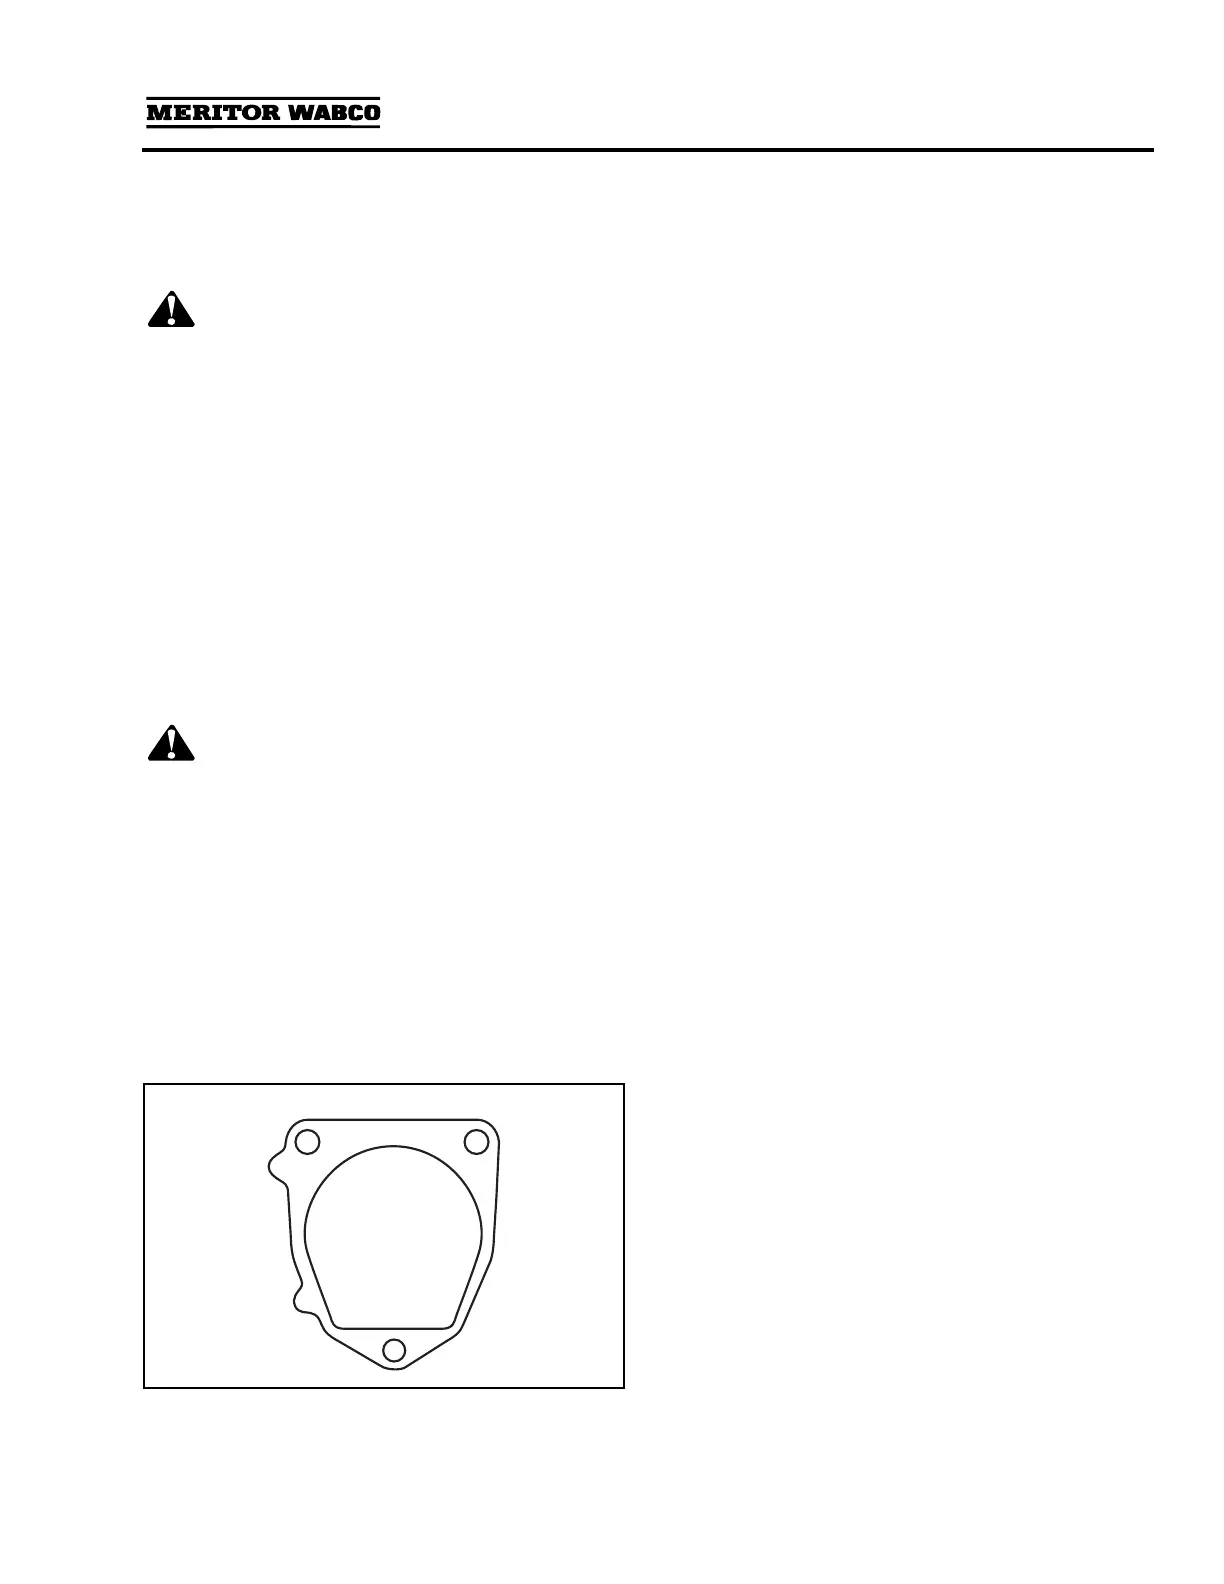
The front of the Meritor WABCO System Saver
636 air compressor is mounted to the engine.
Before you remove the compressor, make sure
you have a replacement gasket to install with the
new compressor (Mack Part Number 590GB2159).
Figure 3.1.
Compressor Removal
1. Set the spring (parking) brakes and block the
wheels of the vehicle.
2. Drain the air pressure from the air system.
3. Drain the engine cooling system and the
cylinder head of the compressor.
4. Disconnect all air and water lines leading to
the compressor.
5. Remove the discharge and coolant fittings.
Note fitting locations to aid in reassembly.
NOTE:
The discharge fitting consists of a
fitting and a bushing. The bushing should
remain in the cylinder head.
6. Loosen and remove the four bracket mounting
bolts: Two bolts that hold the rear support
bracket to the back of the compressor and two
bolts that hold the bracket to the engine block.
Retain the bolts for re-assembly.
NOTE:
This bracket supports the weight of the
compressor.
7. Loosen the three flange mounting bolts that
hold the compressor to the engine.
8. Remove the compressor from the engine.
Remove and retain the oil supply tube that
runs between the compressor and the engine.
Figure 3.2.
Figure 3.1
1003382a
1003382a