Fax Unit B404
BIT SWITCHES
SM 5-11 B404
5.3 BIT SWITCHES
2
WARNING
Do not adjust a bit switch or use a setting that is described as “Not used”,
as this may cause the machine to malfunction or to operate in a manner
that is not accepted by local regulations. Such bits are for use only in other
areas, such as Japan.
NOTE: Default settings for bit switches are not listed in this manual. Refer to the
System Parameter List printed by the machine.
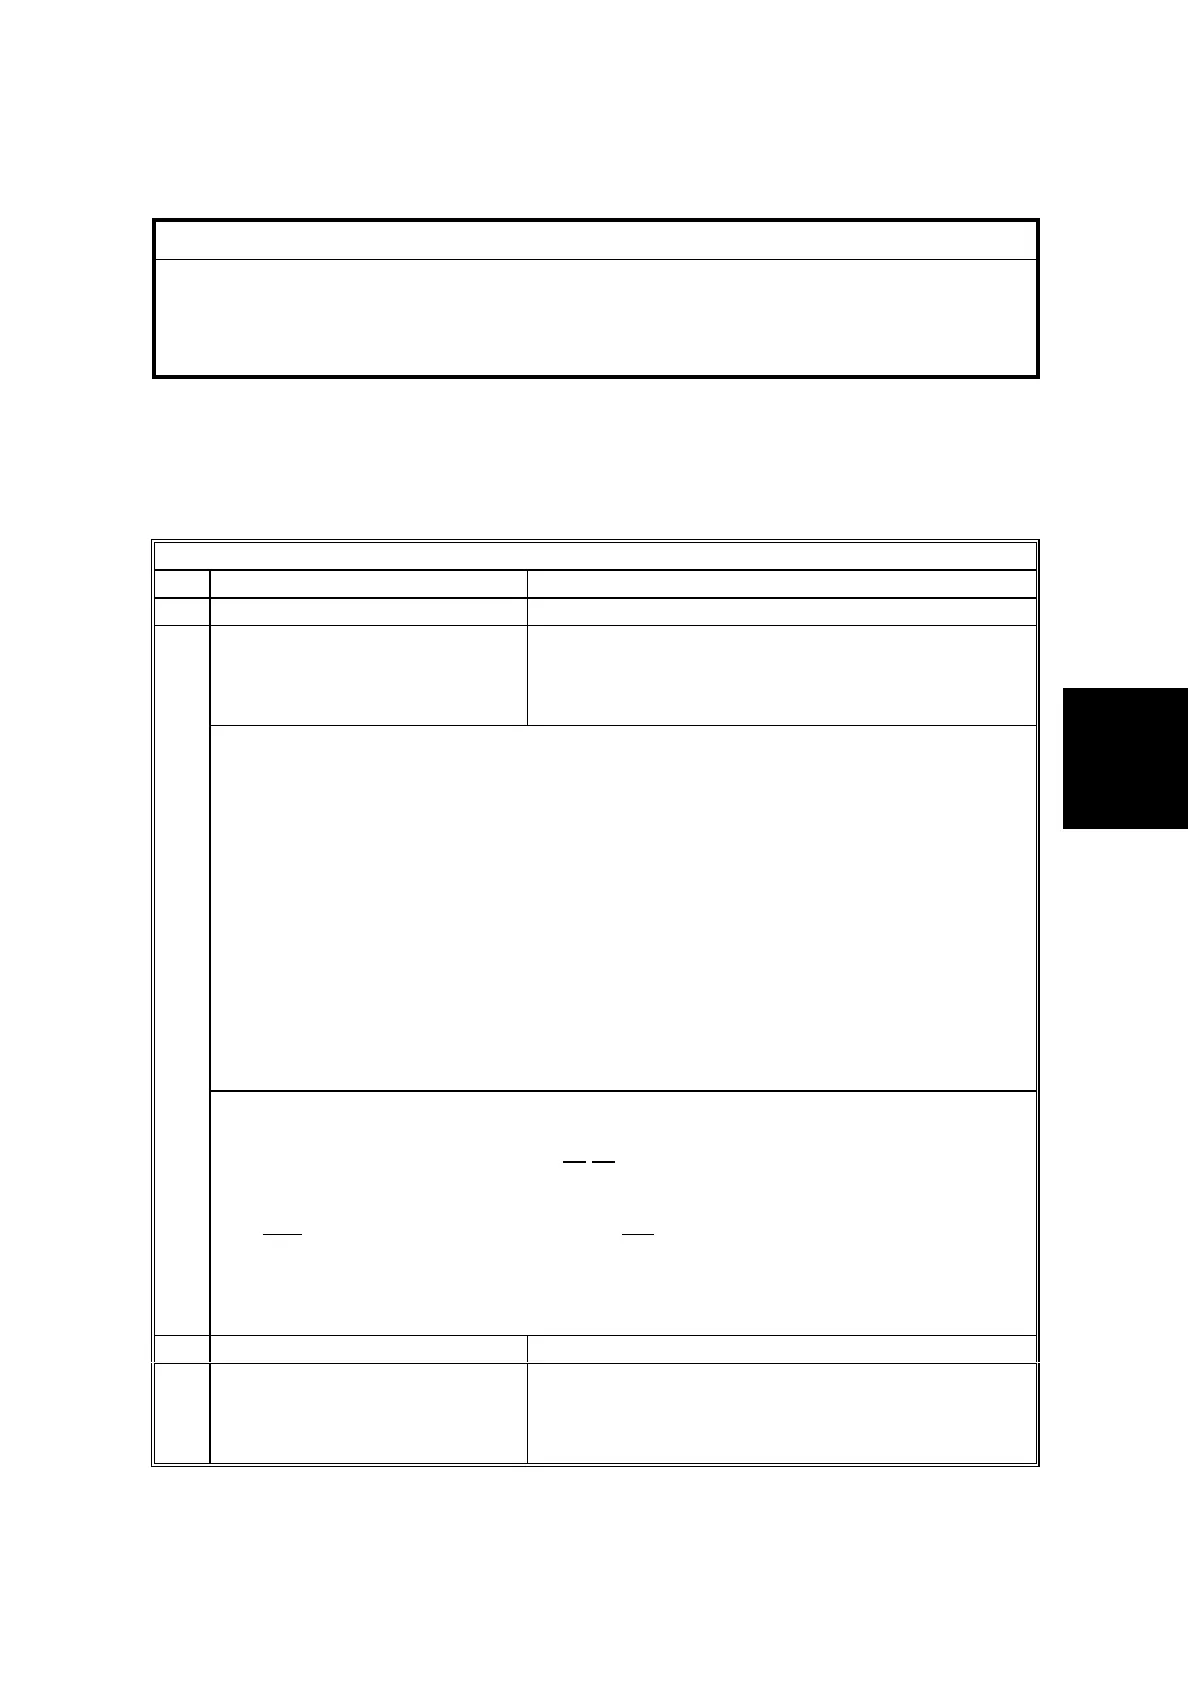
5.3.1 SYSTEM SWITCHES
System Switch 00
No FUNCTION COMMENTS
0-1 Not used Do not change the settings.
Technical data printout on the
Journal
0: Disabled
1: Enabled
1: Instead of the personal name, the following data
are listed on the Journal for each G3
communication.
e.g. 0000 32V34 288/264 L01000304
(1) (2)(3) (4) (5) (6) (7)(8)
(1): EQM value (Line quality data). The left hand figure is the high byte and the right
hand figure is the low byte. A larger number means more errors.
(2): Symbol rate (V.34 only)
(3): Final modem type used
(4): Starting data rate (for example, 288 means 28.8 kbps)
(5): Final data rate
(6): Rx level (refer to the note after this table for how to read the rx level)
(7): Total number of error lines that occurred during non-ECM reception.
(8): Total number of burst error lines that occurred during non-ECM reception.
Note:
EQM and rx level are fixed at ”FFFF” in tx mode.
The seventh and eighth numbers are fixed at “00” for transmission records and ECM
reception records.
2
Rx level calculation
Example: 0000 32 V34 288/264 L 01 00
03 04
The four-digit hexadecimal value (N) after “L” indicates the rx level.
The high byte is given first, followed by the low
byte. Divide the decimal value of N by
-16 to get the rx level.
In the above example, the decimal value of N (= 0100 [H]) is 256.
So, the actual rx level is 256/-16 = -16 dB
3 Not used Do not change the setting.
4
Line error mark on the received
page
0: Disabled
1: Enabled
If this bit is 1, a mark will be printed on the left edge
of the page at any place where a line error occurred
in the data. Such errors are caused by a noisy line
for example.